


PLANNING TO INSTALL IN-WALL OR IN-CEILING SPEAKERS

This article is designed to help you build confidence in your upcoming in-wall or in-ceiling system install. It’ll touch on the things you need to consider BEFORE you begin.
Rest assured: This install process is not very difficult.
You or someone who can help you should have a little handiness, but you don’t need to be a tradesperson. You’ll also need a few tools that are listed below.
If you decide you don’t want to tackle the install yourself, get in touch with us here and we’ll refer a friendly installer.
Before we jump in, let’s ask the question:
Can you use in-ceiling or in-wall speakers in YOUR room?
The key to this question lies in the obstacles in your room, the material of your walls or ceilings and what install you’re willing to do.
To install in-wall or in-ceiling speakers you WILL need plasterboard finish. It’s the only way to ‘lock’ them in place. You will also need a sufficient empty space behind the wall or ceiling. So you CAN install into brick, block or concrete… you just need to cut out a big enough cavity and finish the wall with plasterboard.
Other than that, you want to watch out for:
- Windows
- Corners
- Pipes & utilities (like mains electrical lines) behind
- Enough depth behind
- The ability to run the wires from each speaker location
With those things in mind… read on and learn more about planning and installing in-wall or in-ceiling speakers.(If you’re ready to install your speakers, read Easy In-Wall & In-Ceiling Speaker Installation.)
- Where are you going to sit?
- In-wall or in-ceiling speakers?
- How many speakers do you want?
- Are the spots you want to put speakers clear?
- Determine how you will run your speaker cables
Where are you going to sit?

You should have a “gut feeling” on where your primary listening seat(s) will be and where your screen will be.
Judge where your speakers will go based on the centre of that seat.
In-wall speakers should be a nice looking distance from your screen, any corners, or any windows. When they’re too close it looks cramped. 300 mm is a decent guideline.
In-wall speakers should be about ear level when you’re seated. That’s roughly 970 mm to 1120 mm from the floor. Lining them up with the centreline of your TV is also a good idea for looks.
For some guidance on WHERE to put your front speakers (the most important for sound) check out Where do I Place my Front Speakers?
To see guidelines on where to put the rest of the speakers in a surround sound system, see Dolby Placement For In-Wall & In-Ceiling Speakers (coming soon).
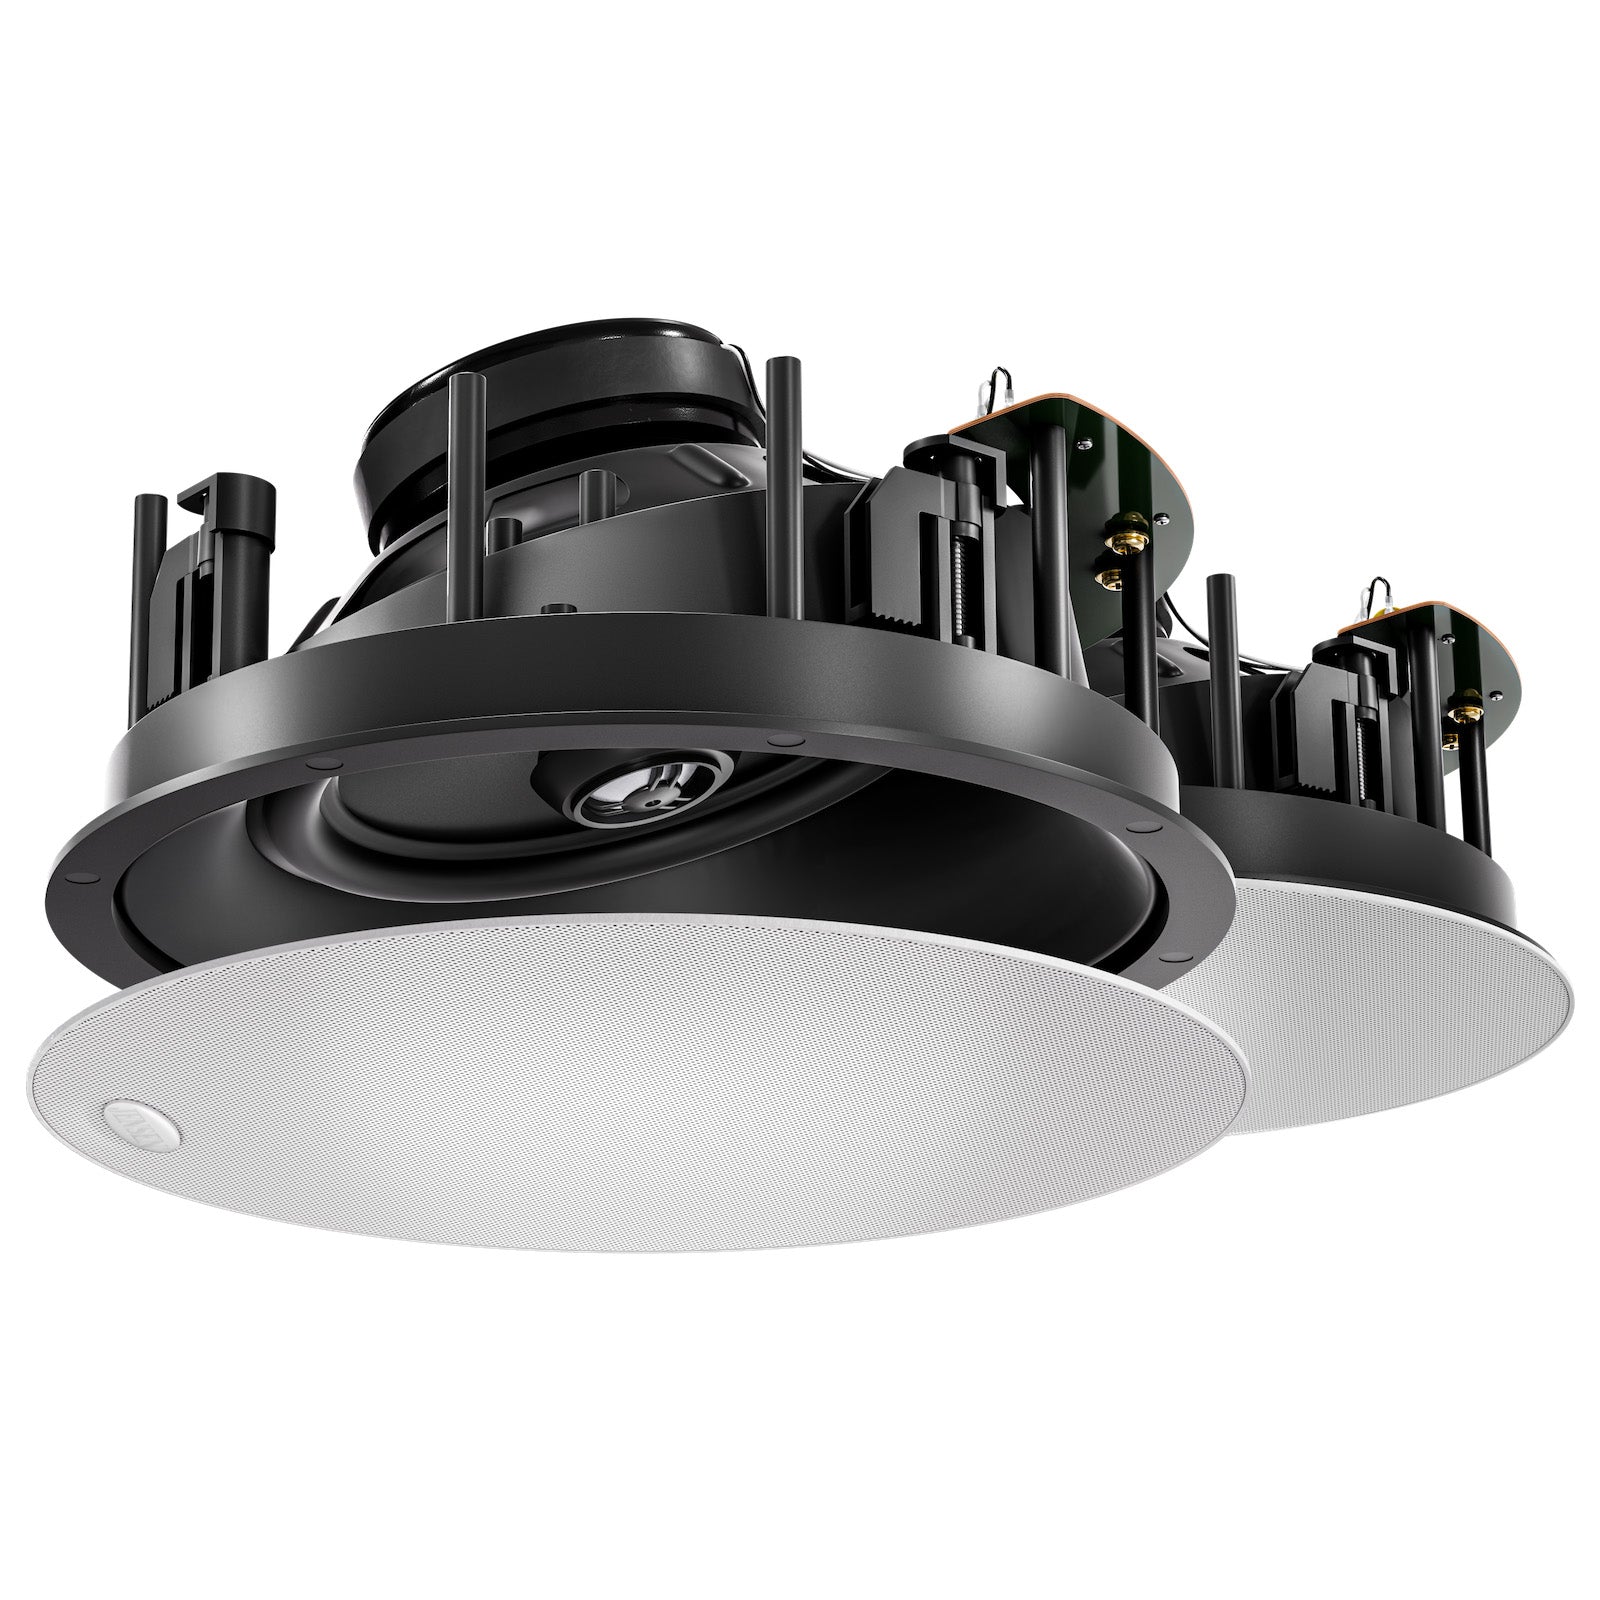
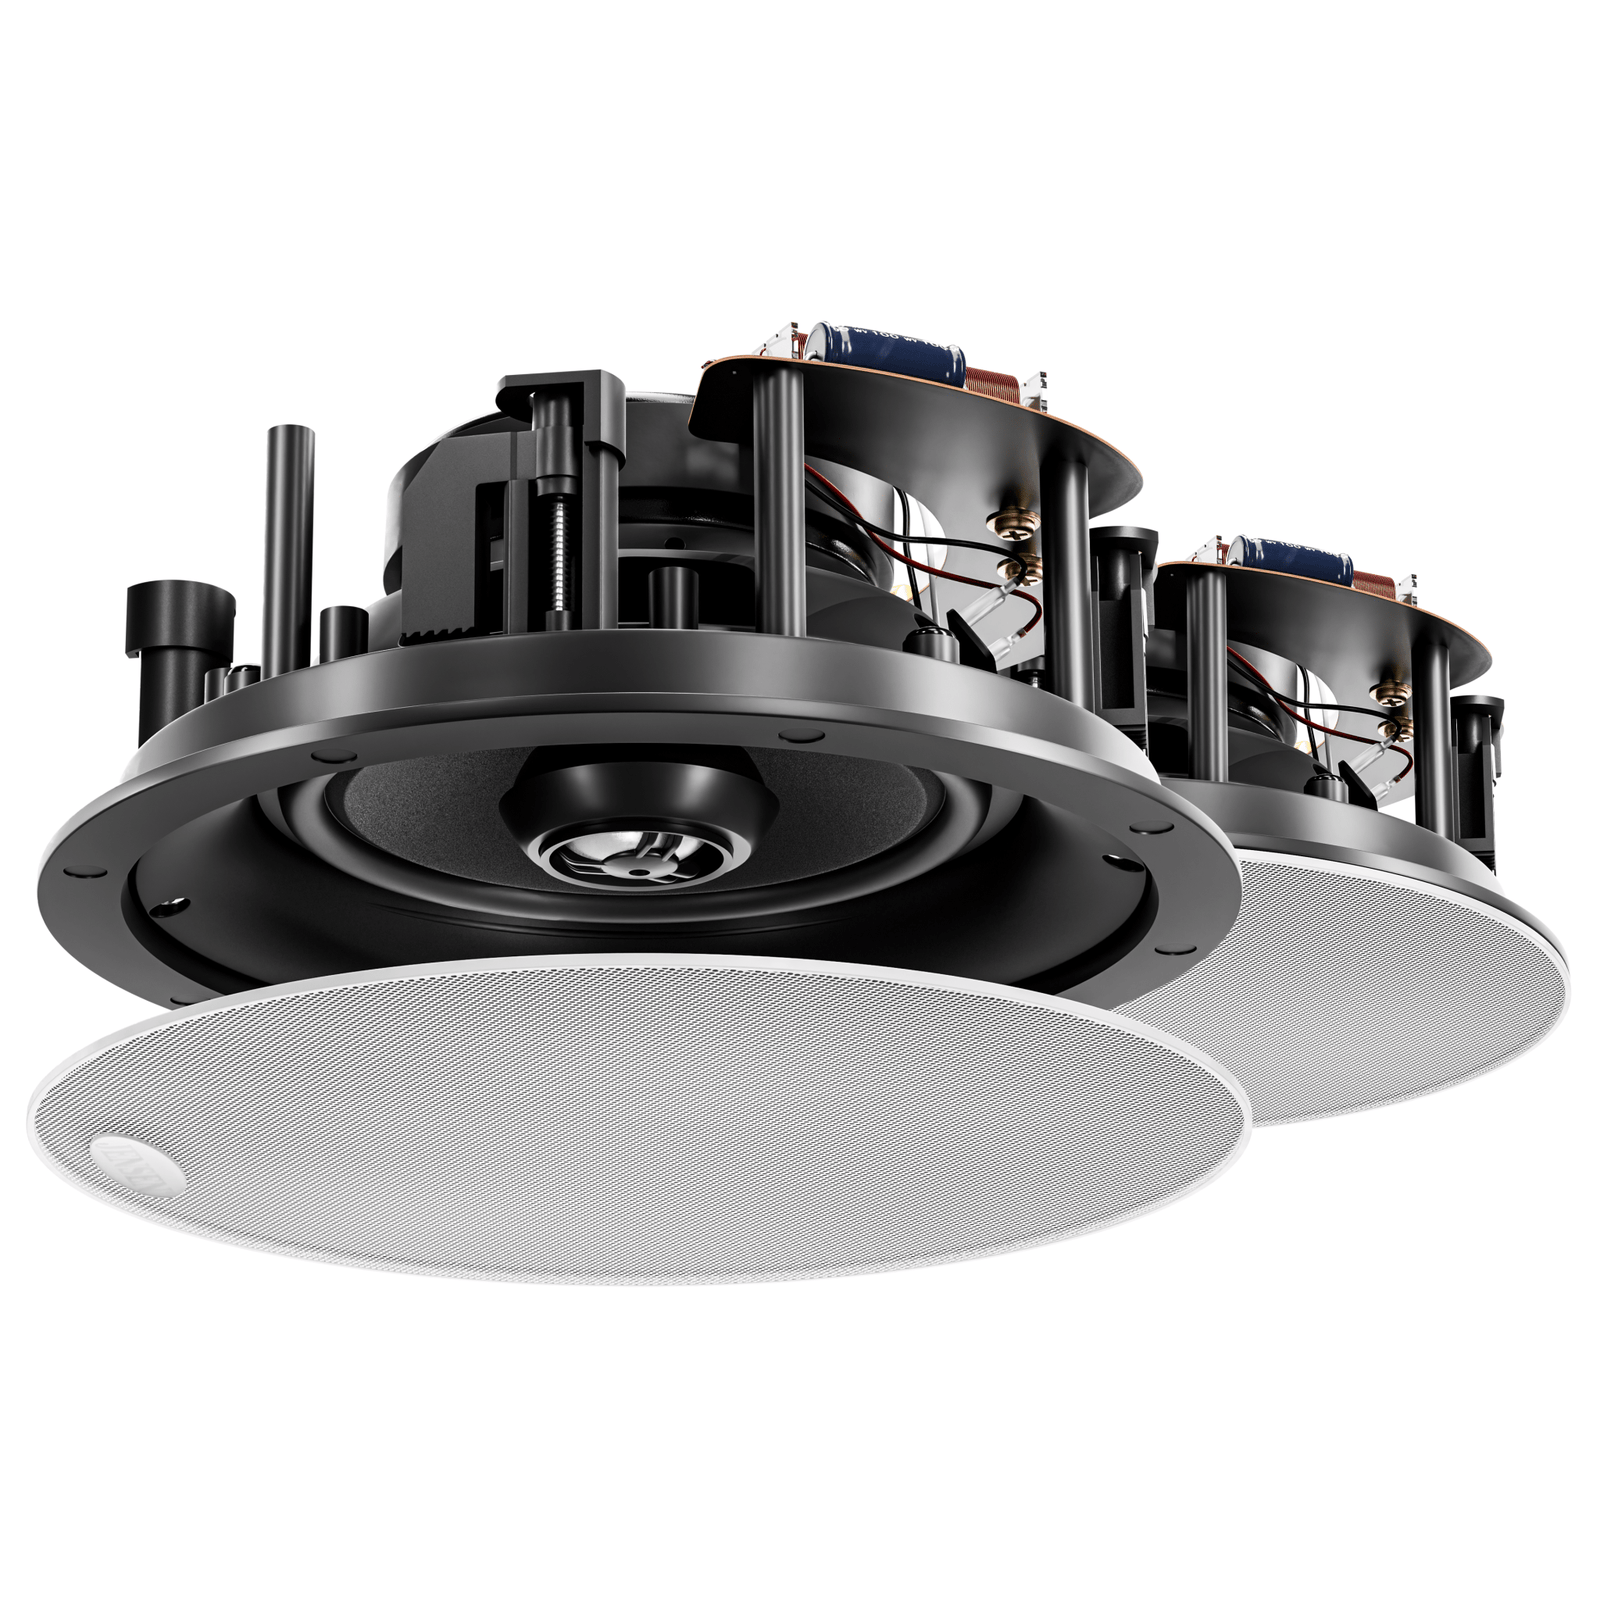
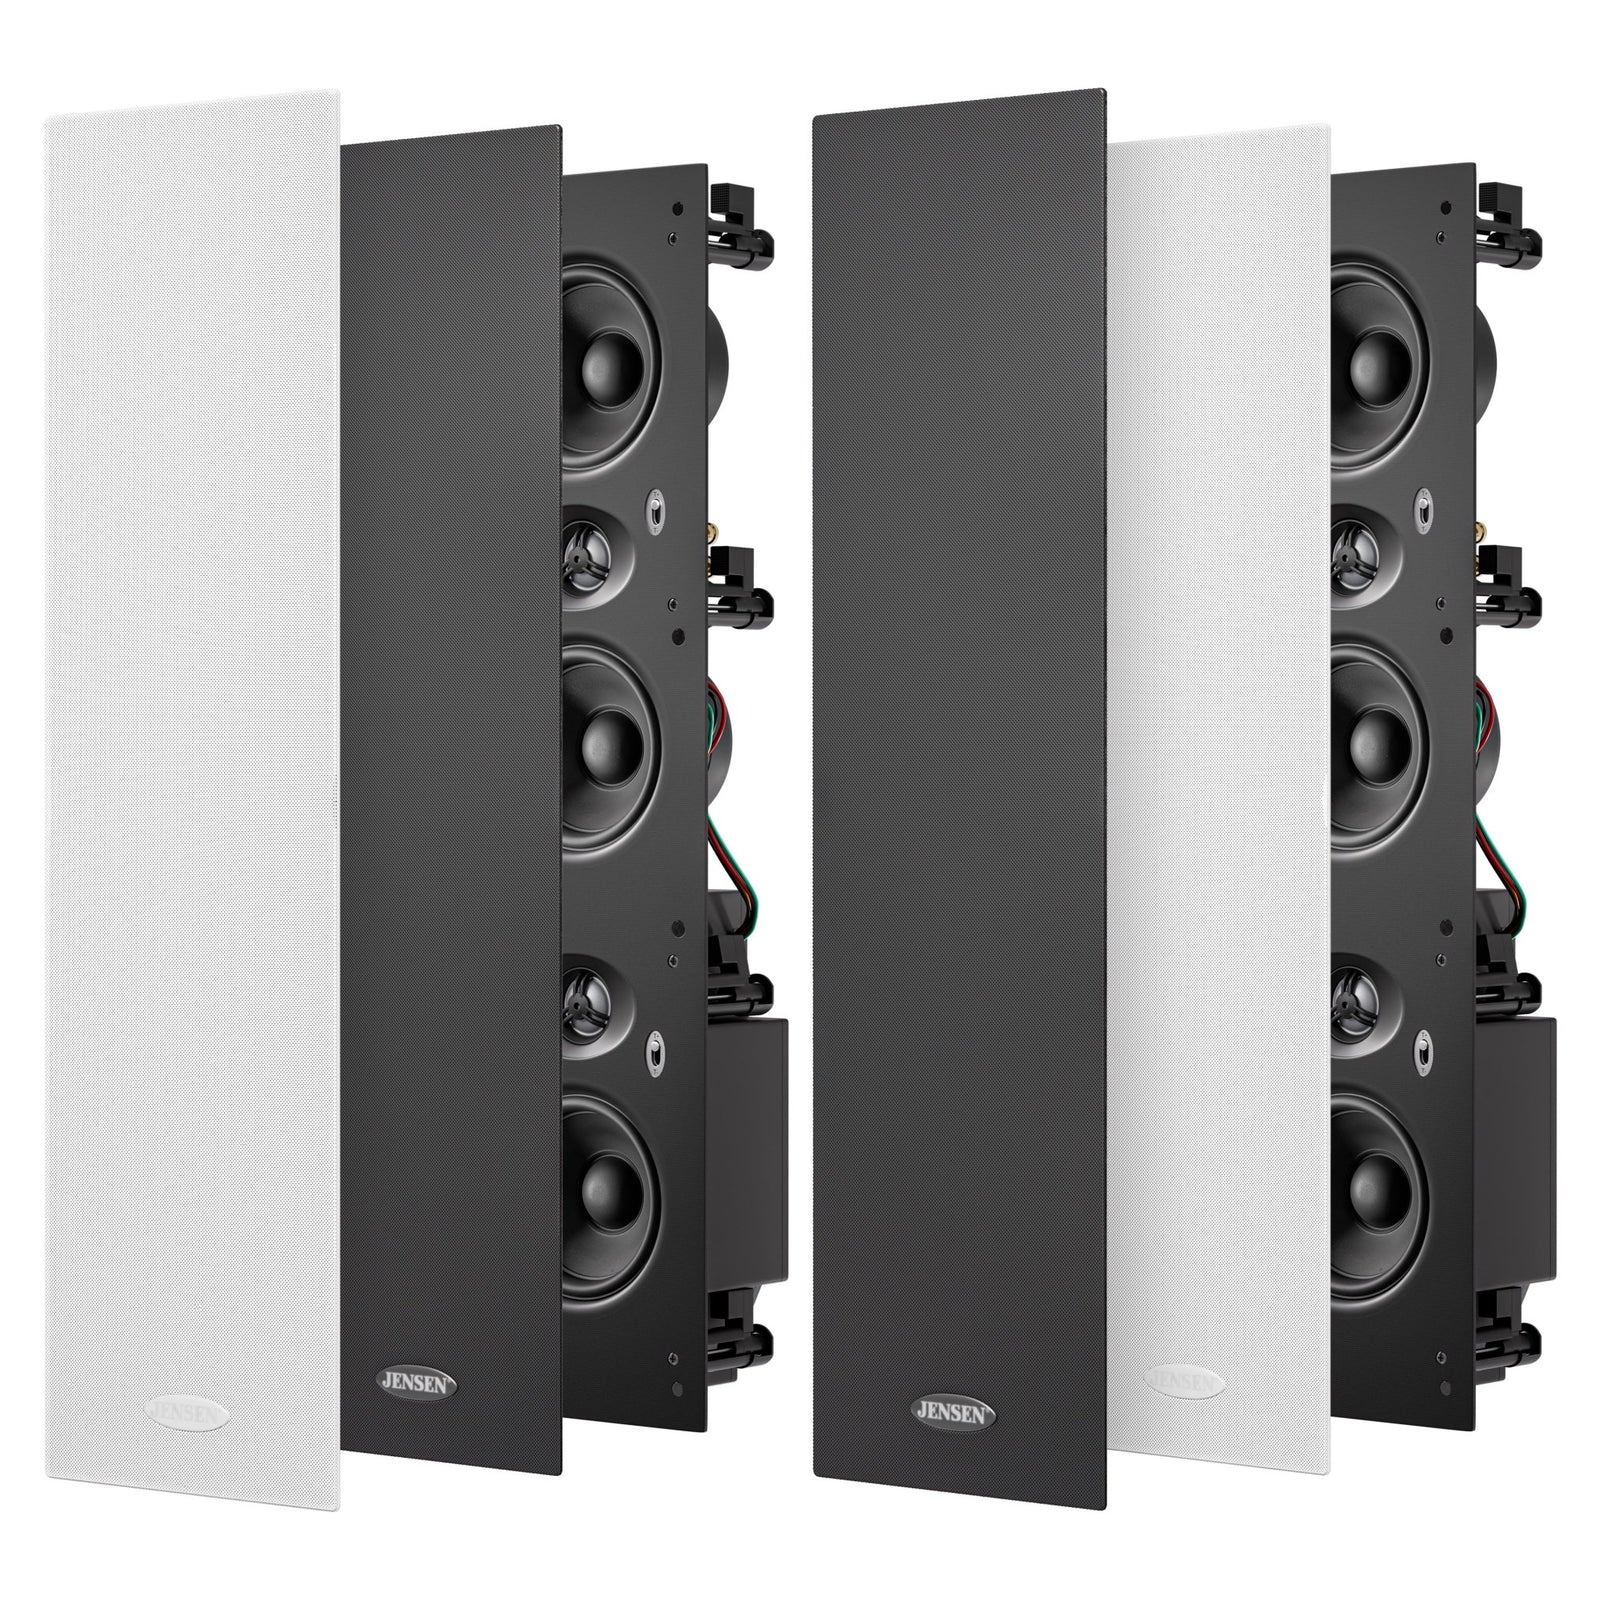
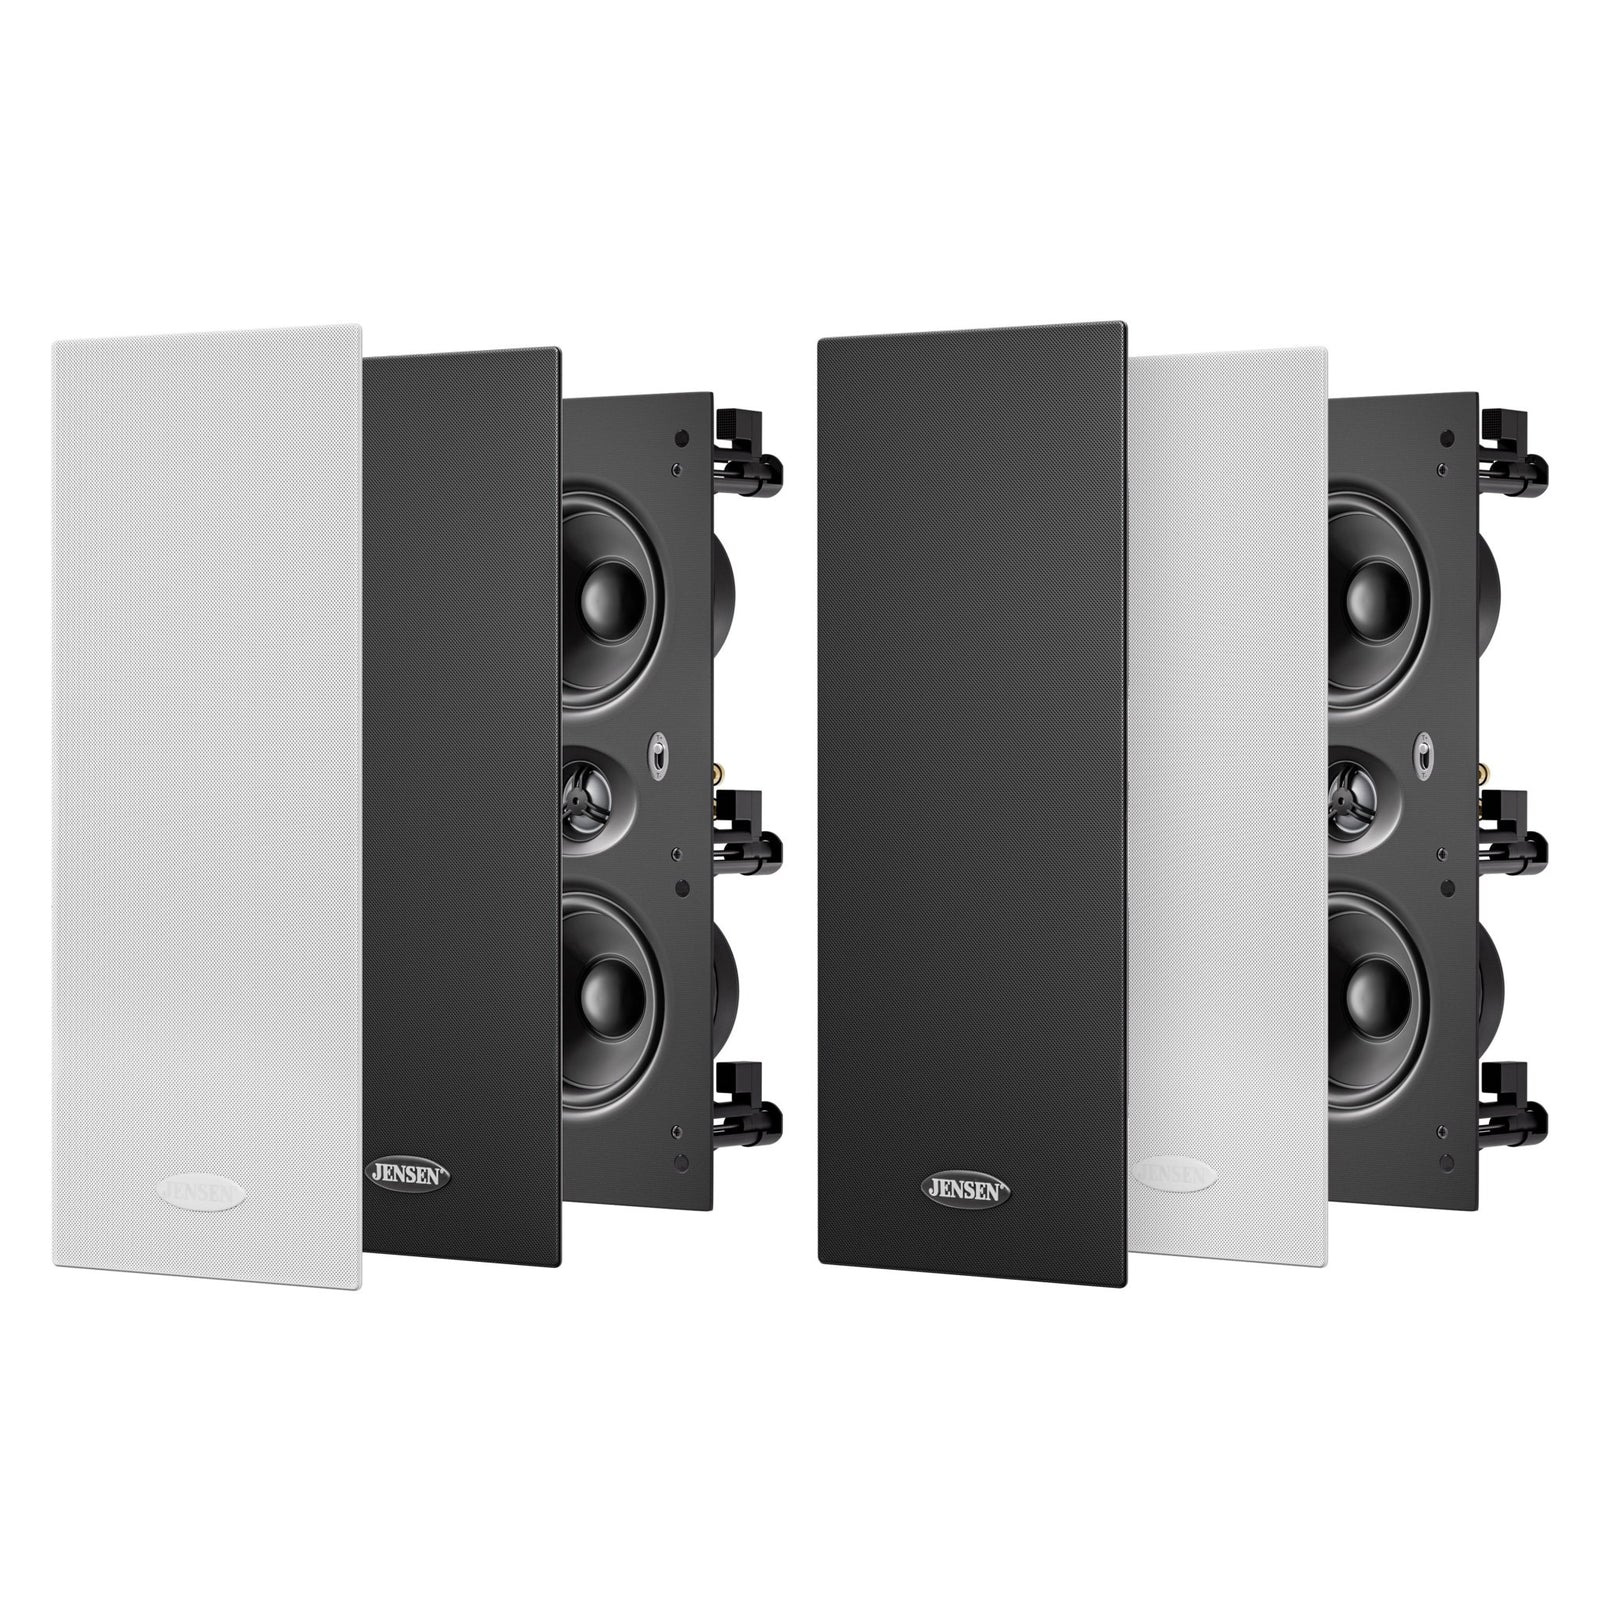
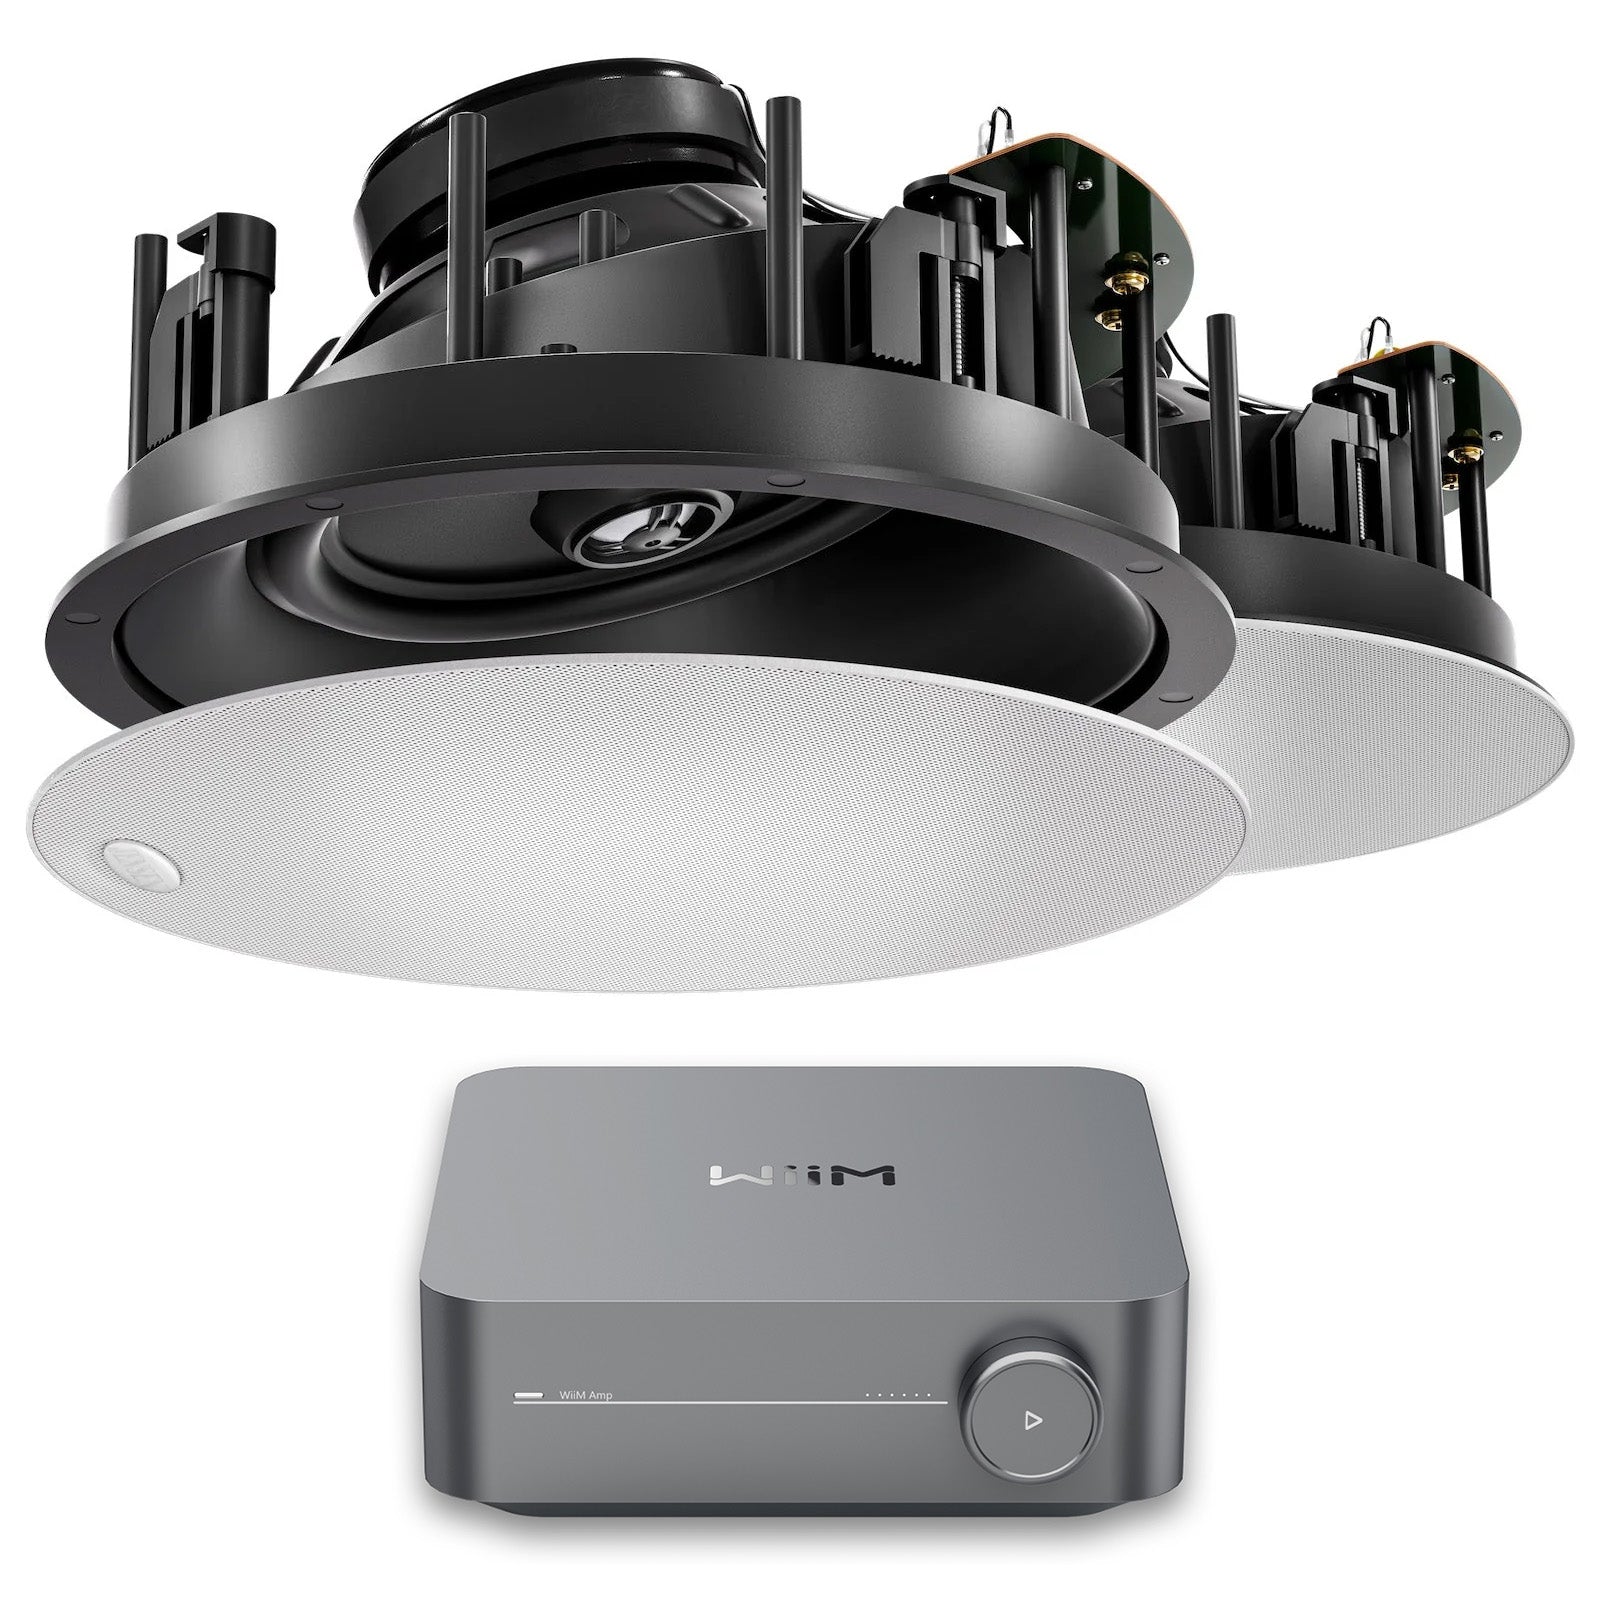
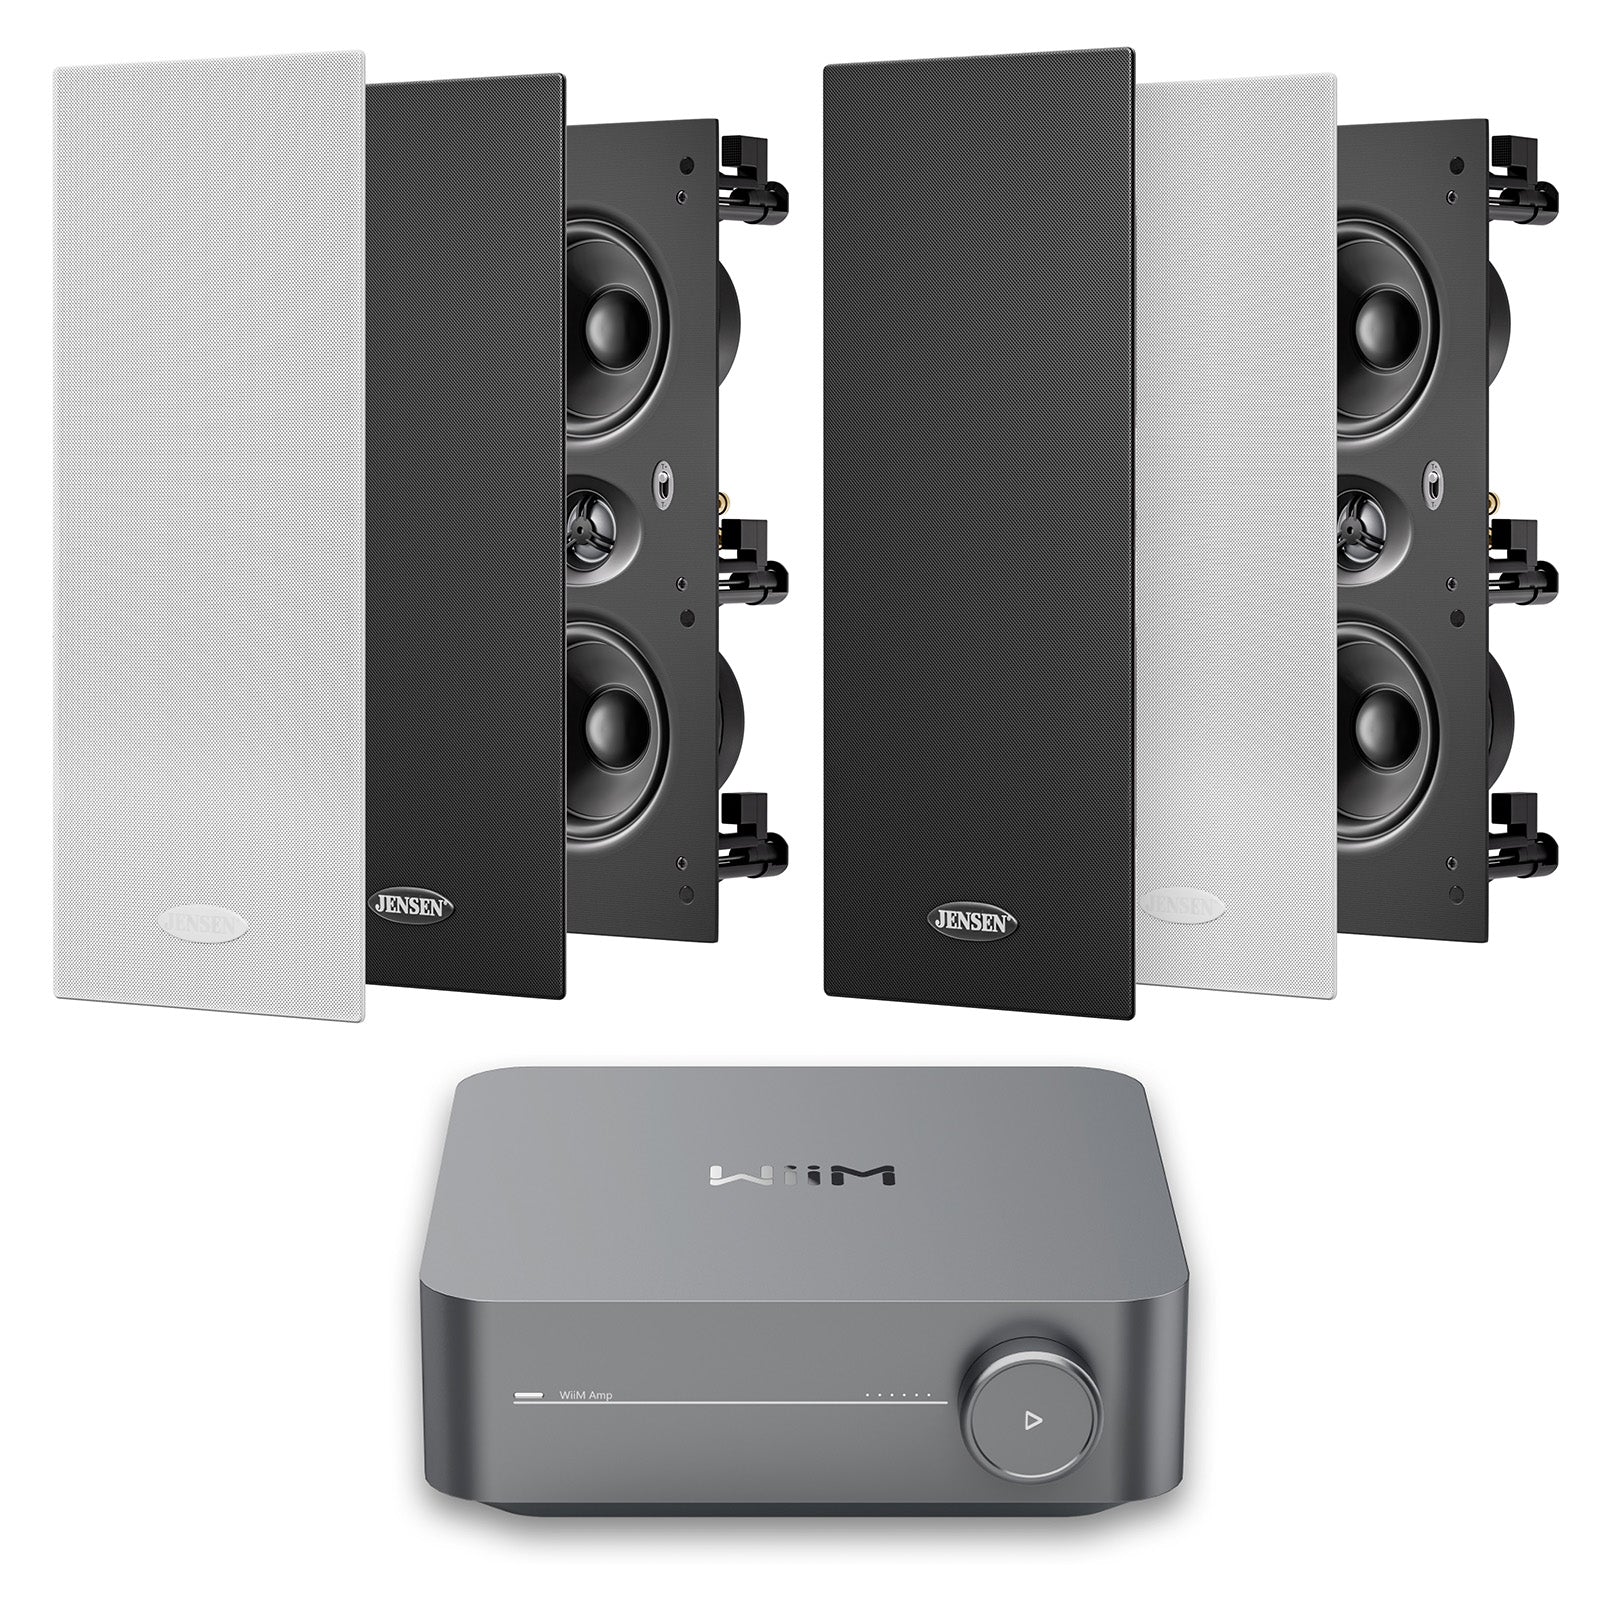
In-wall or in-ceiling speakers?

I recommend sticking to in-wall wherever possible. You get more speaker drivers per channel and a better audio image.
But noting the obstacles in your room, your home design preferences, and other factors… you might choose either.
Once you decide this you can plan the rest of the install. (You need to know where you’ll be running cables.)
How many speakers do you want?

Are you going with stereo? 5.1 or 7.1 surround?
To help you decide, check out 5.1 vs 7.1 vs 9.1: Which is Best for You?
Maybe you want some extra zones in your home as well. Say, for bedroom music or alfresco listening.
For an overview of the most popular multi-zone system, take a look at The Best Audio System For Your New Home.
Are the spots you want to put speakers clear?
Make sure the wall or ceiling is clear for your speakers.
The cavity sizes required are as follows:

You can check the space behind your wall or ceiling by drilling a small hole and poking around with a rigid wire. You might use a coat hanger, bend it to make a ‘feeler stick,’ and poke it through to feel around for timber frame or pipes in the way.
You might also run into insulation material. You will remove that after cutting to make room for the speaker (and prevent hazard). So don’t let a little resistance stop your poking — you want to find total obstructions.
If you run into anything, try to mark your wall to indicate where it is. You can also use a stud finder to reveal and mark where studs and bracing timbers are. They may or may not pick up on pipes and wires.
Determine how you will run your speaker cables

This is probably the most important part of planning the system, because running the cables is the main activity.
The gist is, you will need vacant space going FROM each in-wall or in-ceiling spot, TO wherever your amplifier will be.
Using a stud finder is the best way to reveal and mark obstructions.
Alternatively you can use a powerful, rare earth magnet to find plasterboard screws. You move it around on the wall in circles until it hooks one, and mark it. Once you find multiples in a line you’ll know there’s a stud or frame brace there.
For more detail on different ways to run cables and how to do it, go to The Complete Guide To Running Cables For In Ceiling And In Wall Speakers.
Hopefully now you’re seeing how things will come together.
To take a closer look at some high performance in-wall and in-ceiling speakers for the home, check out our range using this link below. You can browse feedback from our community — they’re raving about the sound, the clean look, and the ease-of-install!
Click here to see the Jensen performance speaker range.