








Find quick answers about JENSEN speakers.
Installation, placement, setup, service and subwoofers.
Planning a room? Start with our Home Theatre Design guide or contact the JENSEN team.
Speaker Installation
Do I need an amp or receiver for Jensen speakers?
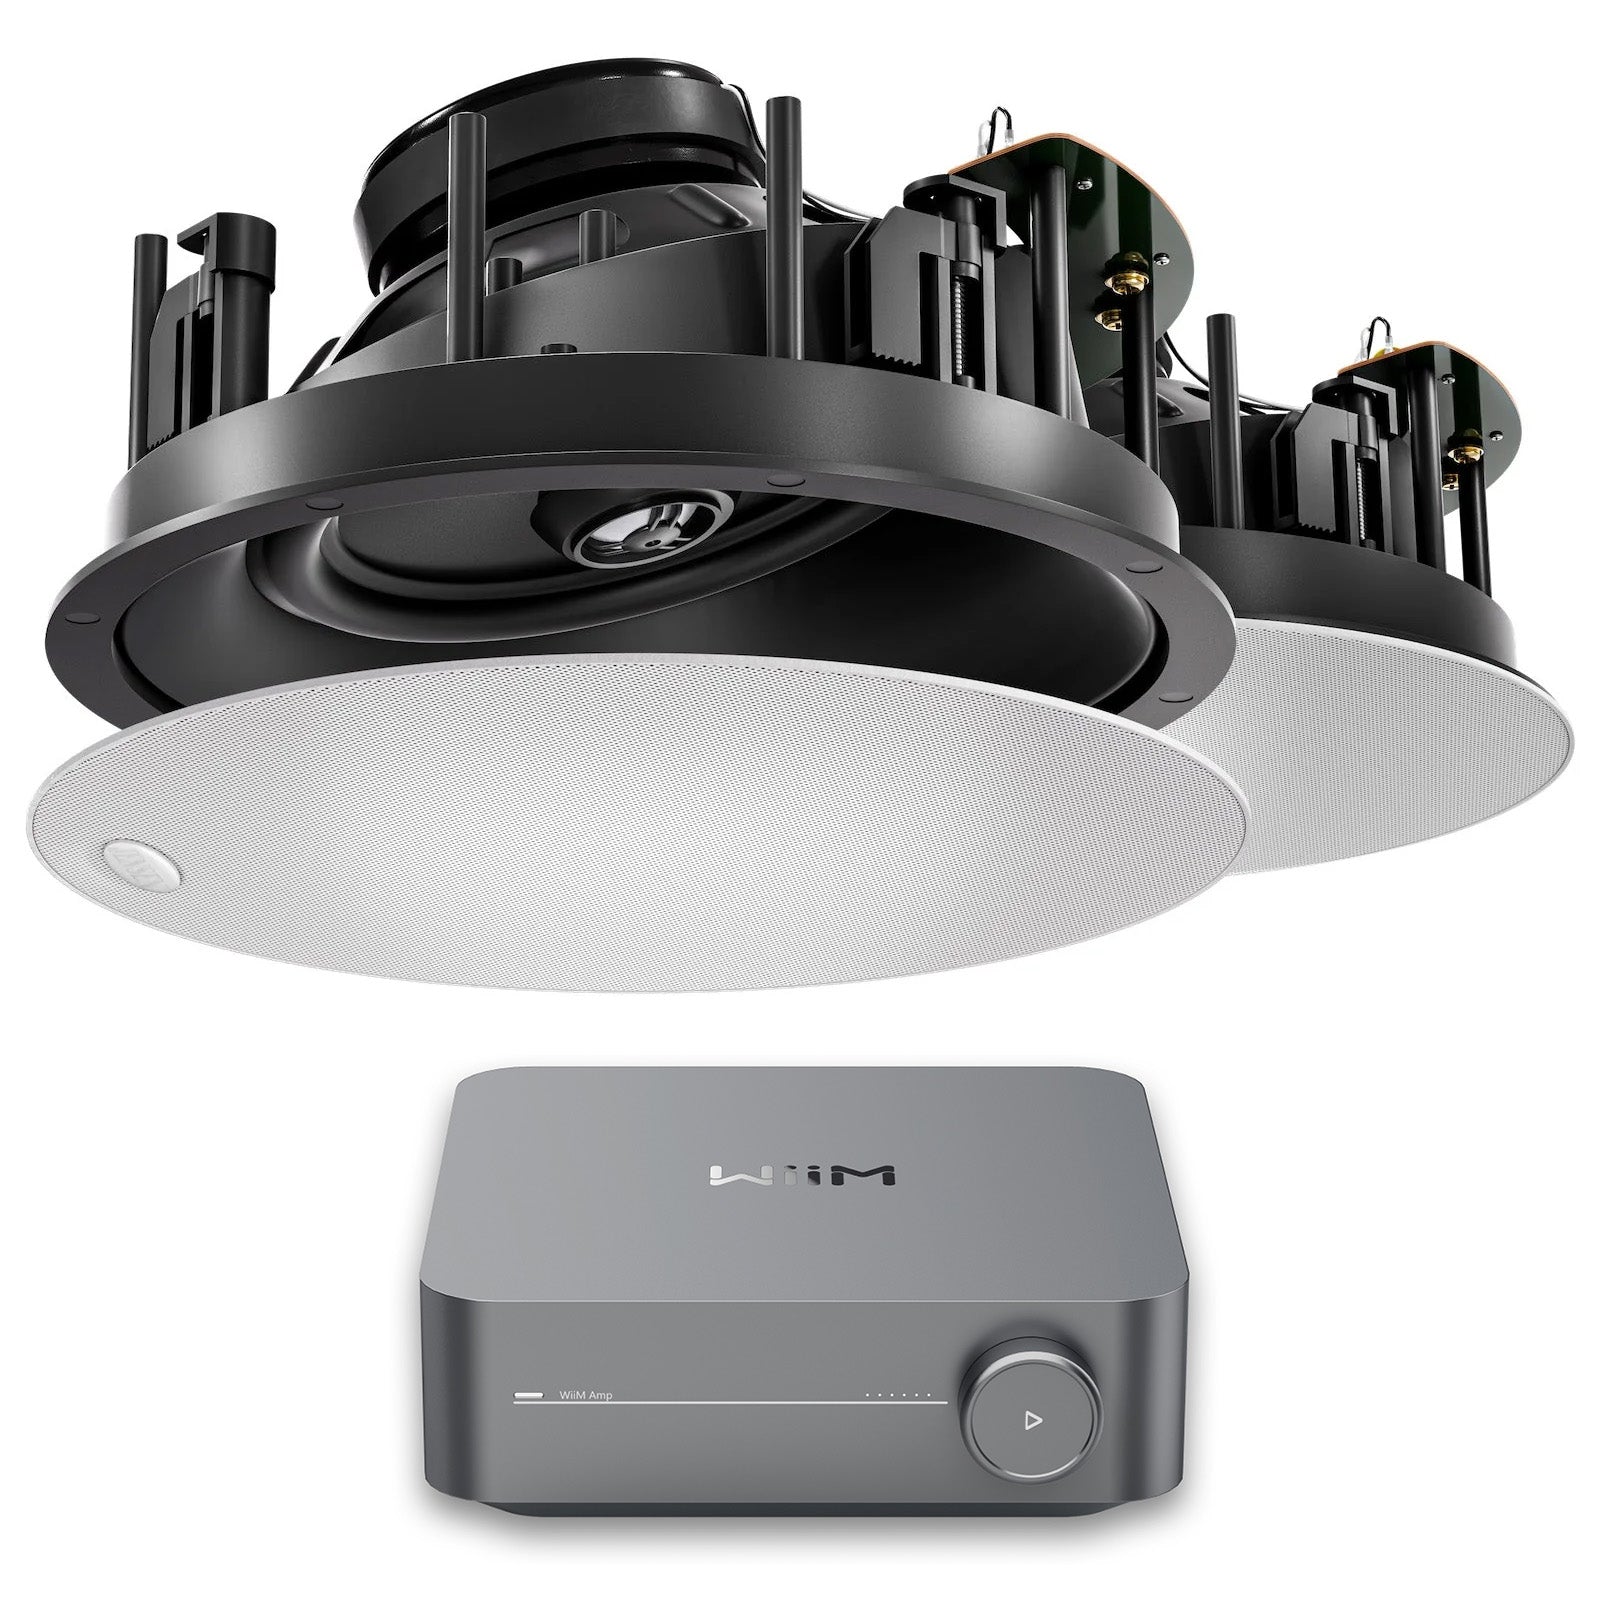
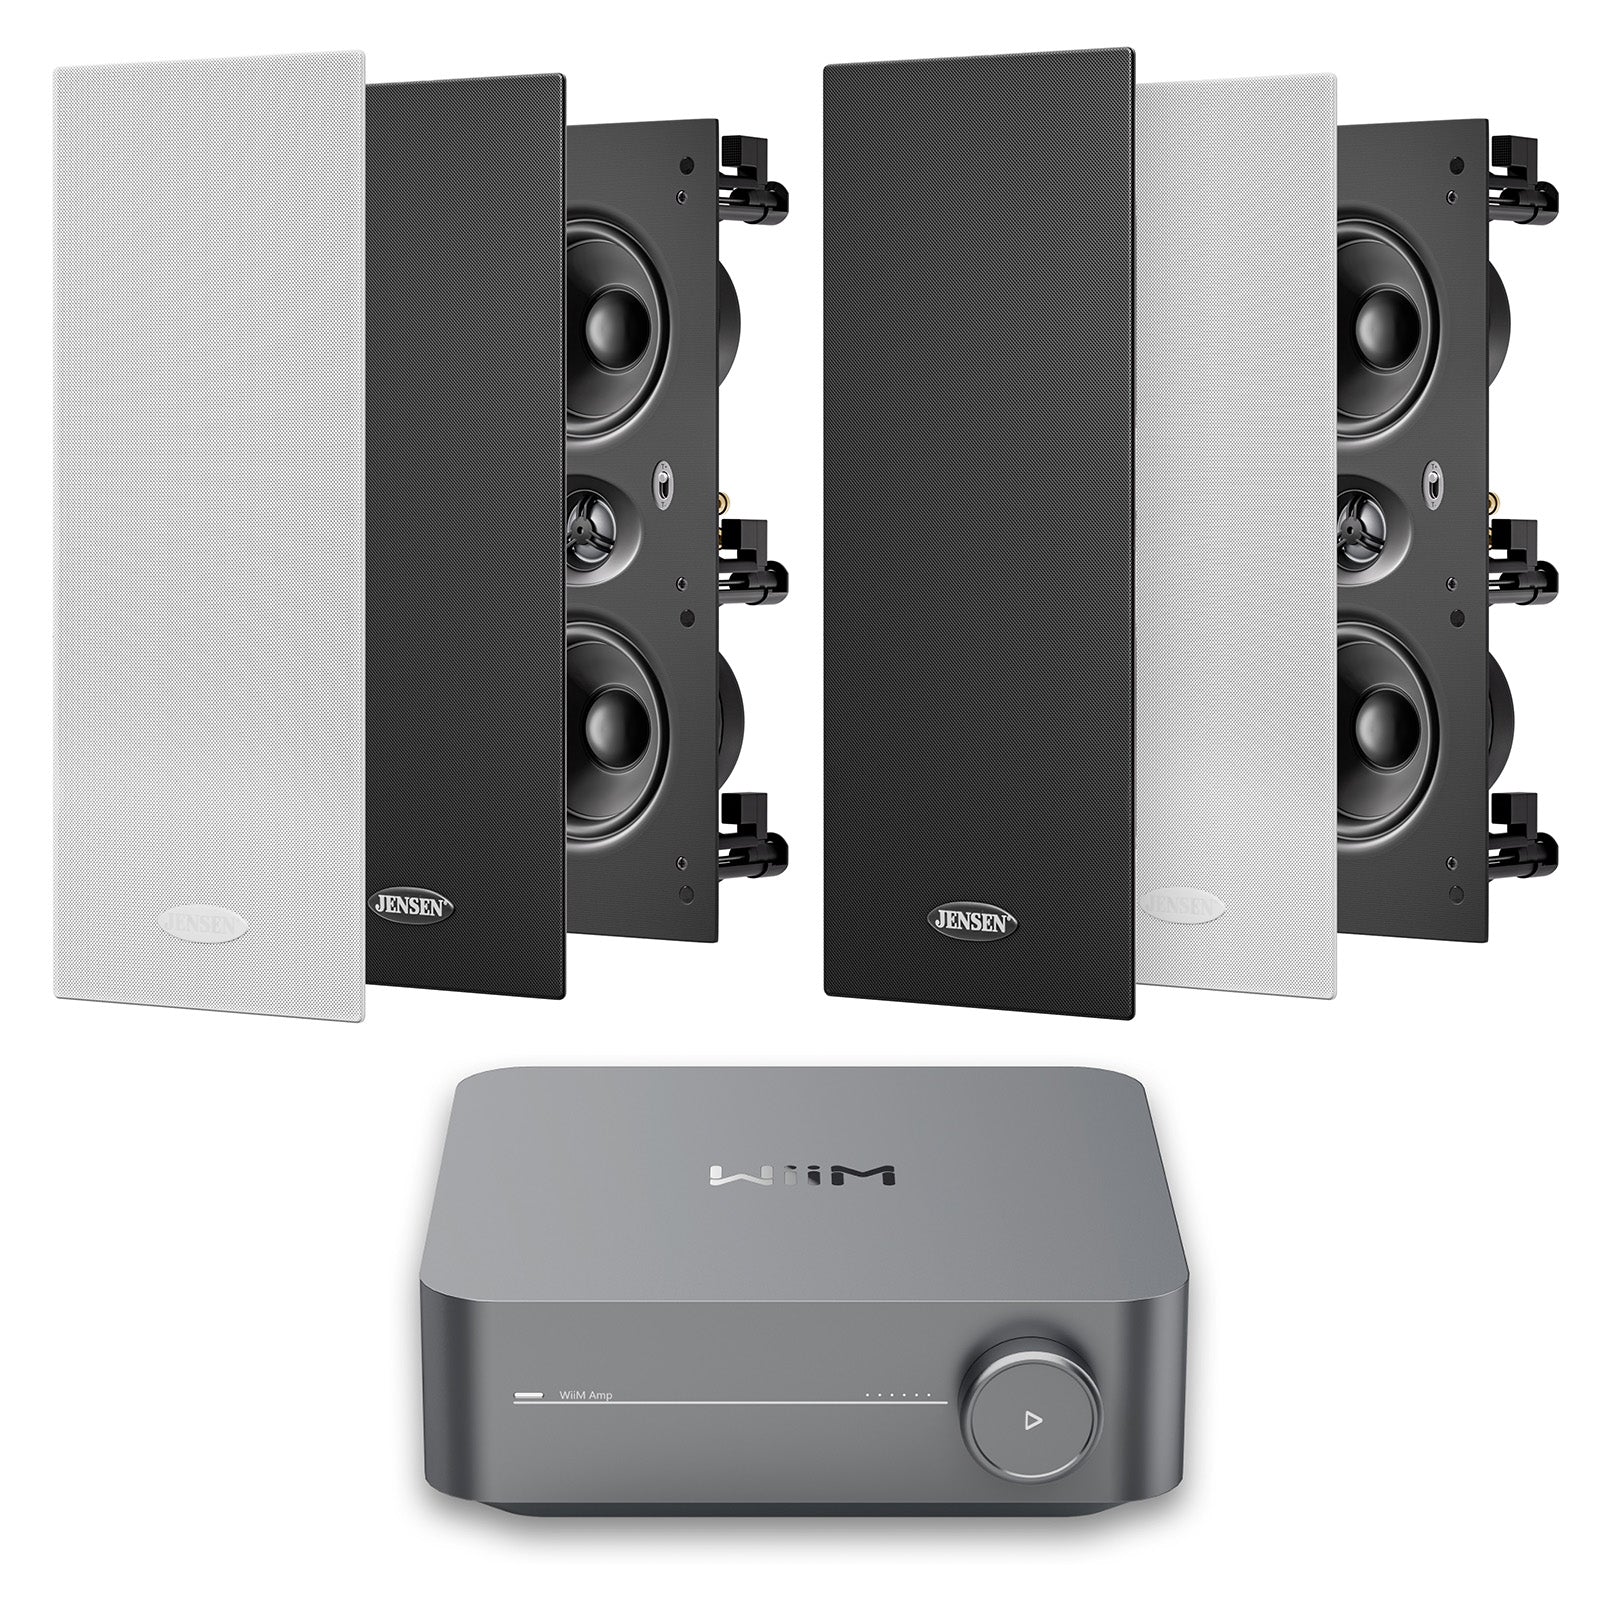
Yes, as Jensen speakers are passive, allowing for easy upgradability - you will need a receiver such as a Denon for home theatre or a WiiM amp for 2 speaker stereo.
You can explore what you need in a receiver below:
https://www.jensenspeakers.com.au/blogs/news/av-receiver-for-a-home-theatre
We're here to help plan your system - please reach out via chat, email or phone:
https://www.jensenspeakers.com.au/pages/contact-us
Do speakers need back boxes or enclosures?
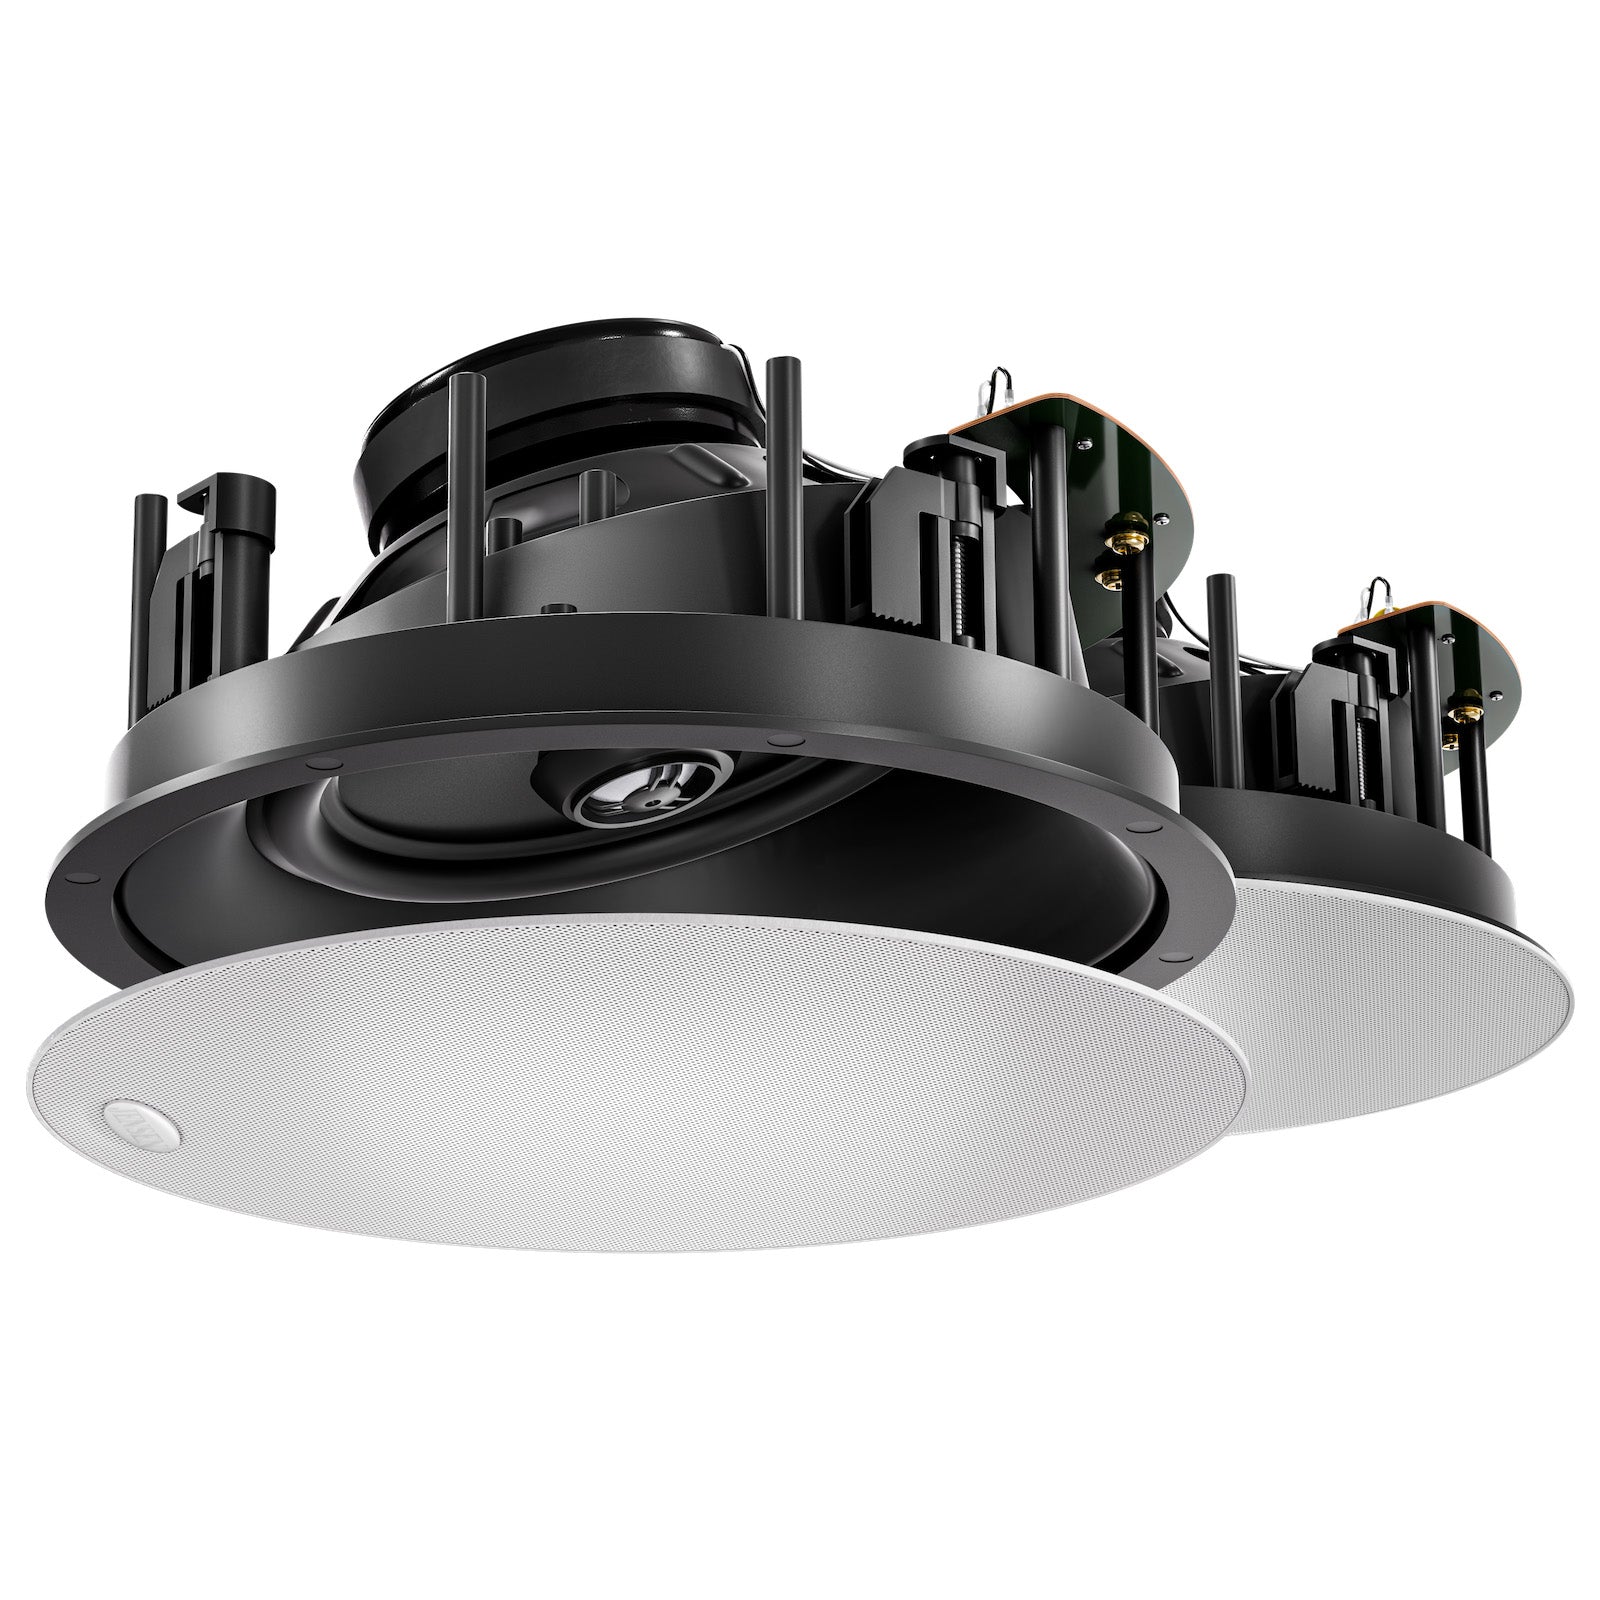
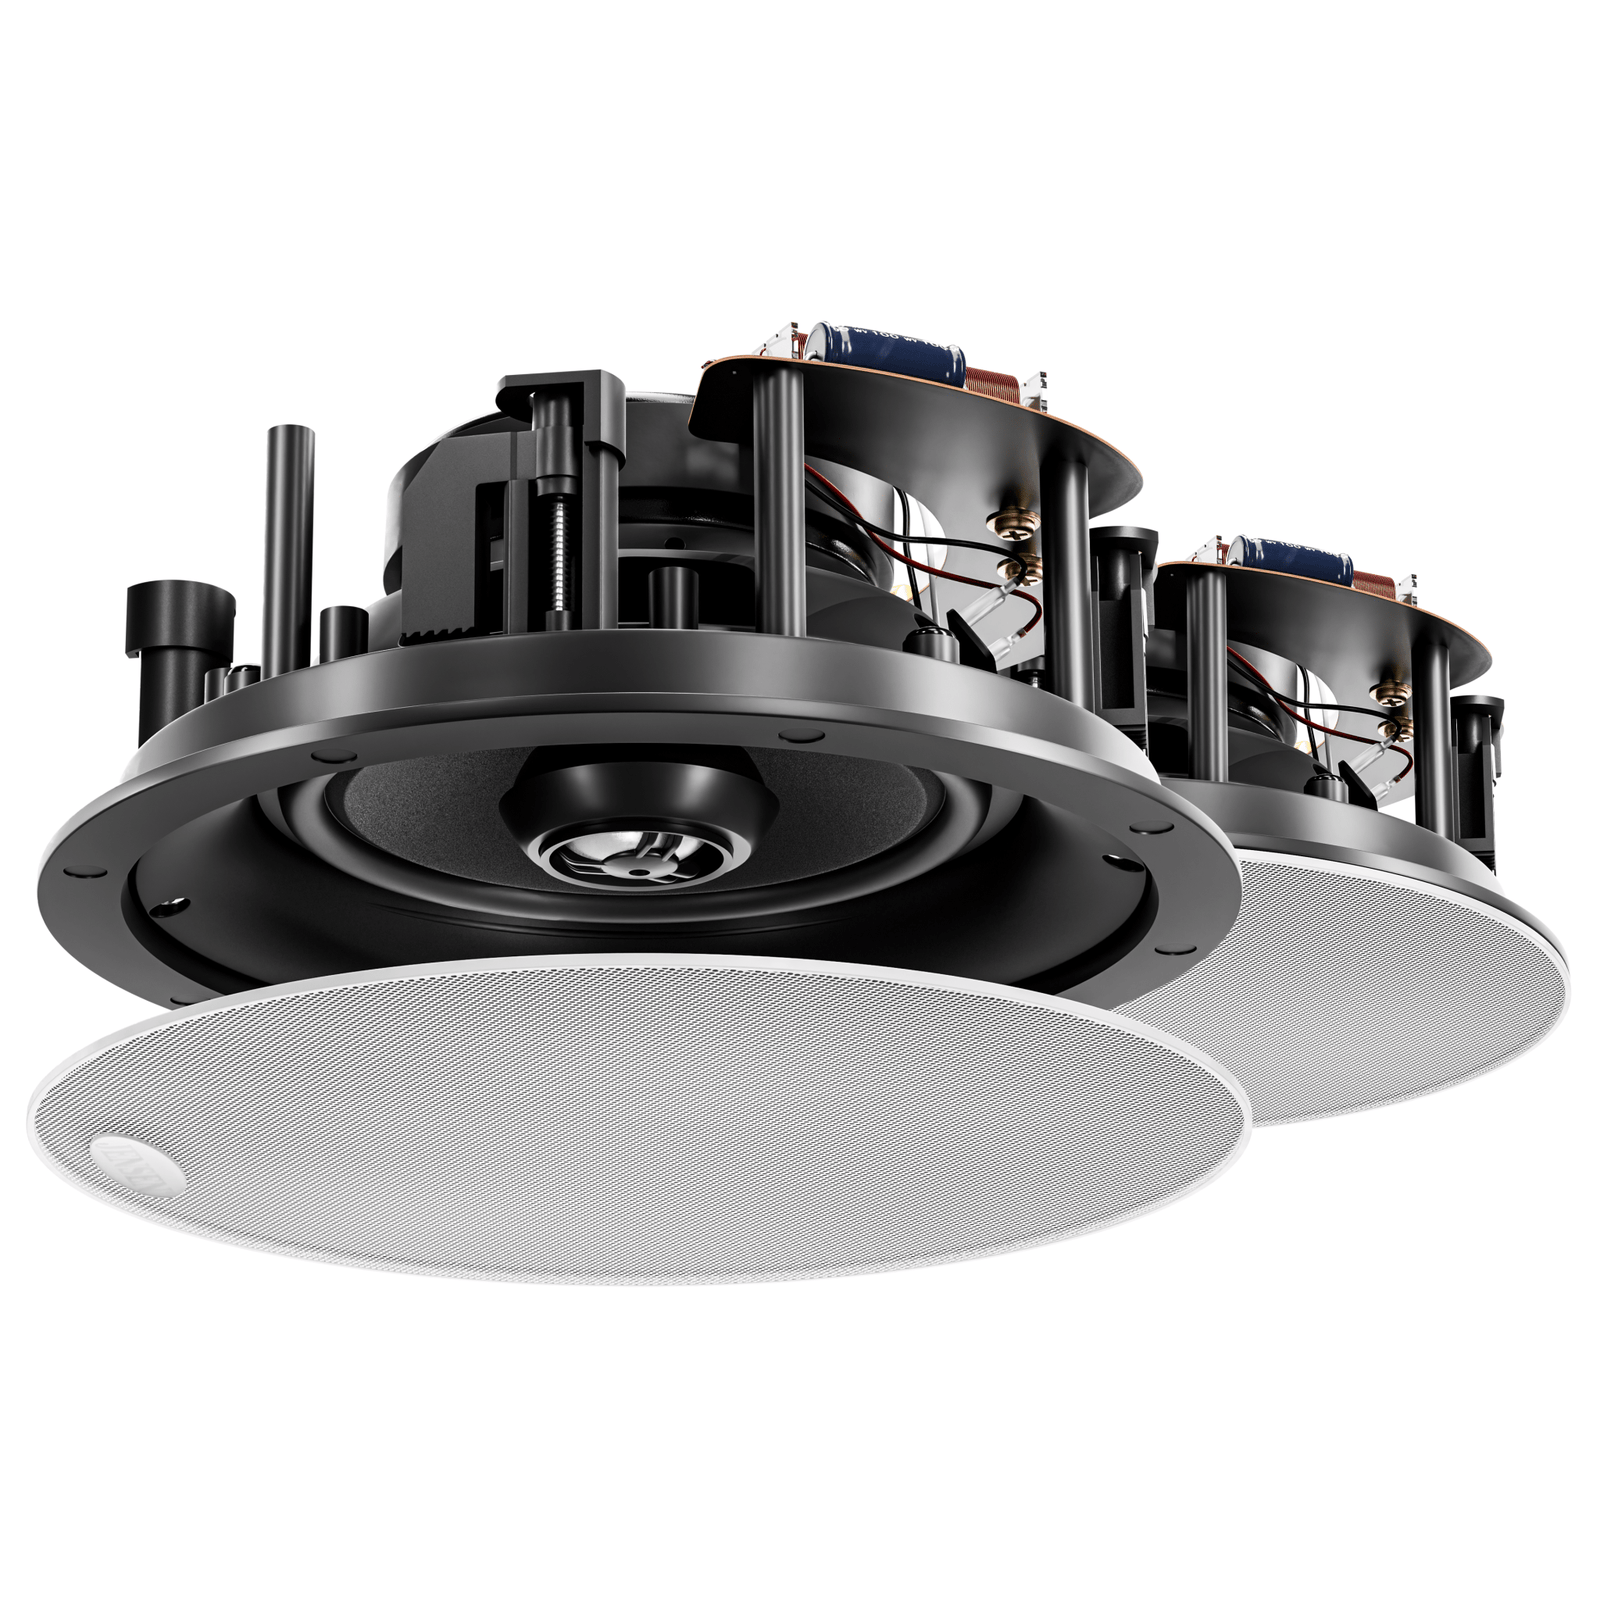
We actually recommend against building a box as they are tuned for large enclosures provided by your ceiling/wall cavities.
Over 99% of our speakers are installed box free and they work great like this.
If you have issues with in-ceiling speakers, you can later install something like a dynabox:
https://www.radioparts.com.au/product/39810250/dynabox-noise-barrier-enclosure-for-in-ceiling-speakers-for-in-ceiling-speakers
Our in-wall speakers don't usually have problems with sound bleed - you can retrofit something like this late if you do find you have issues:
https://www.radioparts.com.au/product/39810254/enwall-enclosure-system-kit-in-wall-speakers-in-wall-speakers
If you do want to cover for dust, you can install some timber over the top of the speaker with keeping the sides open. But this isn't really an issue as the rear movement of the speaker cone usually removes excessive dust particles.
Installing Your New Jensen Speakers
So you just purchased your first in-wall and in-ceiling speakers from Jensen. Now that you have made the smart decision to do so, the installation is yet to come. In this article, I am going to give you some tips and hints at a successful installation. We will go over the planning, the prep, and what tools you should have around.
Step 1. Plan your installation. What room do you want to install speakers? Where is the Television going to go or are you just installing for music? Will you place in-wall or in-ceiling speakers? Where is the optimal place of listening or watching? By determining this first, you can adequately plan what you will need to purchase.
Once you have decided on what the room's purpose is, the next step is planning where the speakers will get installed. In-wall speakers should be about 97 cm to 112 cm from the ground. This, of course, depends on where the TV is situated. It is best to be in the middle of the screen whenever possible. In-ceiling speakers should be equal distance apart and not near any edges or corners. Use the stud finder and mark where they are. Once you have found the perfect spots, drill a tiny hole for the snake to fit thru and make sure nothing is in the way for the wires. You can also use a creep-zit rod. Finally, if you have rear speakers we recommend going a meter higher depending on the aesthetics of the room. Always remember that we have a lot more tolerance now with room correction on receivers.
Step 2. Cut holes for the speakers. While it seems obvious, please use the templates for proper cuts. Too many people eye it and end up with improper space. First, mark the cutlines with a pencil and then cut lines with your utility knife. If you need to use a saw, drill a 14 mm. hole in one of the corners and use your drywall, saw to finish cutting. Don't worry about rough edges as the speaker frame will cover them.
Step 3. Run the wires. Running wires should be pretty simple because you have already checked for anything in your way. If you are using a snake, here are a couple of pointers. Make sure the end is bent 180 degrees and will hold the speaker wire. Have a small bend at the top of the snake, which will help if you need to curve it around something. Mark it where you think it will be to meet its ending place. Doing this will give you an idea if something went awry. Finally, make sure to leave a couple of feet on the end for ceiling speakers as you will have them on the ladder while attaching the wire.
Step 4. Speaker Installation. First, attach the wire to the speaker with a screwdriver. Once it is properly connected, place the speaker in the opening and secure the speaker to the wall or ceiling. Tighten the speakers, but don't do a final clamp.
Step 5. Make sure it works! Before you put all the finishing touches on and tighten everything down, make sure it is properly working. At a low volume, test proper speaker volume individually. Once everything sounds great, you can finish the process off. The next step is the best one, listen to your new fantastic sound coming from the top of the line Jensen speakers!
Here is a list of tools needed for the installation:
Drywall Saw. If you have thick drywall, you will need a saw to get through it. The thinner drywall can be cut through with a utility knife.
Utility Knife. The knife can is used in several ways, like marking where to cut or cutting through drywall.
Wire Stripper. You will need to prep the wires to be added to the speaker and also the receiver/amplifier.
Level. If you are installing in-wall speakers, this will make sure they are installed level.
Stud Finder. They are used in a couple of ways. First, so you can plan the proper installation of in-wall or in-ceiling speakers without hitting a stud. You might also need to understand where studs are for pulling through speaker wire.
Screwdriver. Never use a battery-operated drill for tightening the posts on the speaker. It will tighten too much and cause damage.
Masking Tape. Used in many ways like marking where things are or helping you gut straight.
Pencil. It is convenient for drawing places to cut and marking things without causing damage and can be erased.
Measuring Tape. How much speaker wire should you purchase for installation purposes? Once installed, you will make sure your speakers are the correct distance apart.
Drill and Bits. They are used to clamp the speakers to the wall or ceiling.
Shop Vac®. The best tool to be used to clean up the big pieces and also any nails or screws.
Speaker Wire. With Jensen Speakers, we would recommend 14 gauge wire to our 6-ohm speakers.
Electrical Snake. Snakes are used to push wires through walls and ceilings. A secondary use is also to make sure no impediments are in between studs.
PDF for Speaker Installation
What is the gap required between wall studs
and the speaker to allow the dog clamps
to work correctly?
Leave around 10mm from edge of speaker and ~20mm from cut out hole.
What Kind of Warranty comes
with Jensen Speakers
The JENSEN warranty is the industry best. To validate your Warranty, you must register your Warranty Online. Apart from long Warranties, we carry up to 15 Years of Spare Parts on most speakers.
Some parts may be refurbished.
In rare cases where speaker is unrepairable or there are no parts we reserve the right to give a credit or discount on new Jensen speakers directly through our online store for the portion of the warranty left.
What type of Speaker Lead should I use?
For obvious reasons, all JENSEN Speakers DO NOT come with Speaker Leads. For best results we recommend the 14 Gauge wire for runs under 10 meters or 12 Gauge for 10+ meters.
Speaker Placement
How far away from my TV/Projector screen
should the front speakers go?
Use your main listening position as the reference: the distance from your ears to the TV/projector screen should be the same as the center-to-center distance between the left and right front speakers.
Example: if your ears are 3m from the screen, place the left and right front speakers about 3m apart, measured from speaker center to speaker center. Keep each speaker visually close to the screen where practical, and angle them toward the main listening position.
For room-specific placement, use our Home Theatre Design guide.
Speaker Service
Can I still get Parts for my Jensen Speakers?
We aim at keeping most parts for your speakers for at least 15 years after the date of purchase. We pride ourselves on state of the art parts supply. Email or chat with us what you are looking for (speaker model and specific part) and we can check our supplies and will get back to you.
How do I have my Jensen Speakers Serviced?
Please call or email us to work out the best solution as most issues can be fixed at home. We have a network of service centres if you need it, but should be booked in by us first.
Manuals for obsolete/discontinued speakers
You can find all our manuals and support docs we have for older speakers here:
https://www.jensenspeakers.com.au/pages/discontinued-ranges
Unfortunately these speakers are obsolete and un-supported due to their age now, apart from the documentation we have above.
Speaker Setup
Should I set my speakers to "small" or "large" on my AV Receiver?
It's a little different on each receiver and room, but typically small sounds better.
Which AV Receiver/amp should I get?
Denon/Marantz and Yamaha sound really great with our speakers and 90%+ of our customers choose these.
Speaker Types
Do I need a 2.1, 5.1, 5.1.2, 7.1.2 etc?
A small setup (5.1) will be sensational and is the entry to surround sound.
A more serious setup 5.1.2 or 7.1, with the extra effects channels, is becoming the standard.
Extra channels 9+ are typically used for dedicated home theatre. For room-specific layout help, use our Home Theatre Design guide.
What Amplifier should I use with my Jensen Speakers?
Our speakers are designed with Hi Sensitivity (90 db@1w/m) which means they are naturally LOUD. This also means you don’t need much power to drive them. We suggest an amplifier 60-120 Watts RMS per channel will be lovely. Keep in mind an amplifier with a high output/ wattage will send a cleaner signal at high volume than an amplifier with a lower output/ wattage which will distort the signal progressively as the volume is increased. We have no allegiance to amplifier brands but these 7 make do make our speakers (and any speakers) sing: Onkyo, Yamaha, Cambridge, Denon, Marantz, Harman Kardon, and NAD. Pioneer, Sony, Sherwood, Panasonic, etc will be fine but will deliver slightly higher distortion - not as clean and not as sweet.
What kind of speakers does JENSEN make?
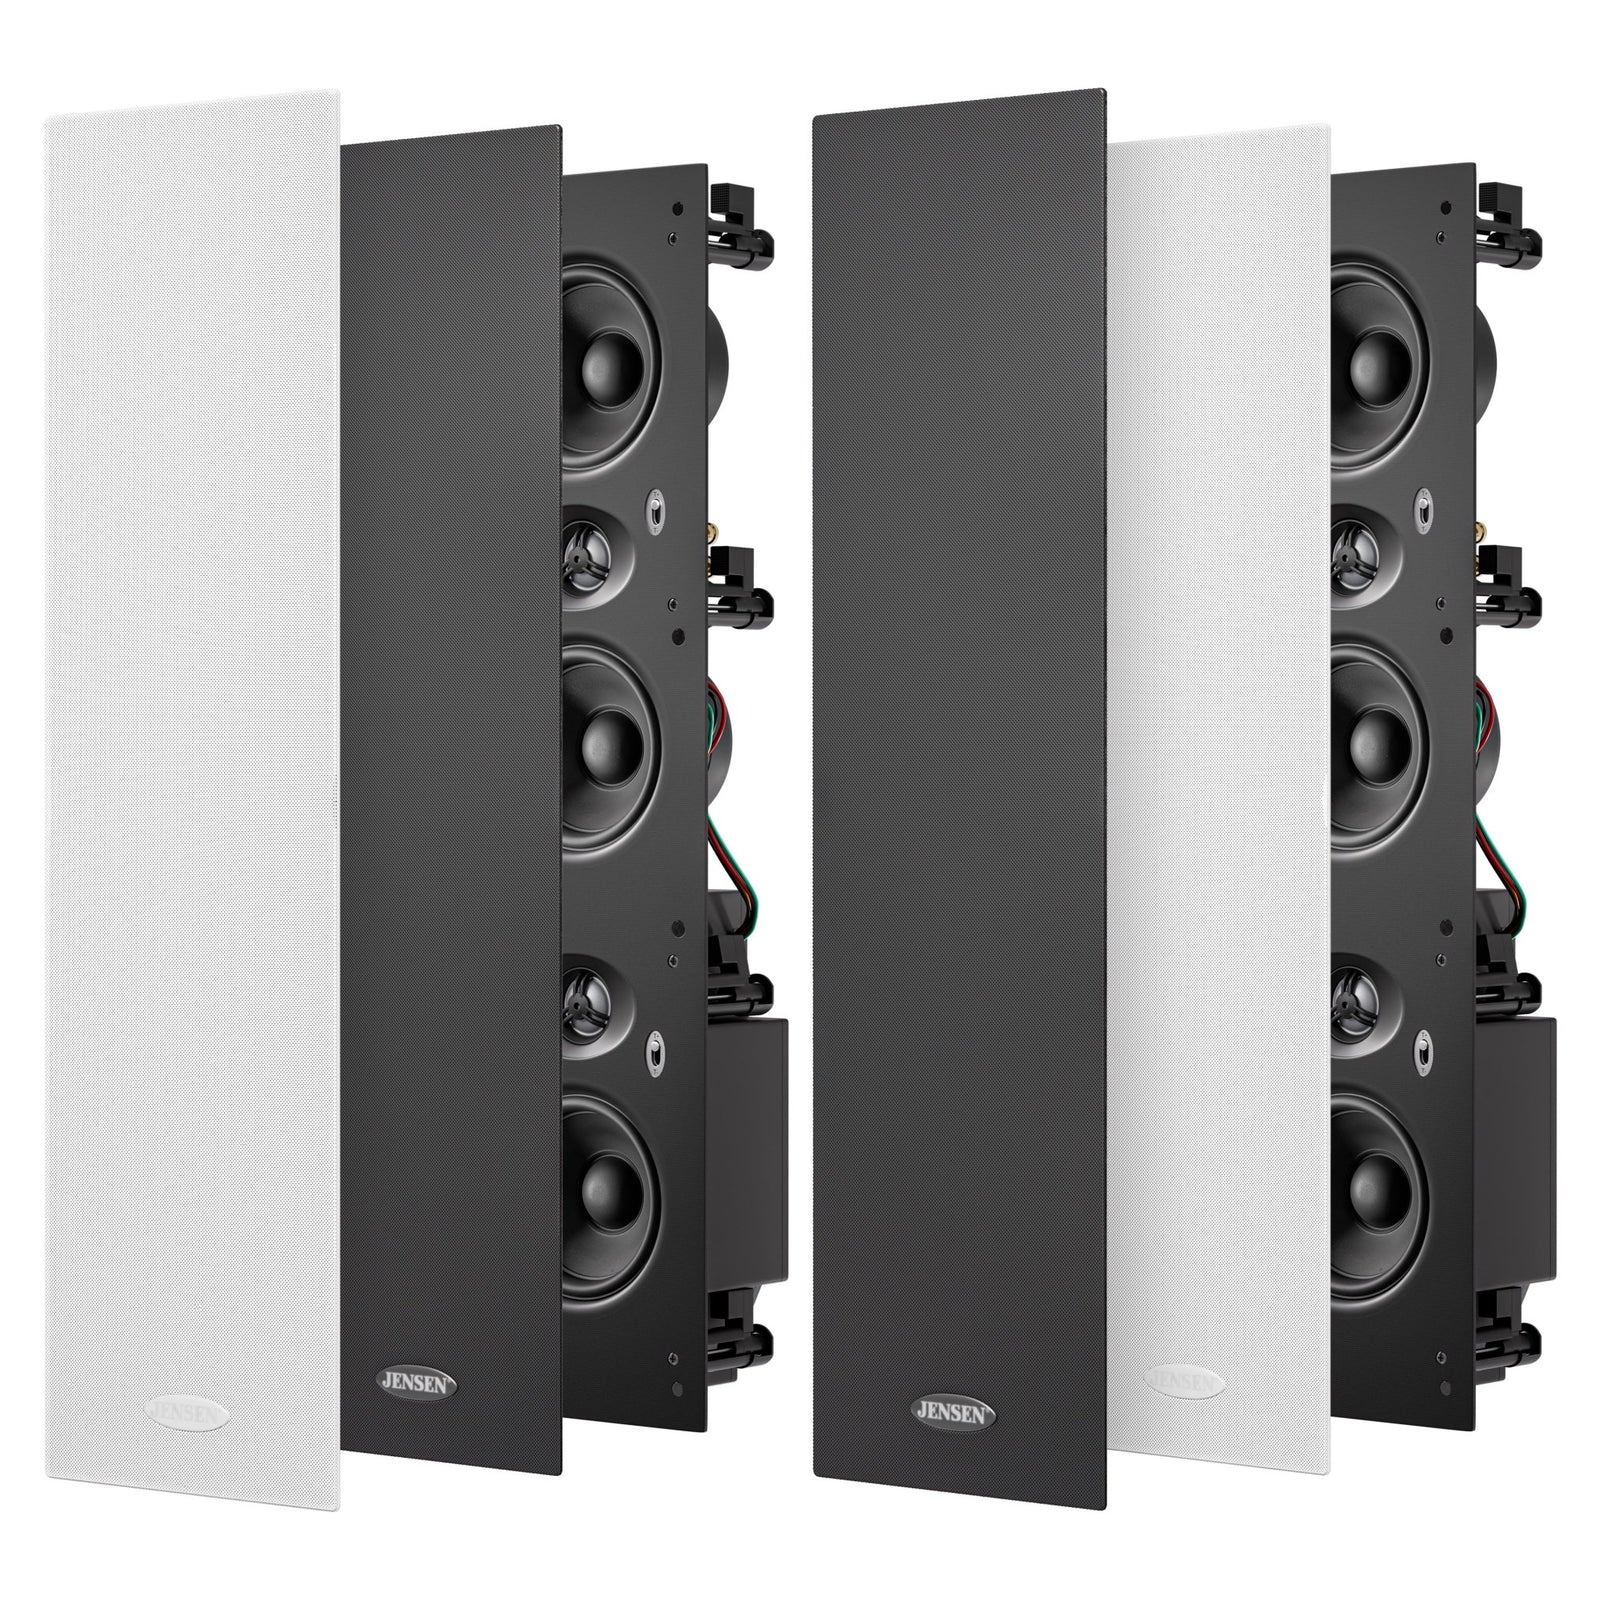
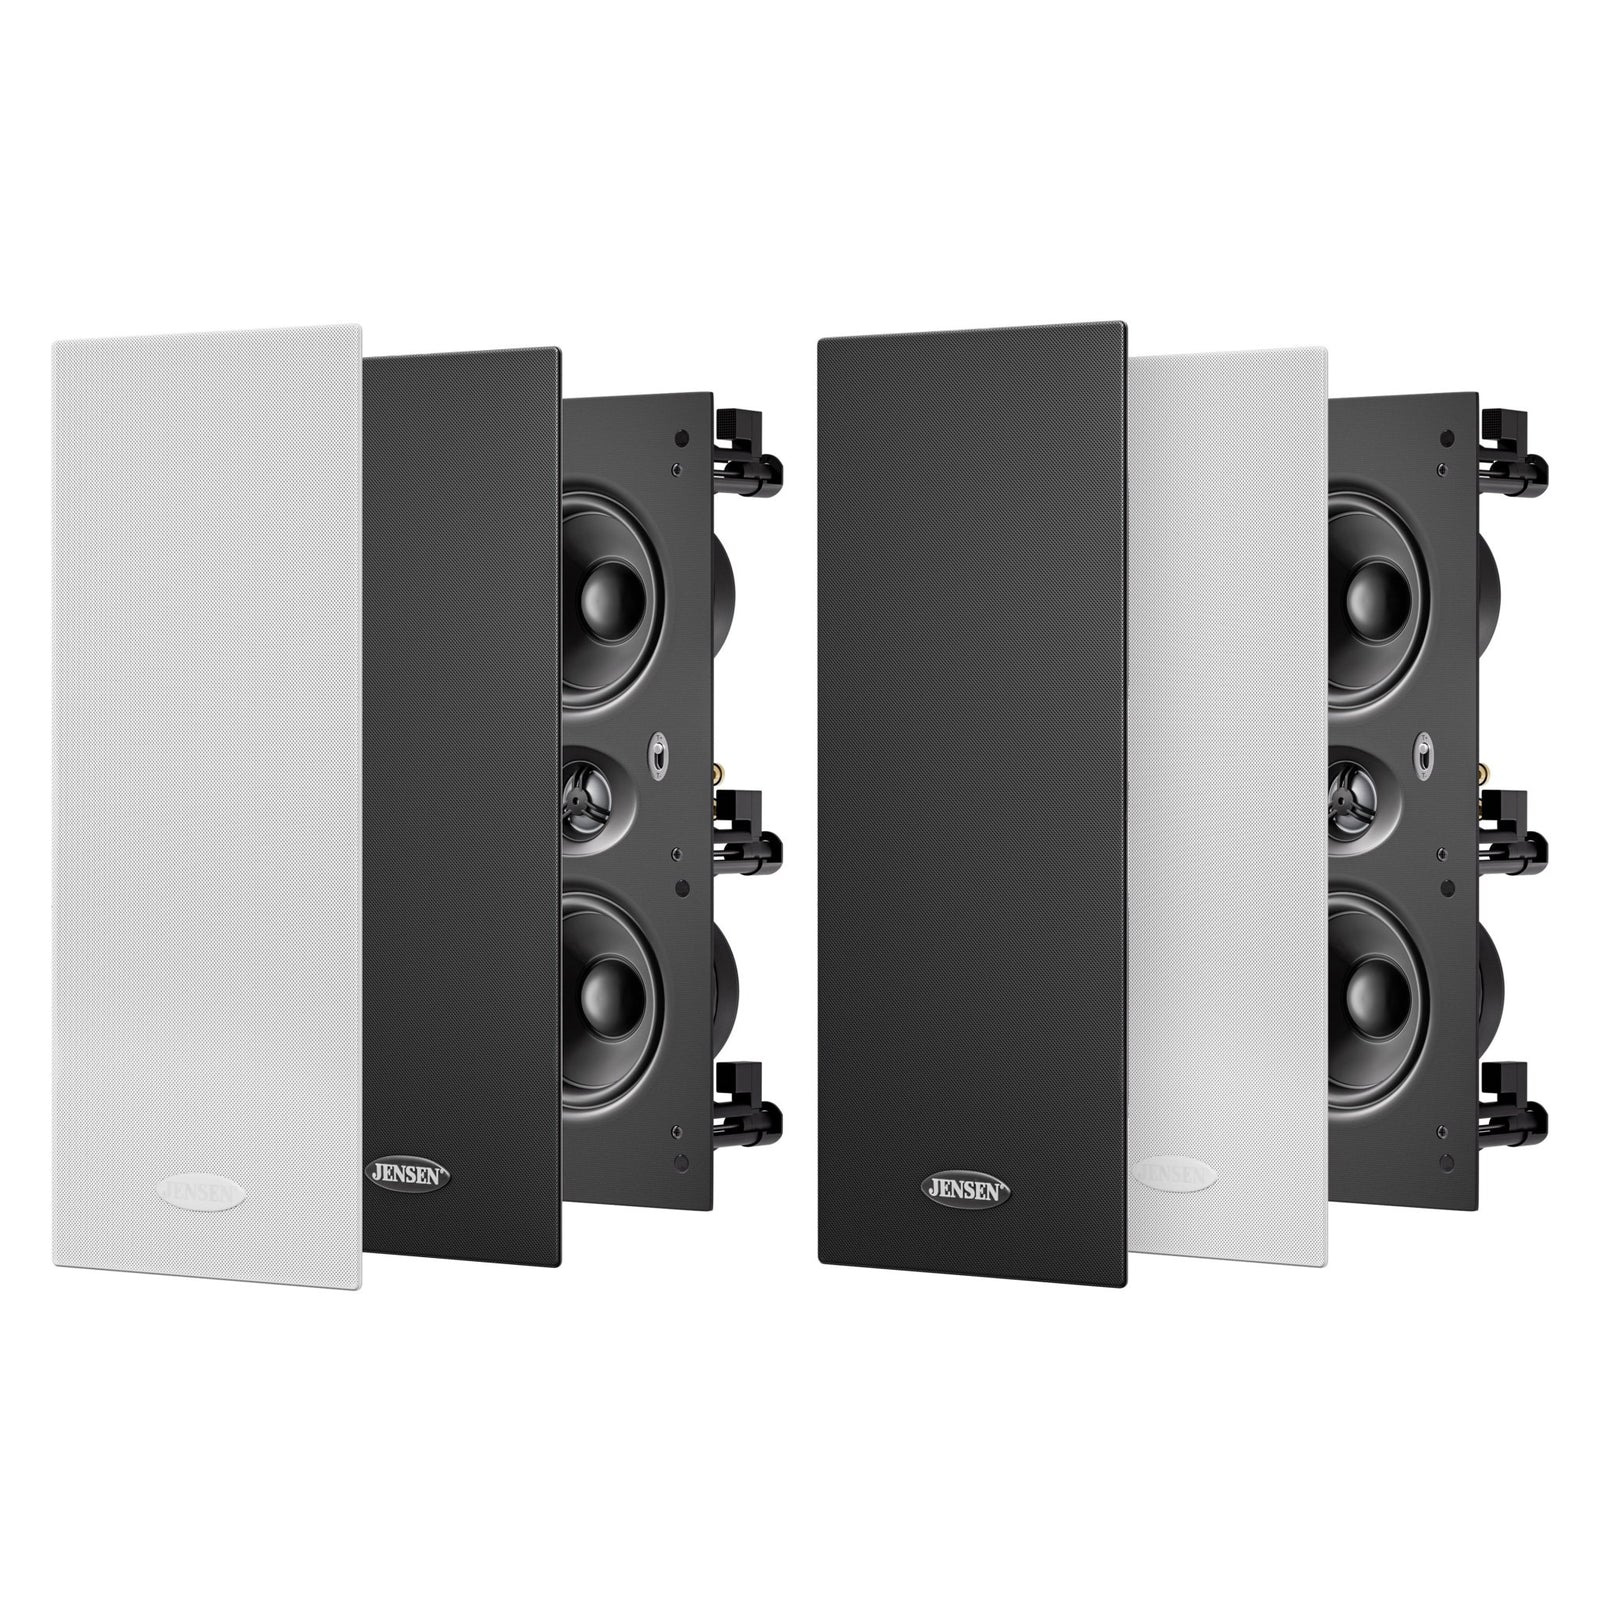
For over 43 years JENSEN has specialised in speaker systems. We have two ranges: EHT-Series (Explosive Home Theatre) and our Elite-Series range of premium in-wall models with gloss black or white glass front panels. The flagship model, Elite-303, even has built-in Perfect Centre Speakers that negate the need for an ugly dedicated centre speaker.
Beauty and Grunt! Soundbars sound ordinary and look cumbersome. Check out Elite Series! The writing was on the wall in 2004 when our founder designed and released the first in-wall speaker. Now in-wall and in-ceiling speakers have evolved into high-powered in-wall systems with glass fronts. Add a matching JENSEN centre speaker, subwoofer and surround models and transform your hi-fi system into an uncompromising in-your-face home theatre speaker system. Home theatre becomes live. Welcome to JENSEN Speakers.
Subwoofers
How do I prevent the subwoofer "thud" sound
when turning on/off from the power point?
Your subwoofer may make a loud thud sound when switching on/off from the power point when in auto/on mode.
While this "thud" is safe for your subwoofer, if you do want to turn off from the power point please switch subwoofer to "off" position to minimise this sound.
You can also keep your subwoofer in "auto" mode for when it's needed as this will sense the incoming signal.
How to Check if my Subwoofer is connected correctly?
If you chose to use the “sub-out” terminal on the back of your receiver you must ensure that the RCA lead (not supplied) is connected to L or R low-level input terminals on the back of the subwoofer amplifier. You may connect to one or both L, R terminals as they are paralleled internally.
JENSEN Subwoofer level & frequency
control knobs settings
Once you have your JENSEN subwoofer positioned and connected, we suggest experimenting with the
Level Control knob and Frequency Control knob to suit the Volume and depth of Bass desired.
- Initially, for Hi-Fi listening, try setting the Level Control at 11 o’clock and the frequency Control at 70Hz (10 o’clock). This is the most popular setting. This setting will boost Bass information 70Hz and below – which is deep, deep Bass at a strong (but not overpowering) level.
- For Home Theatre listening (movies), increase the Level Control to 1 o‘clock and lower the Frequency Control to 60 Hz (9 o’clock). This will enormously enhance all Bass information 60Hz and below to a boosted Bass setting so when dinosaurs, earthquakes and explosions kick-in, they kick in !! Refrain from turning Level Control beyond 1 o’clock as Bass will then overpower all other music. Also, overpowering may incur amplifier damage, Cone damage or both.
Still need help? Contact us for sound advice on speaker choice, placement and system planning.