


How To Install In-Ceiling Speakers
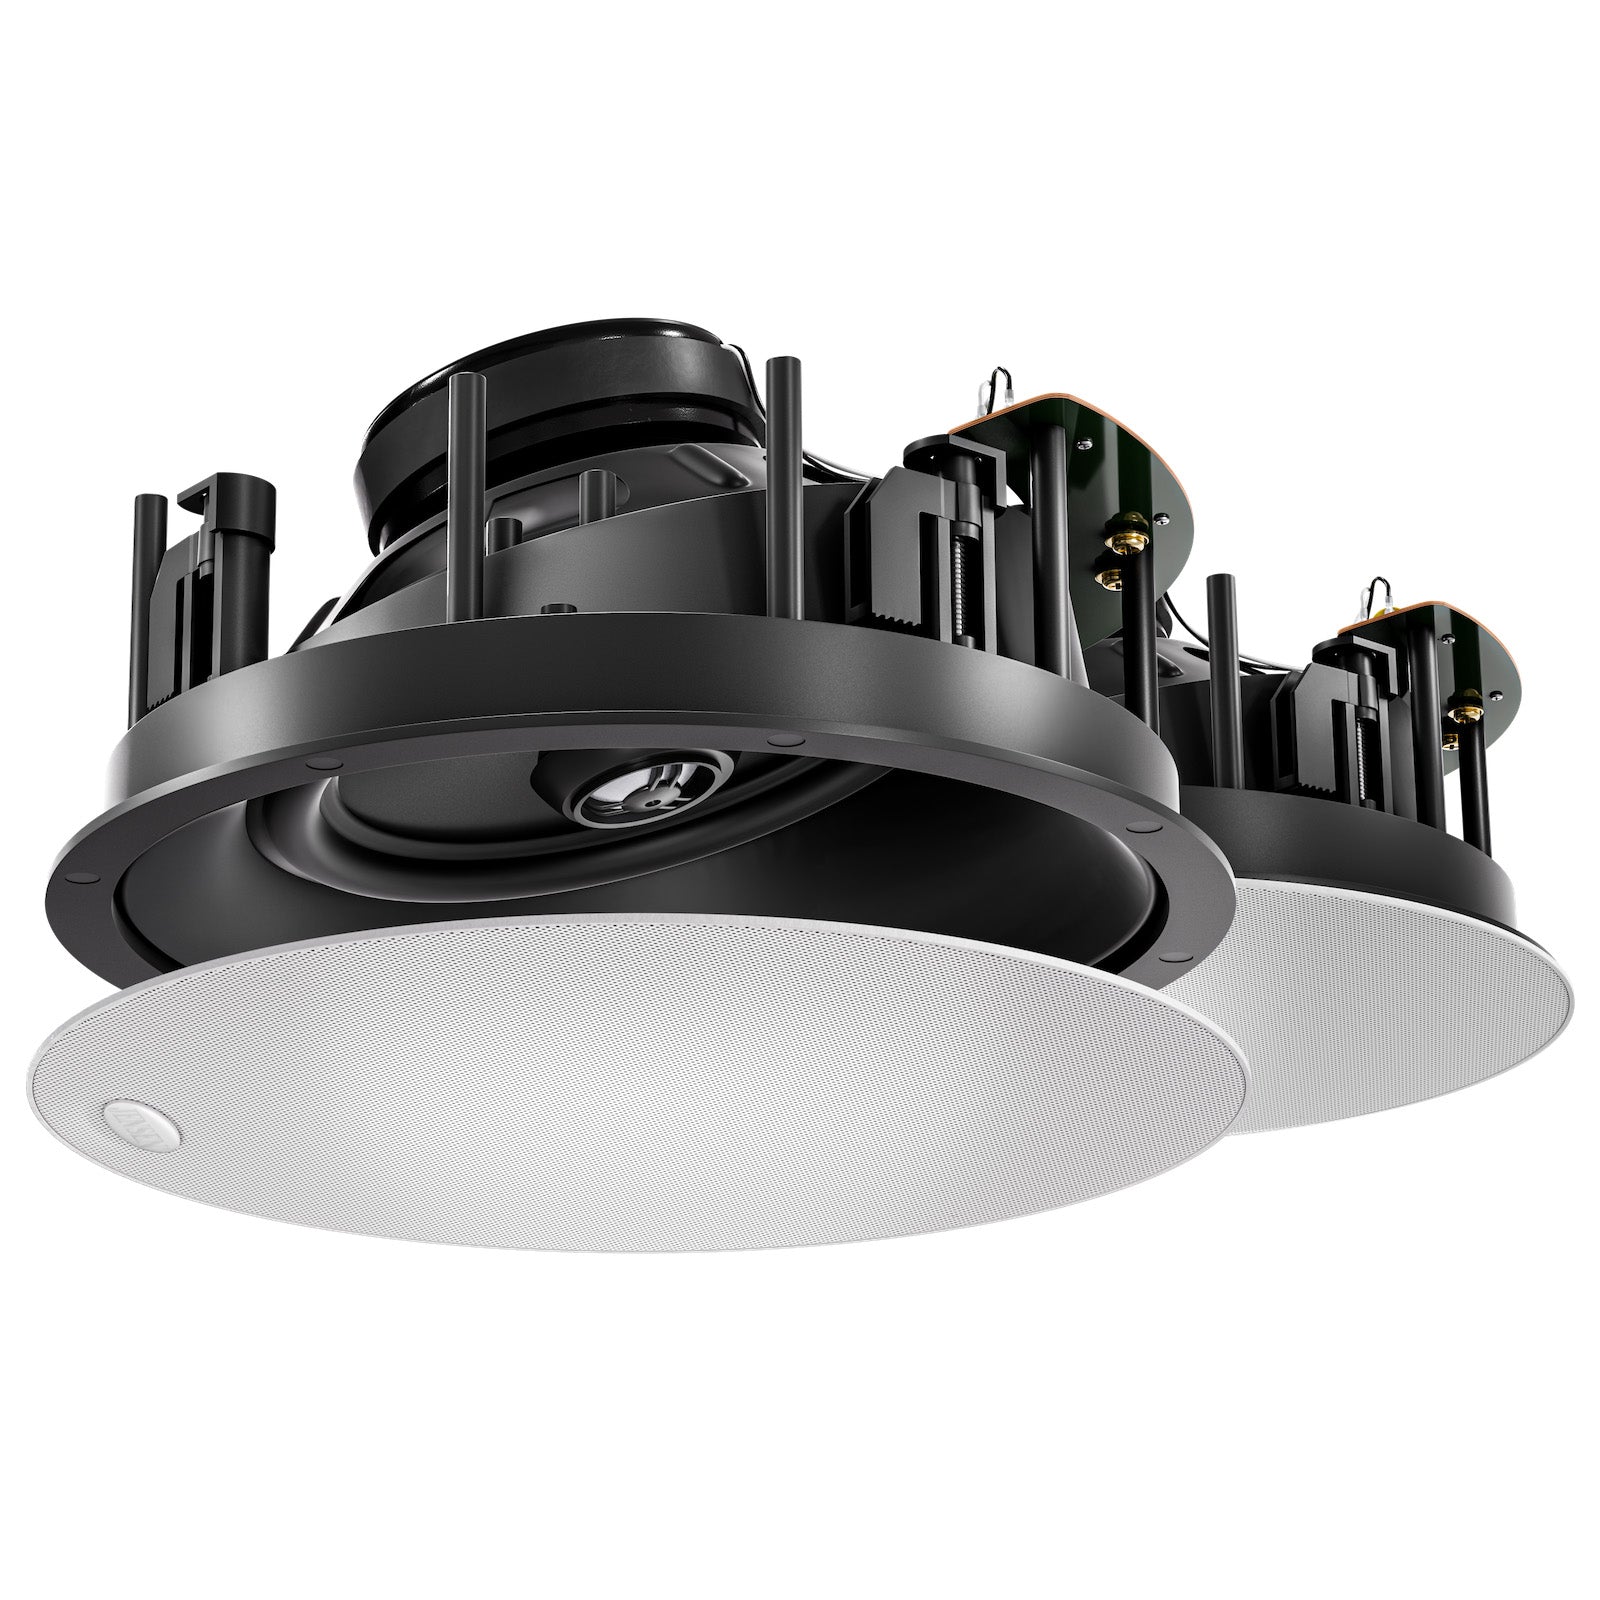
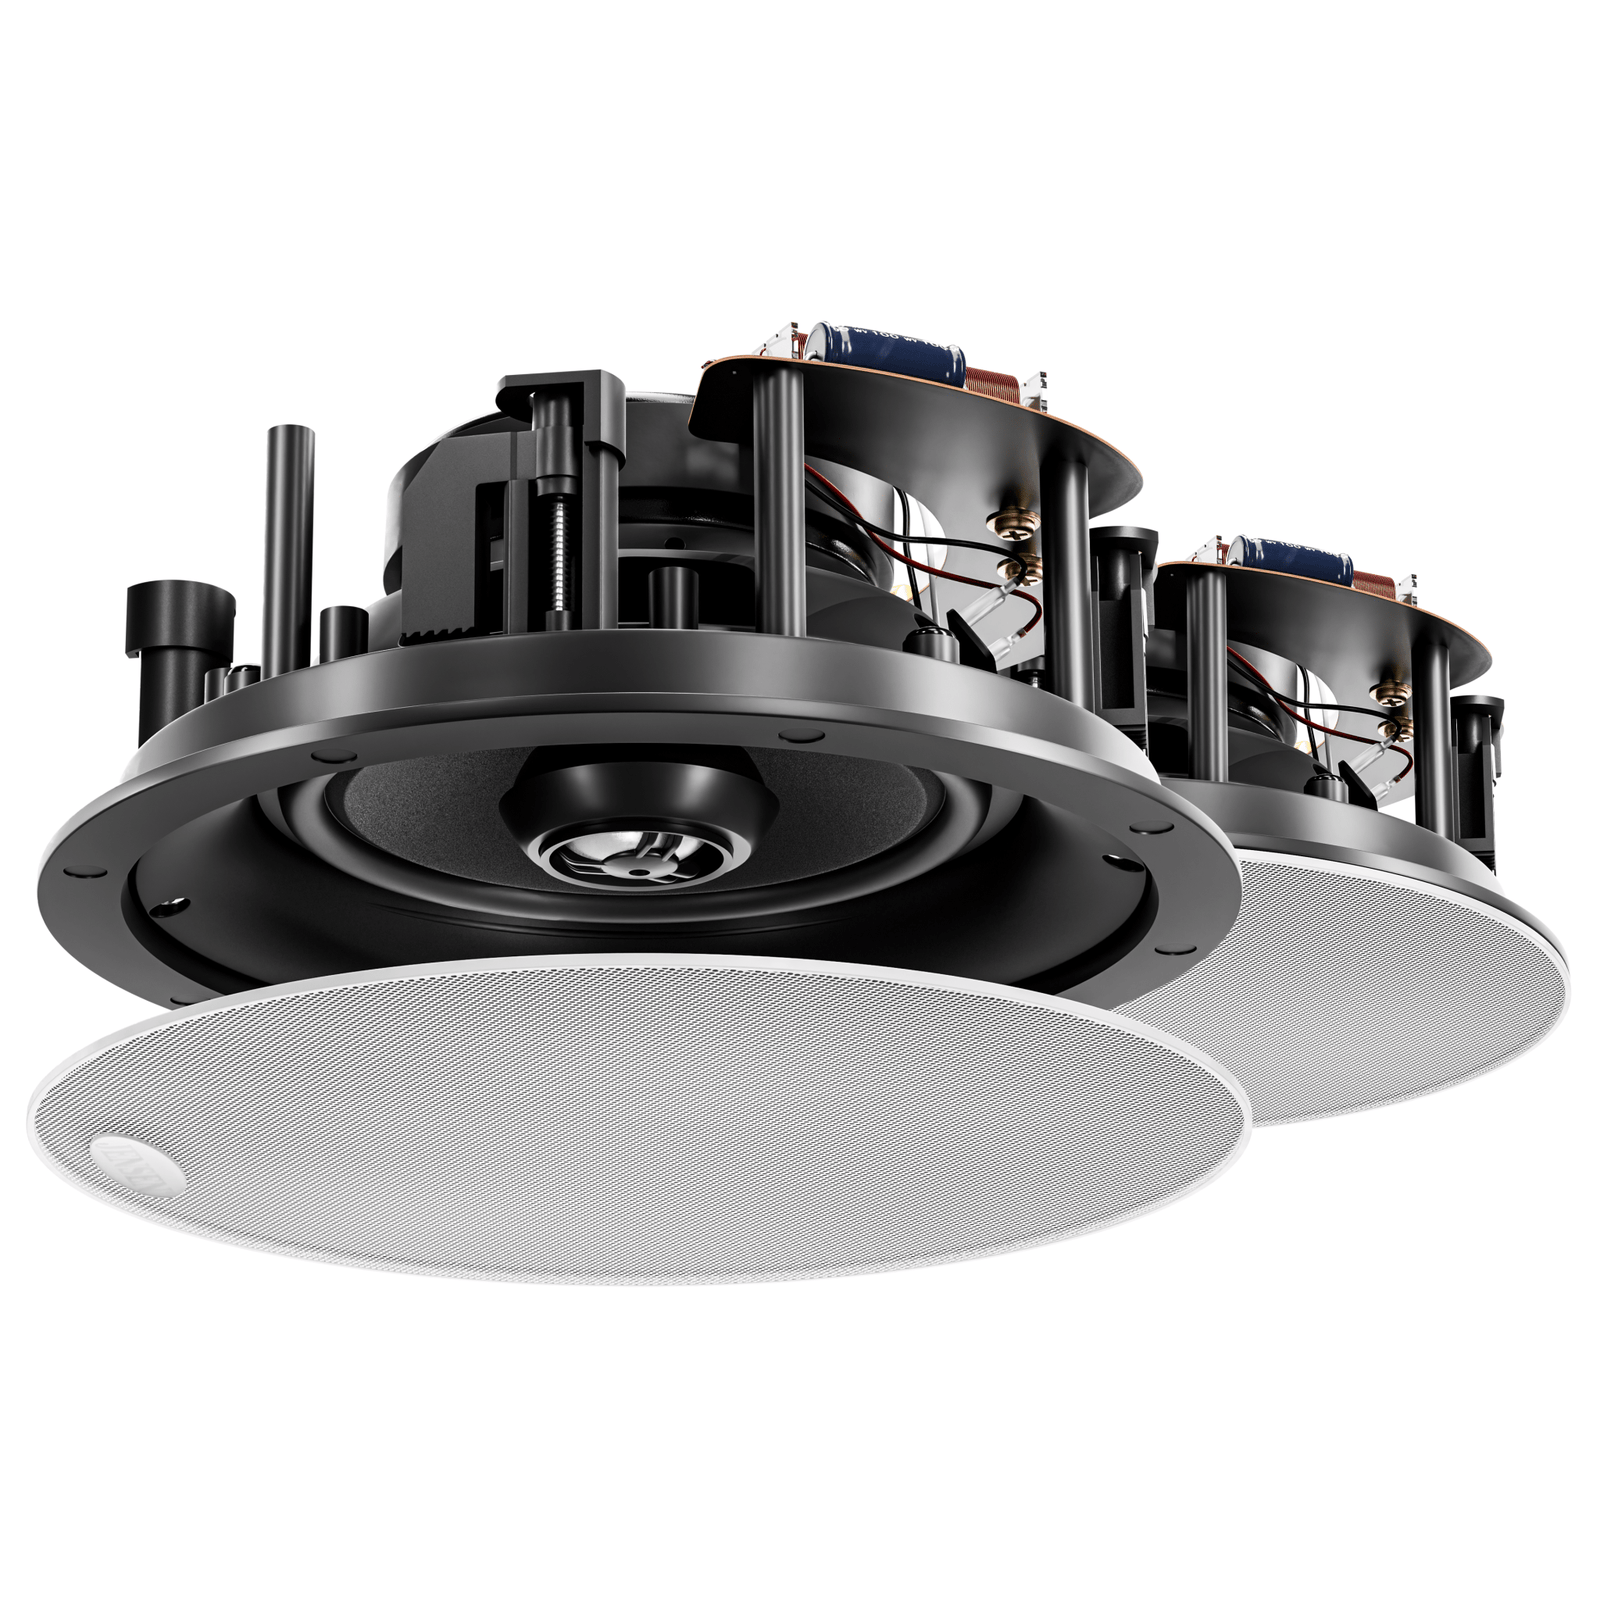
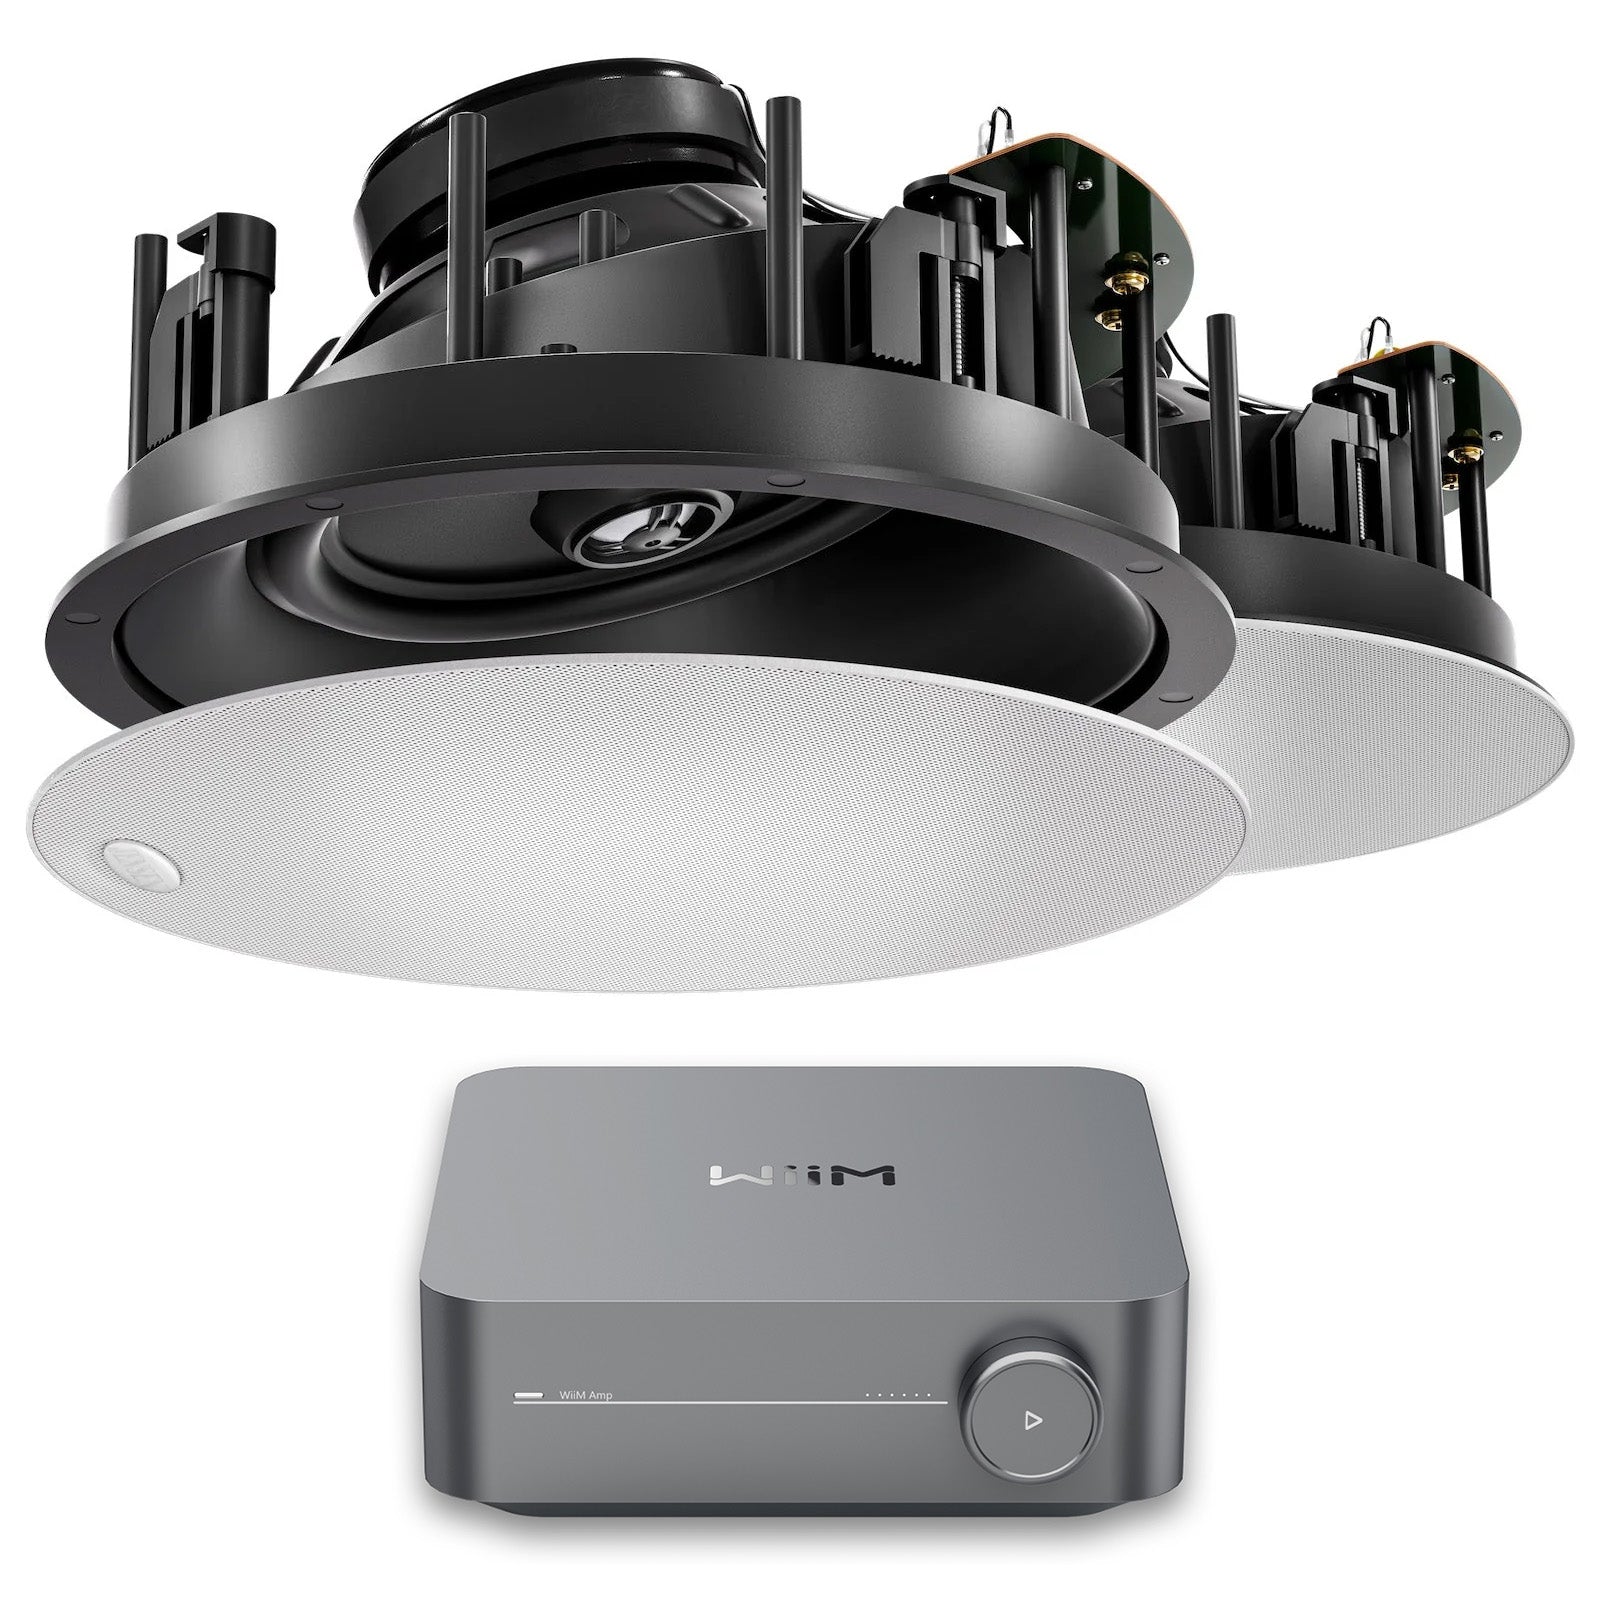
JENSEN in-ceiling speakers don't just make a great addition to your home theatre system - they're also the perfect way to get the powerful, immersive experience you're after without sacrificing floor space or aesthetics to do so. Many people balk at the idea of in-ceiling home theatre speakers under the assumption that installation requires a professional's touch. Thankfully, this isn't the case - you can easily install your own JENSEN in-ceiling speakers in an afternoon with the correct tools and a little planning.
Placing Your In-Ceiling Speakers
For the best results, space out your in-ceiling speakers in the same way you would a normal home theatre system environment. Three channels go right up front, with two in the rear for maximum audio quality. (You can place another two either side of your seating position if you wish to recreate 7.1 surround sound.) The only difference is that instead of being all around you, the speakers will be above you.
Trace the template that came with your JENSEN in-ceiling speakers on your ceiling and make sure that your markings are level. Next, use a blade or a Stanley knife to cut an accurate hole in the ceiling plaster for each speaker placement. Don’t worry too much about your cutting ability, as any rough edges will be covered by the speaker itself.
The Installation Continues
Run your speaker cables through the ceiling, down through your wall and to the level of each speaker. Remember to try to keep your speaker wire the same length, even if one speaker is closer to your AV receiver than the others are. Make sure that you remove any insulation completely away from the speaker area, while making an effort to keep the insulation elsewhere safe and sound.
Connect your speaker wire to the back of each speaker and then insert the speaker casing into the hole. It is imperative speaker lead polarity between amplifier and speaker is correct i.e.: black-to-black and red-to-red. Using a standard Phillips head screwdriver, tighten the clamp screws on your speaker until each one is firmly in place. Make sure that you DO NOT OVERTIGHTEN, as doing so could ultimately damage both the speaker and your home theatre system experience.
Once you've inserted one speaker into your ceiling, you can repeat this process with the others - you'll either be working with a total of five, seven, or nine in-ceiling speakers depending on the specific home theatre system you've chosen.
Once your in-ceiling speakers are actually installed in their permanent locations, you only have two things left to do. First, plug the other end of each speaker wire into the back of your audio video receiver and make sure that everything is connected correctly. Next, pop on your favourite TV channel or put in your favourite Hollywood feature film on Blu-ray and take that baby for a spin.
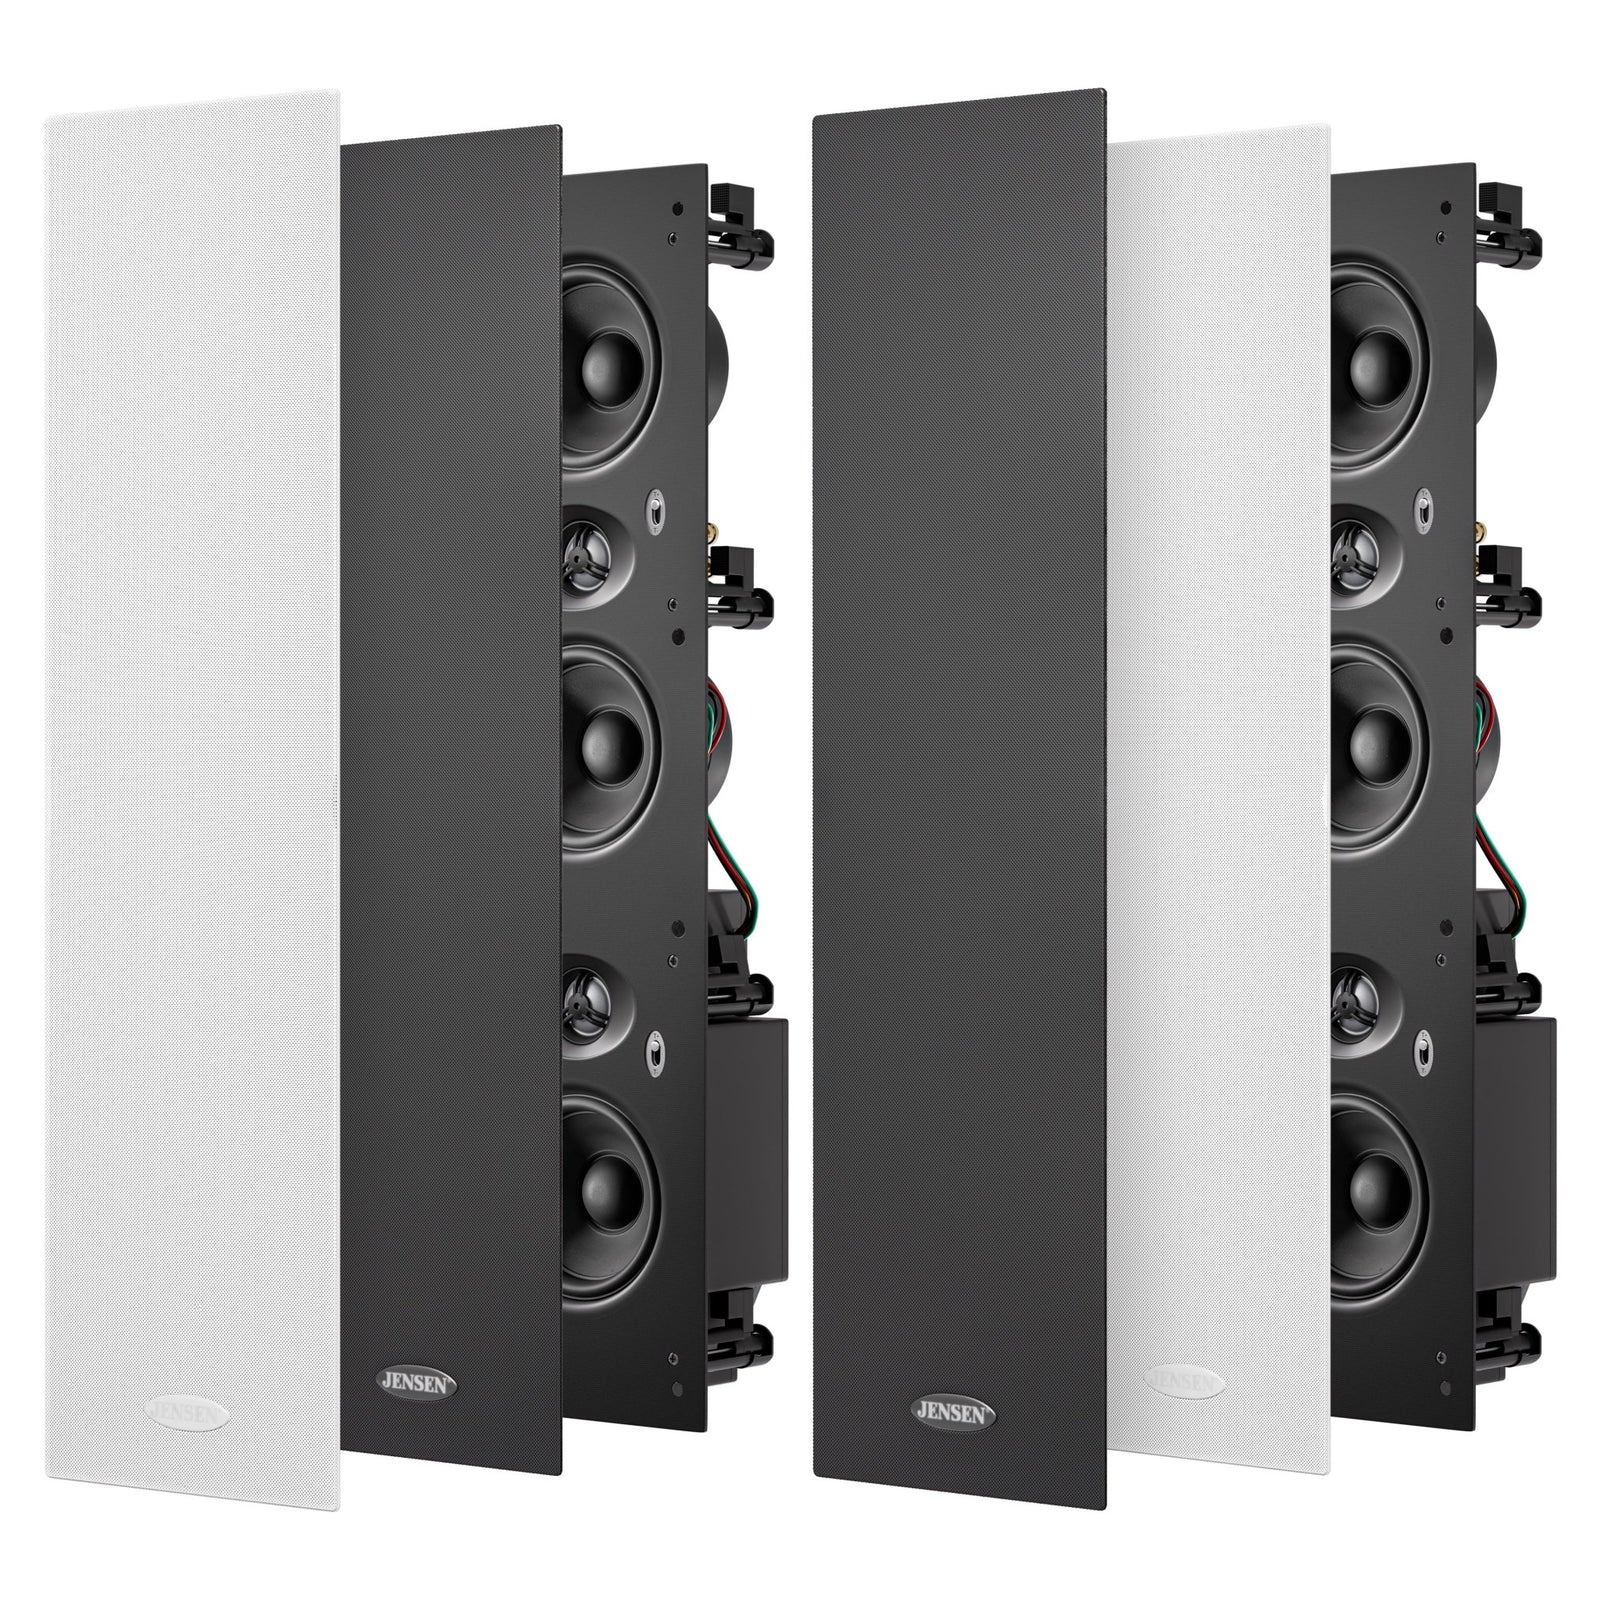
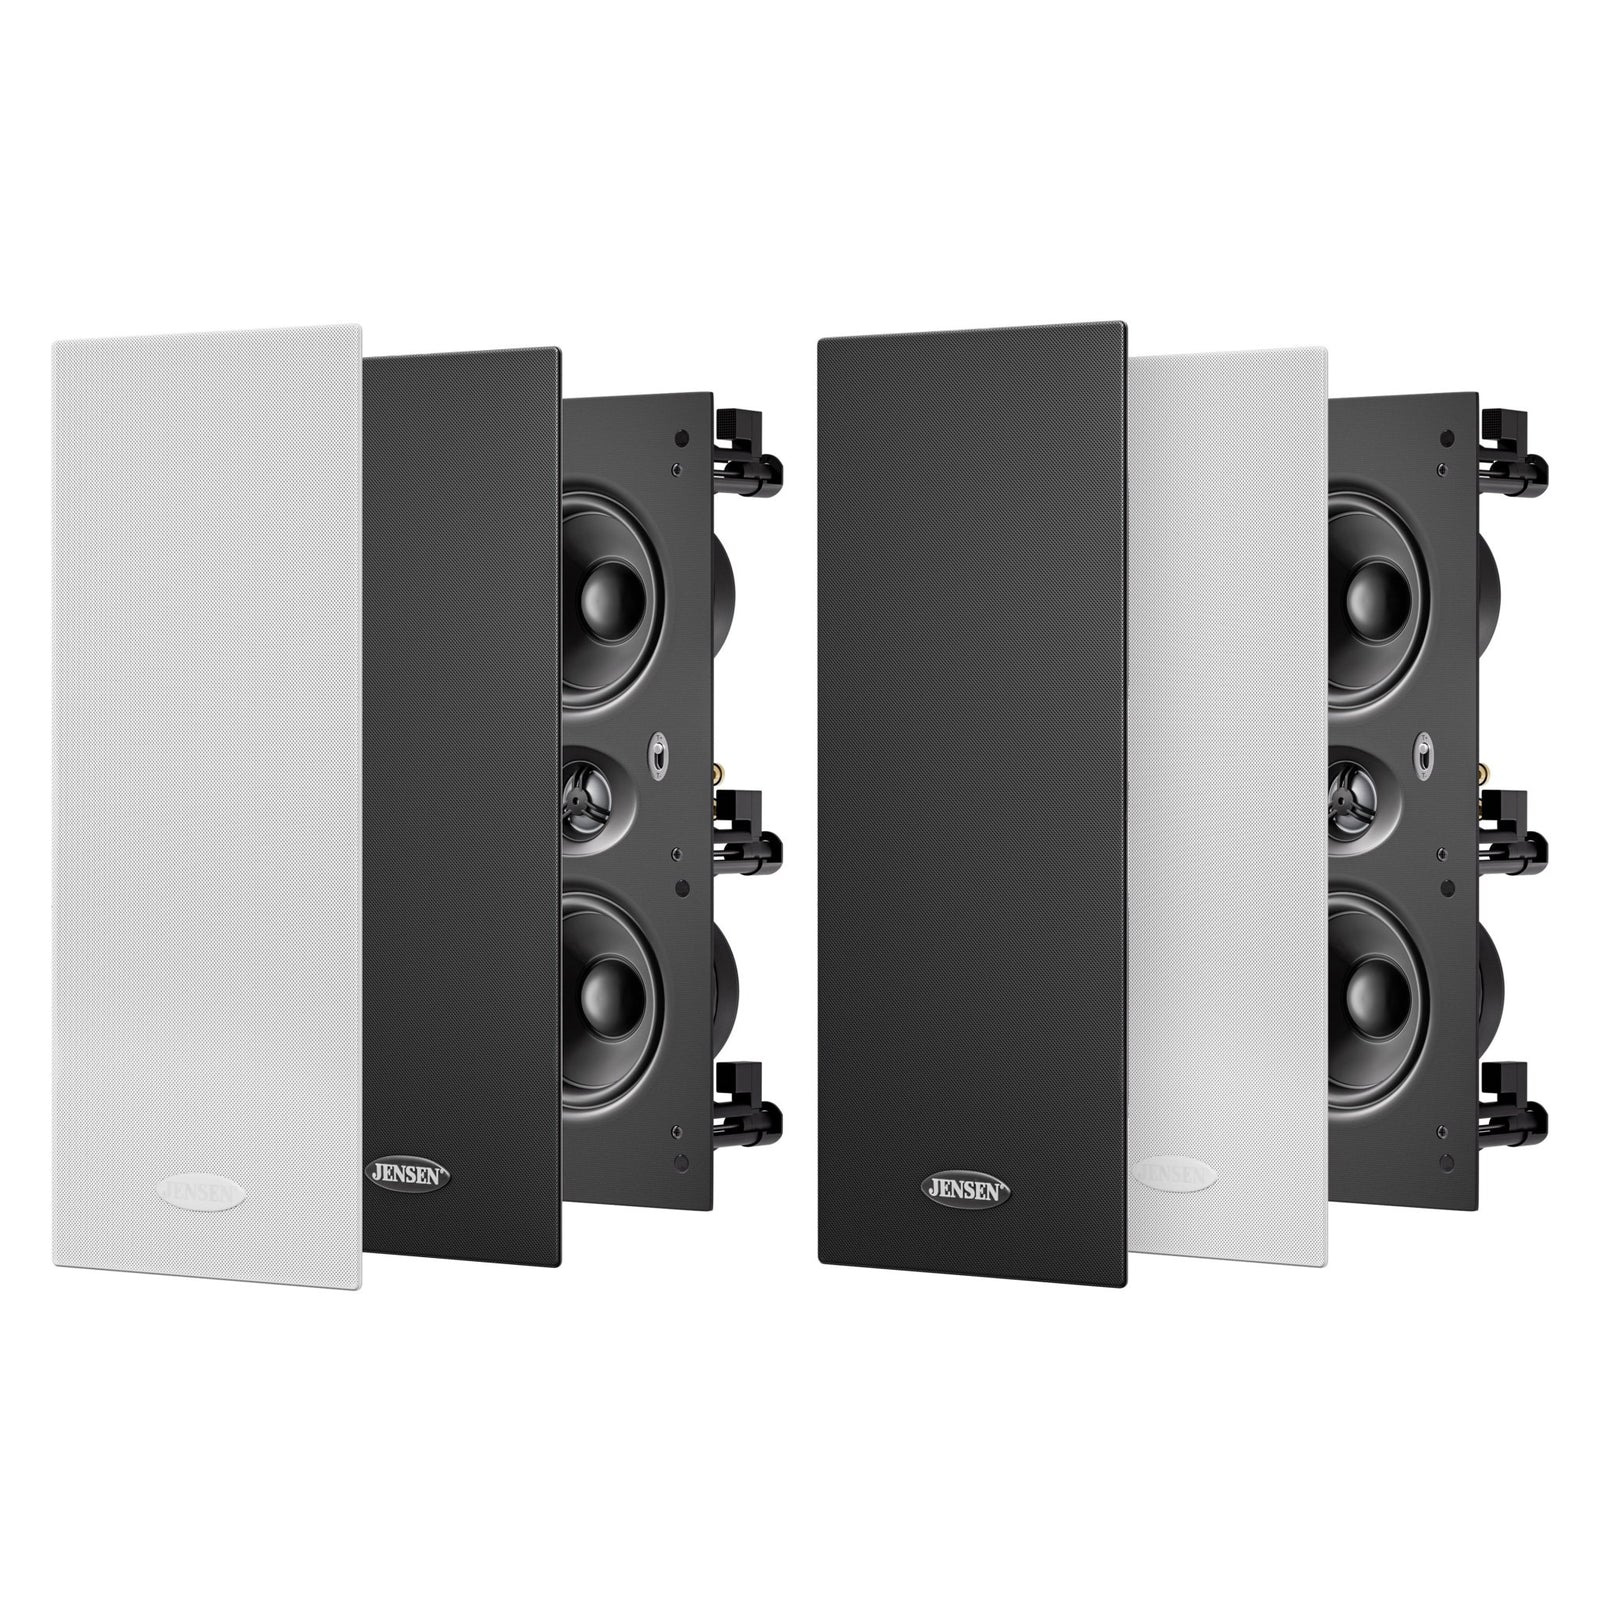
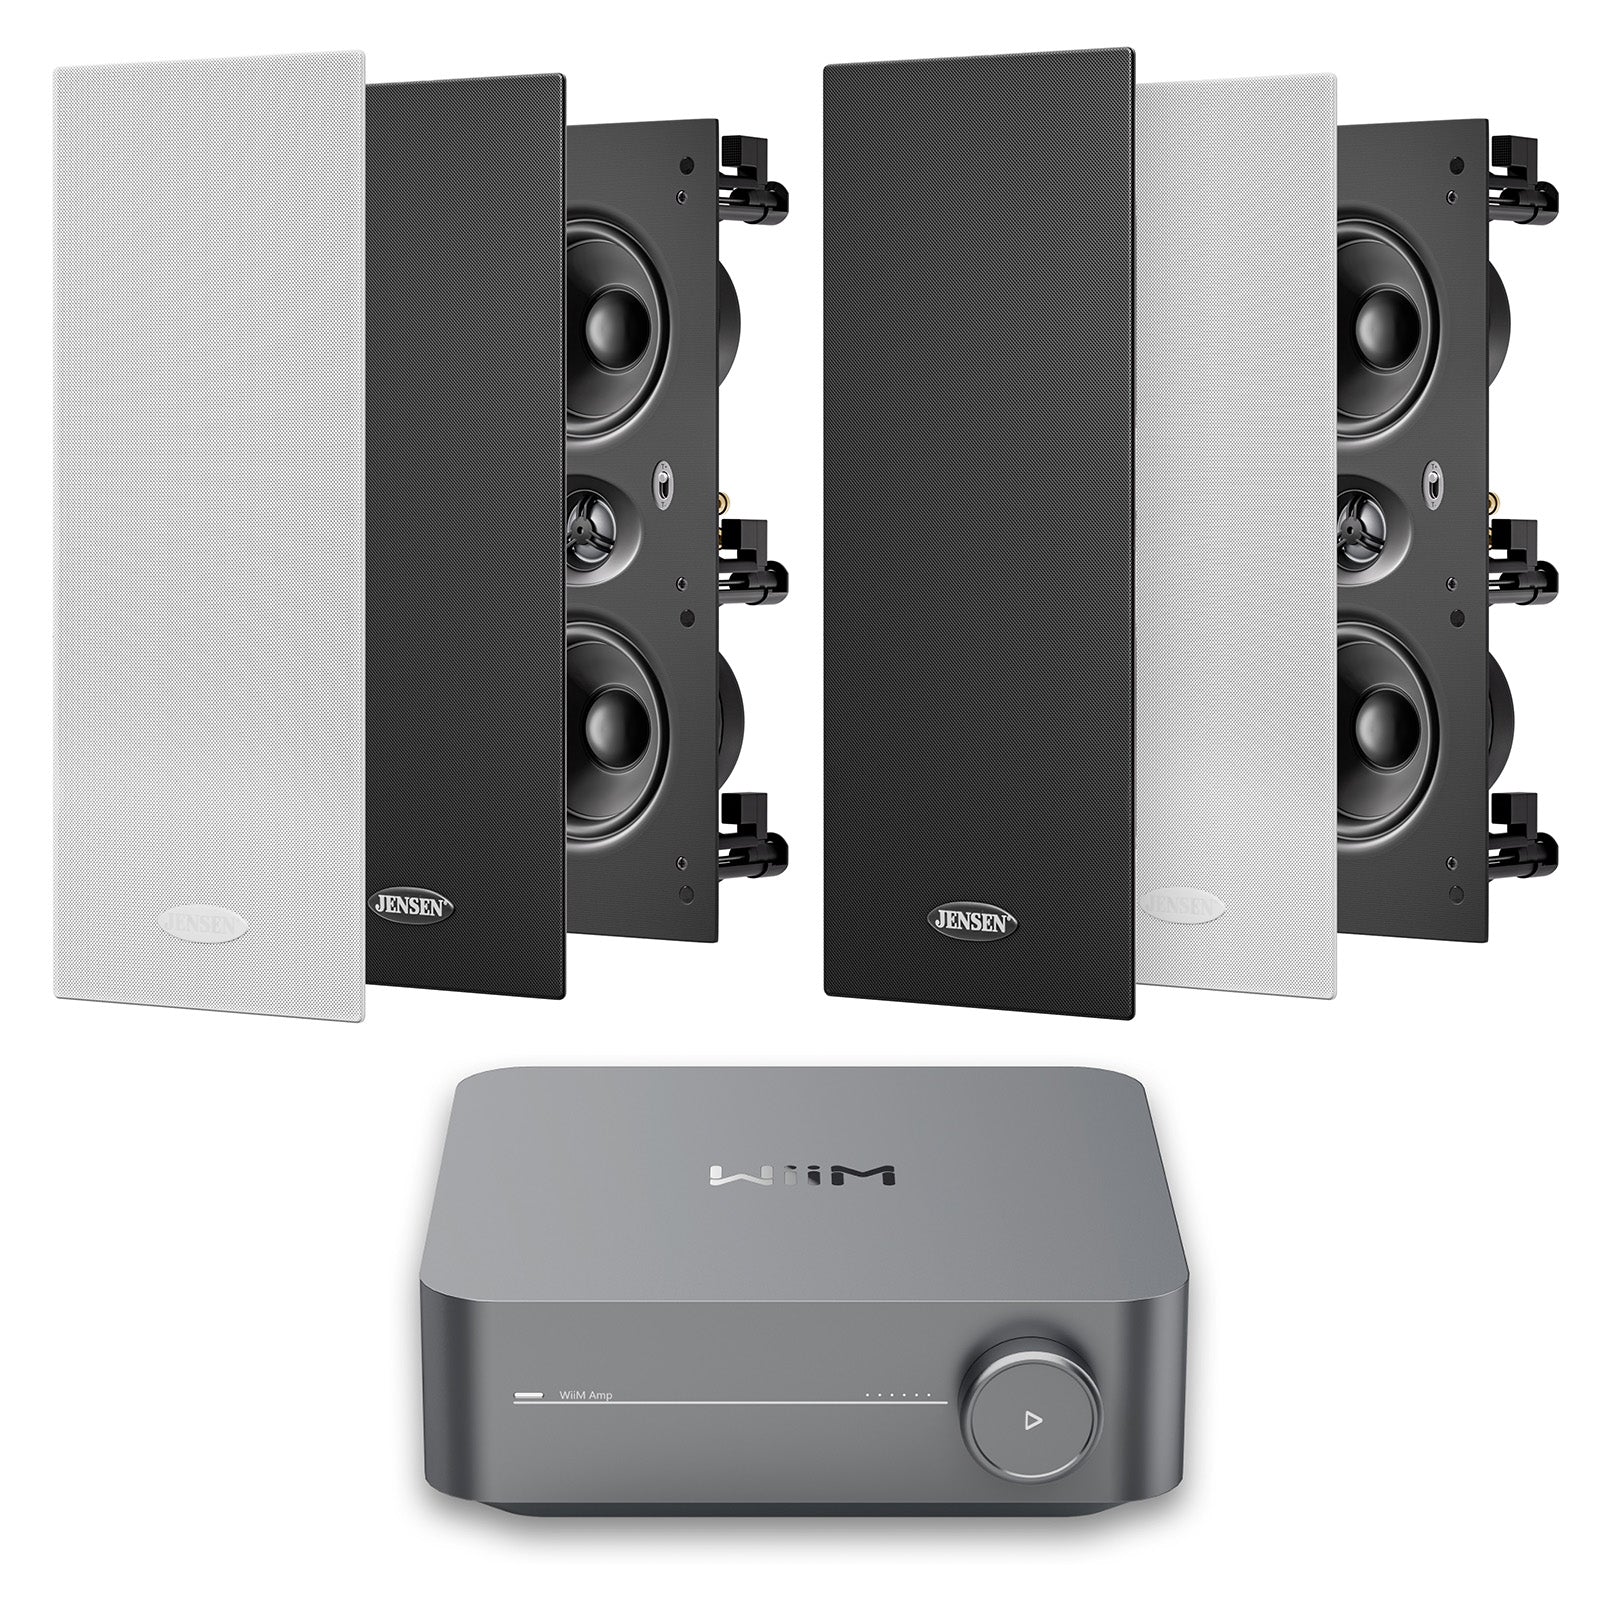
Congratulations - you just successfully installed your JENSEN in-ceiling speakers, which means that you officially have the type of home theatre system that most people dream of. All of that 'not-so-hard' work is about to pay off the first time you crank up the volume. It’s important to note that the skills needed to install JENSEN in-ceiling speakers are also applicable when installing JENSEN in-wall speakers.
Here is our simple Manual in pdf format.
Here is an article showing in-wall speaker installation.