$549.00 AUD
 $429.00 AUD
 $829.00 AUD
 $549.00 AUD
 $899.00 AUD
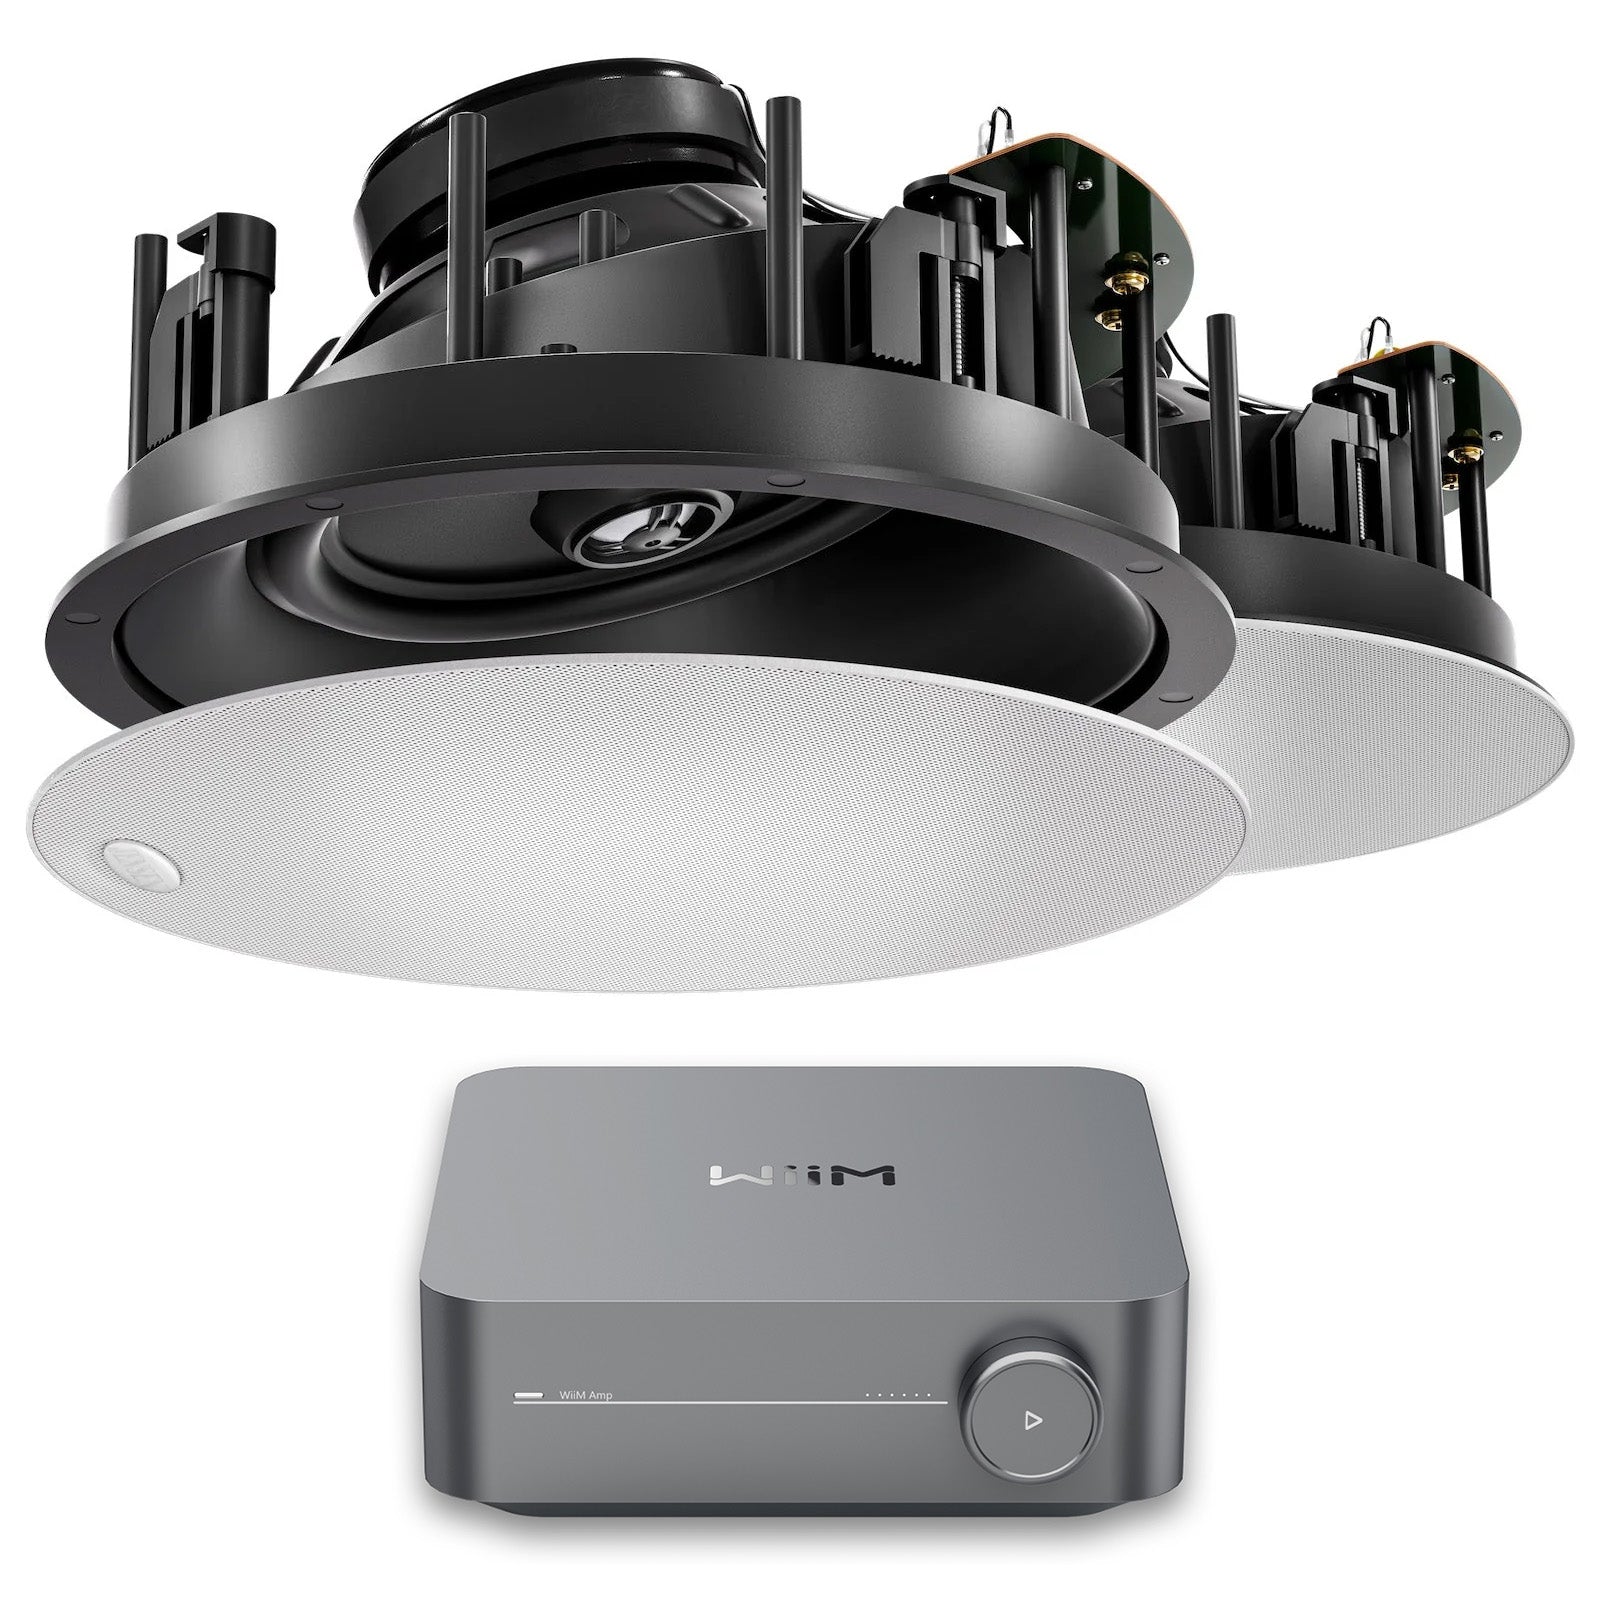
$999.00 AUD
$899.00 AUD
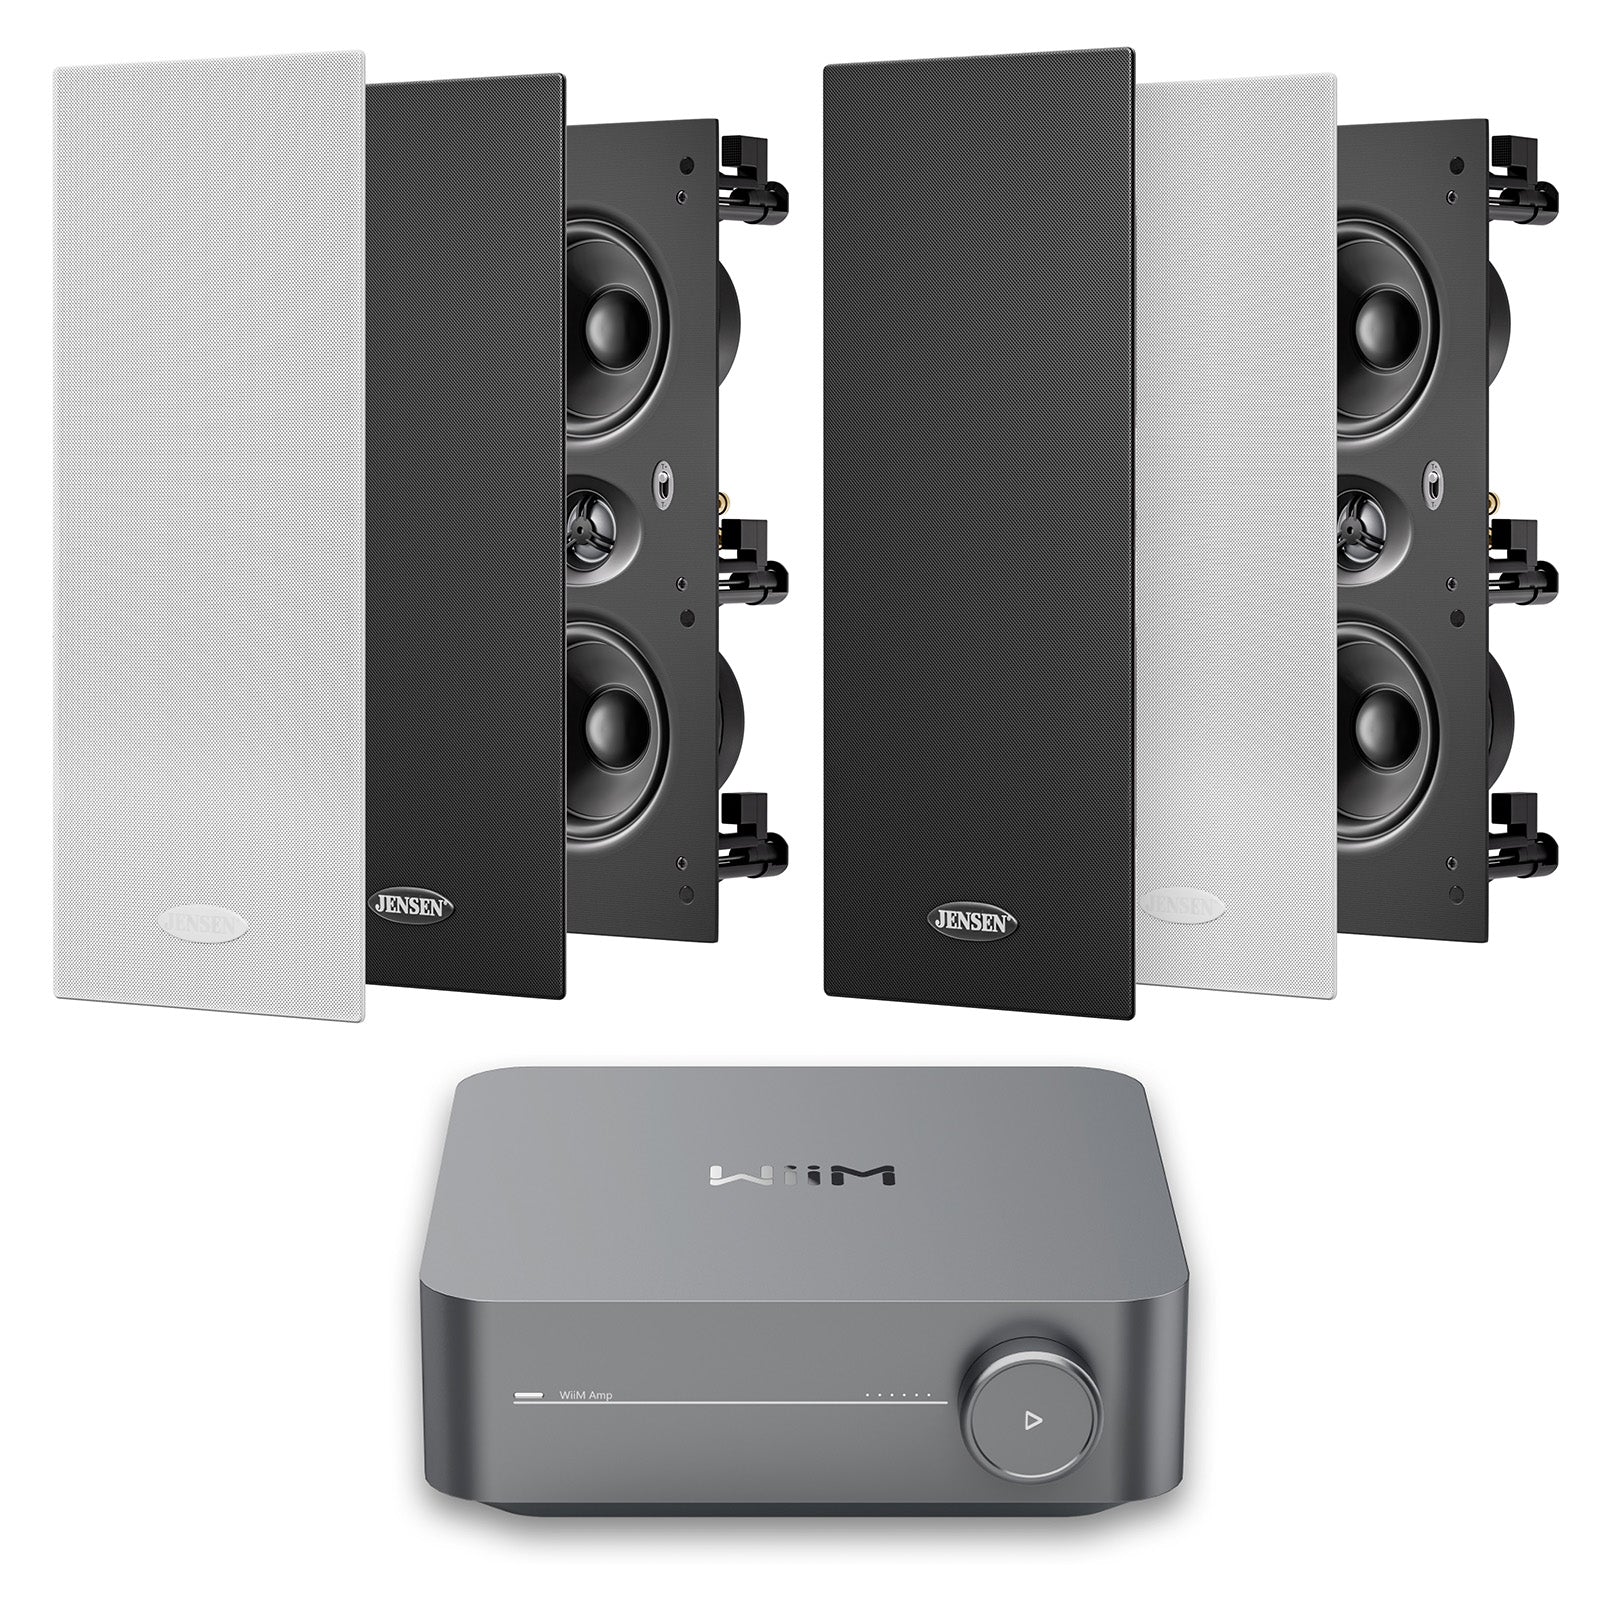
$999.00 AUD
TIP:
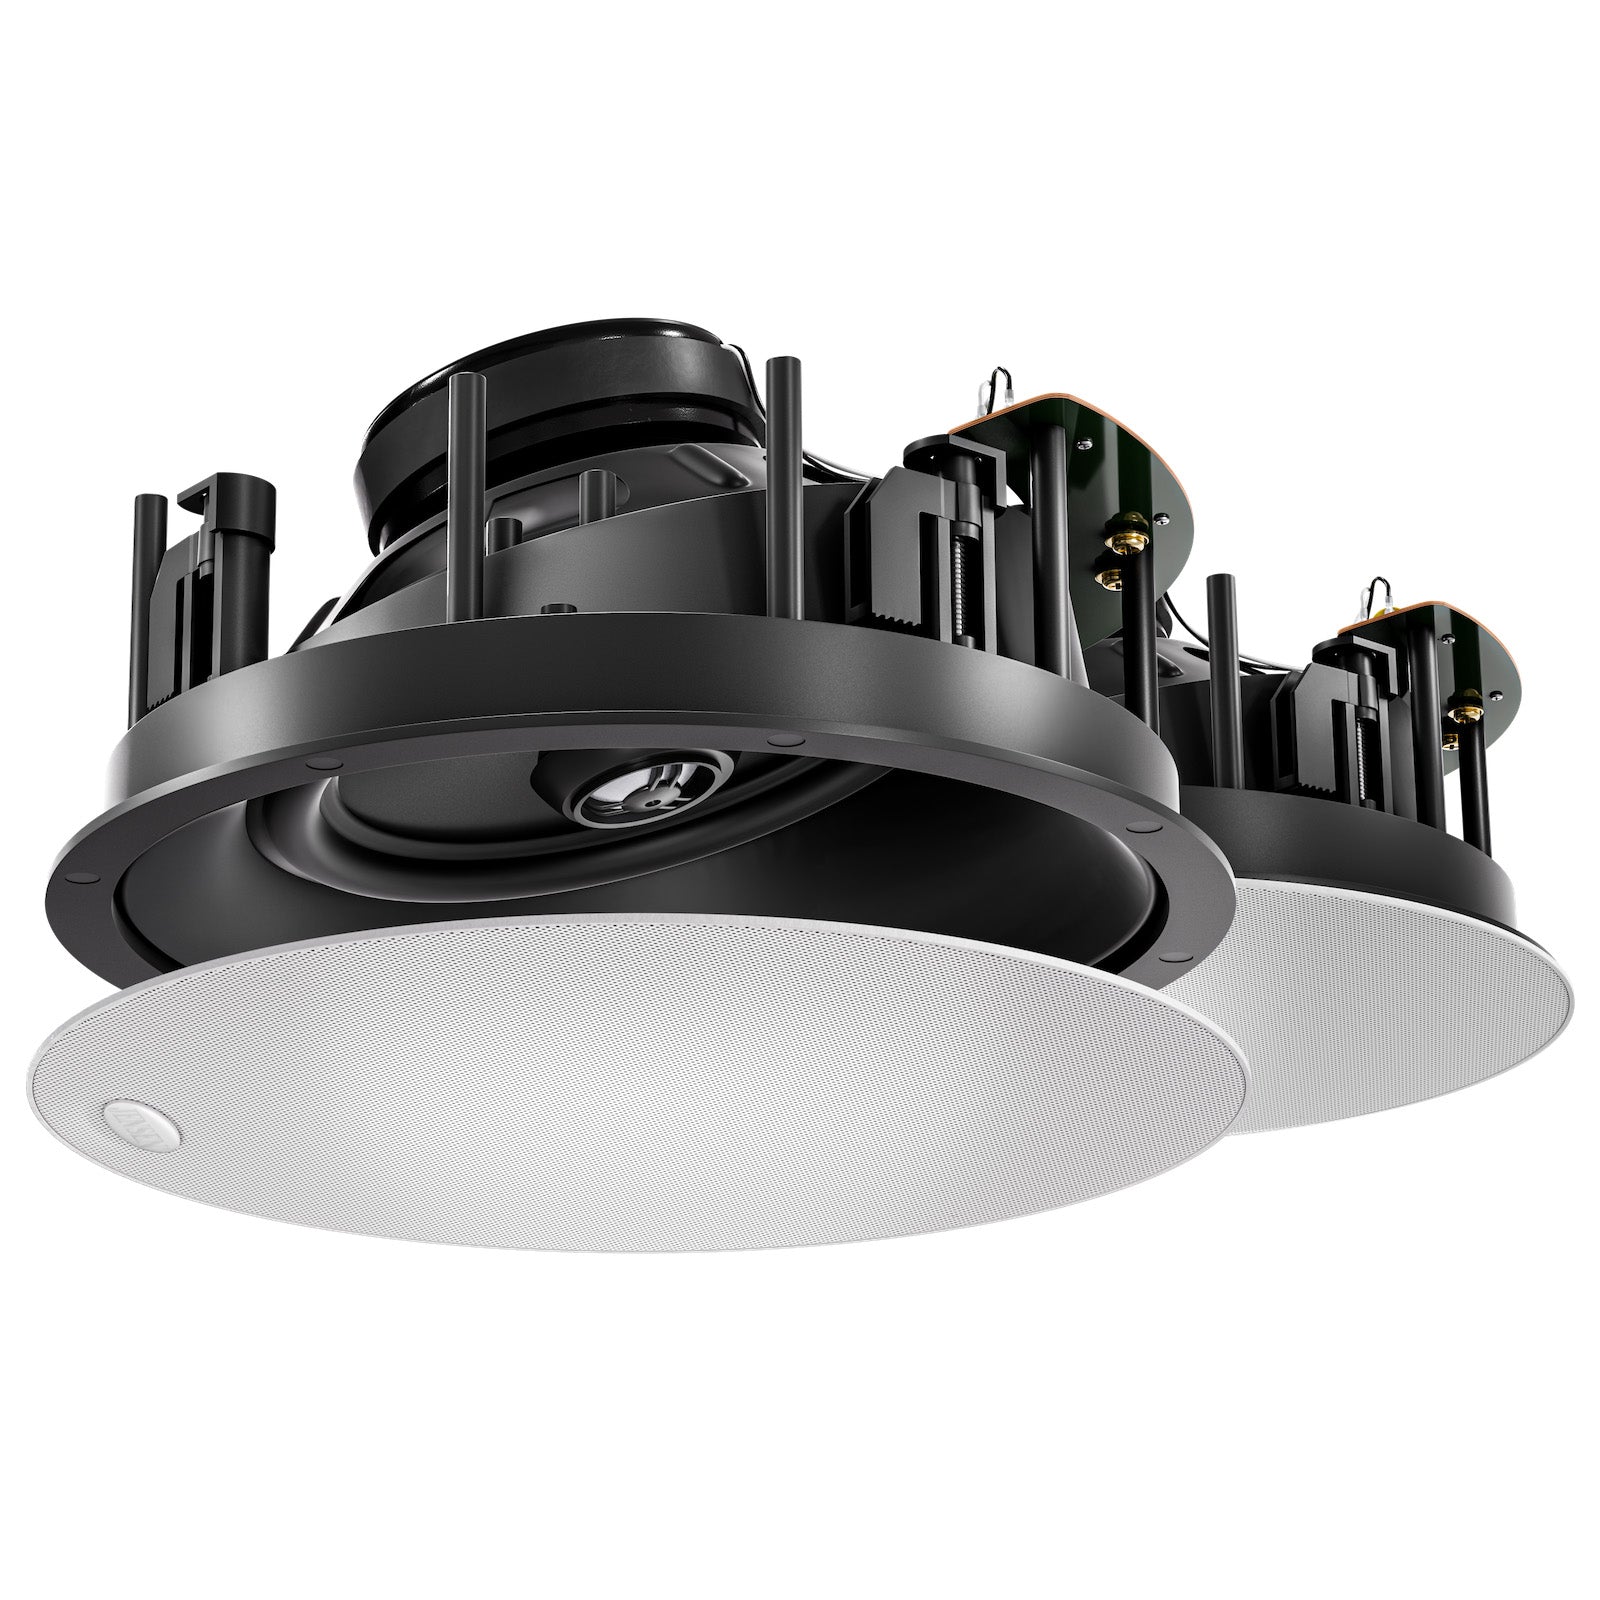
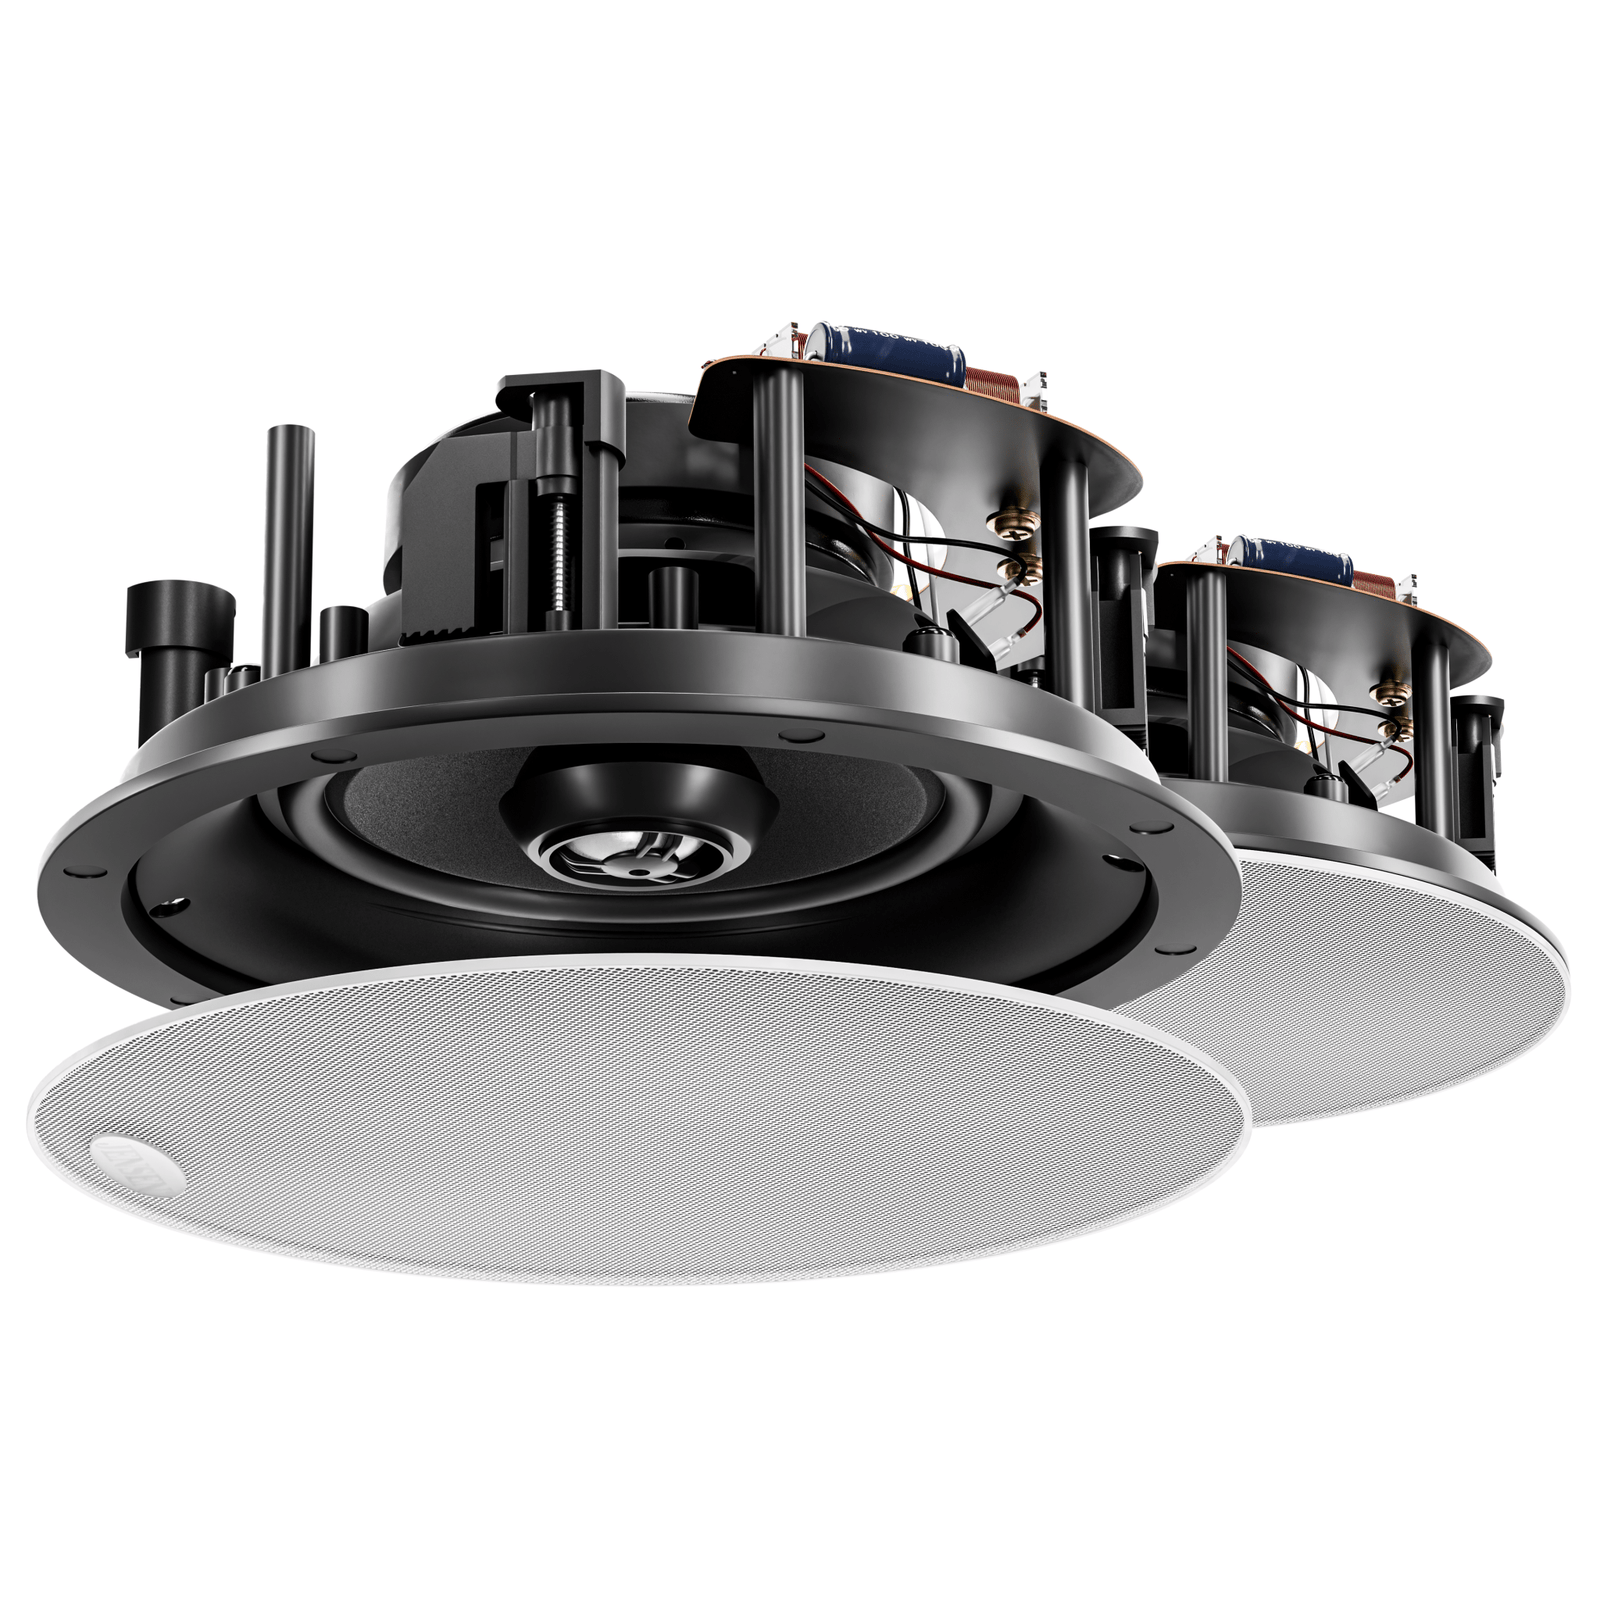
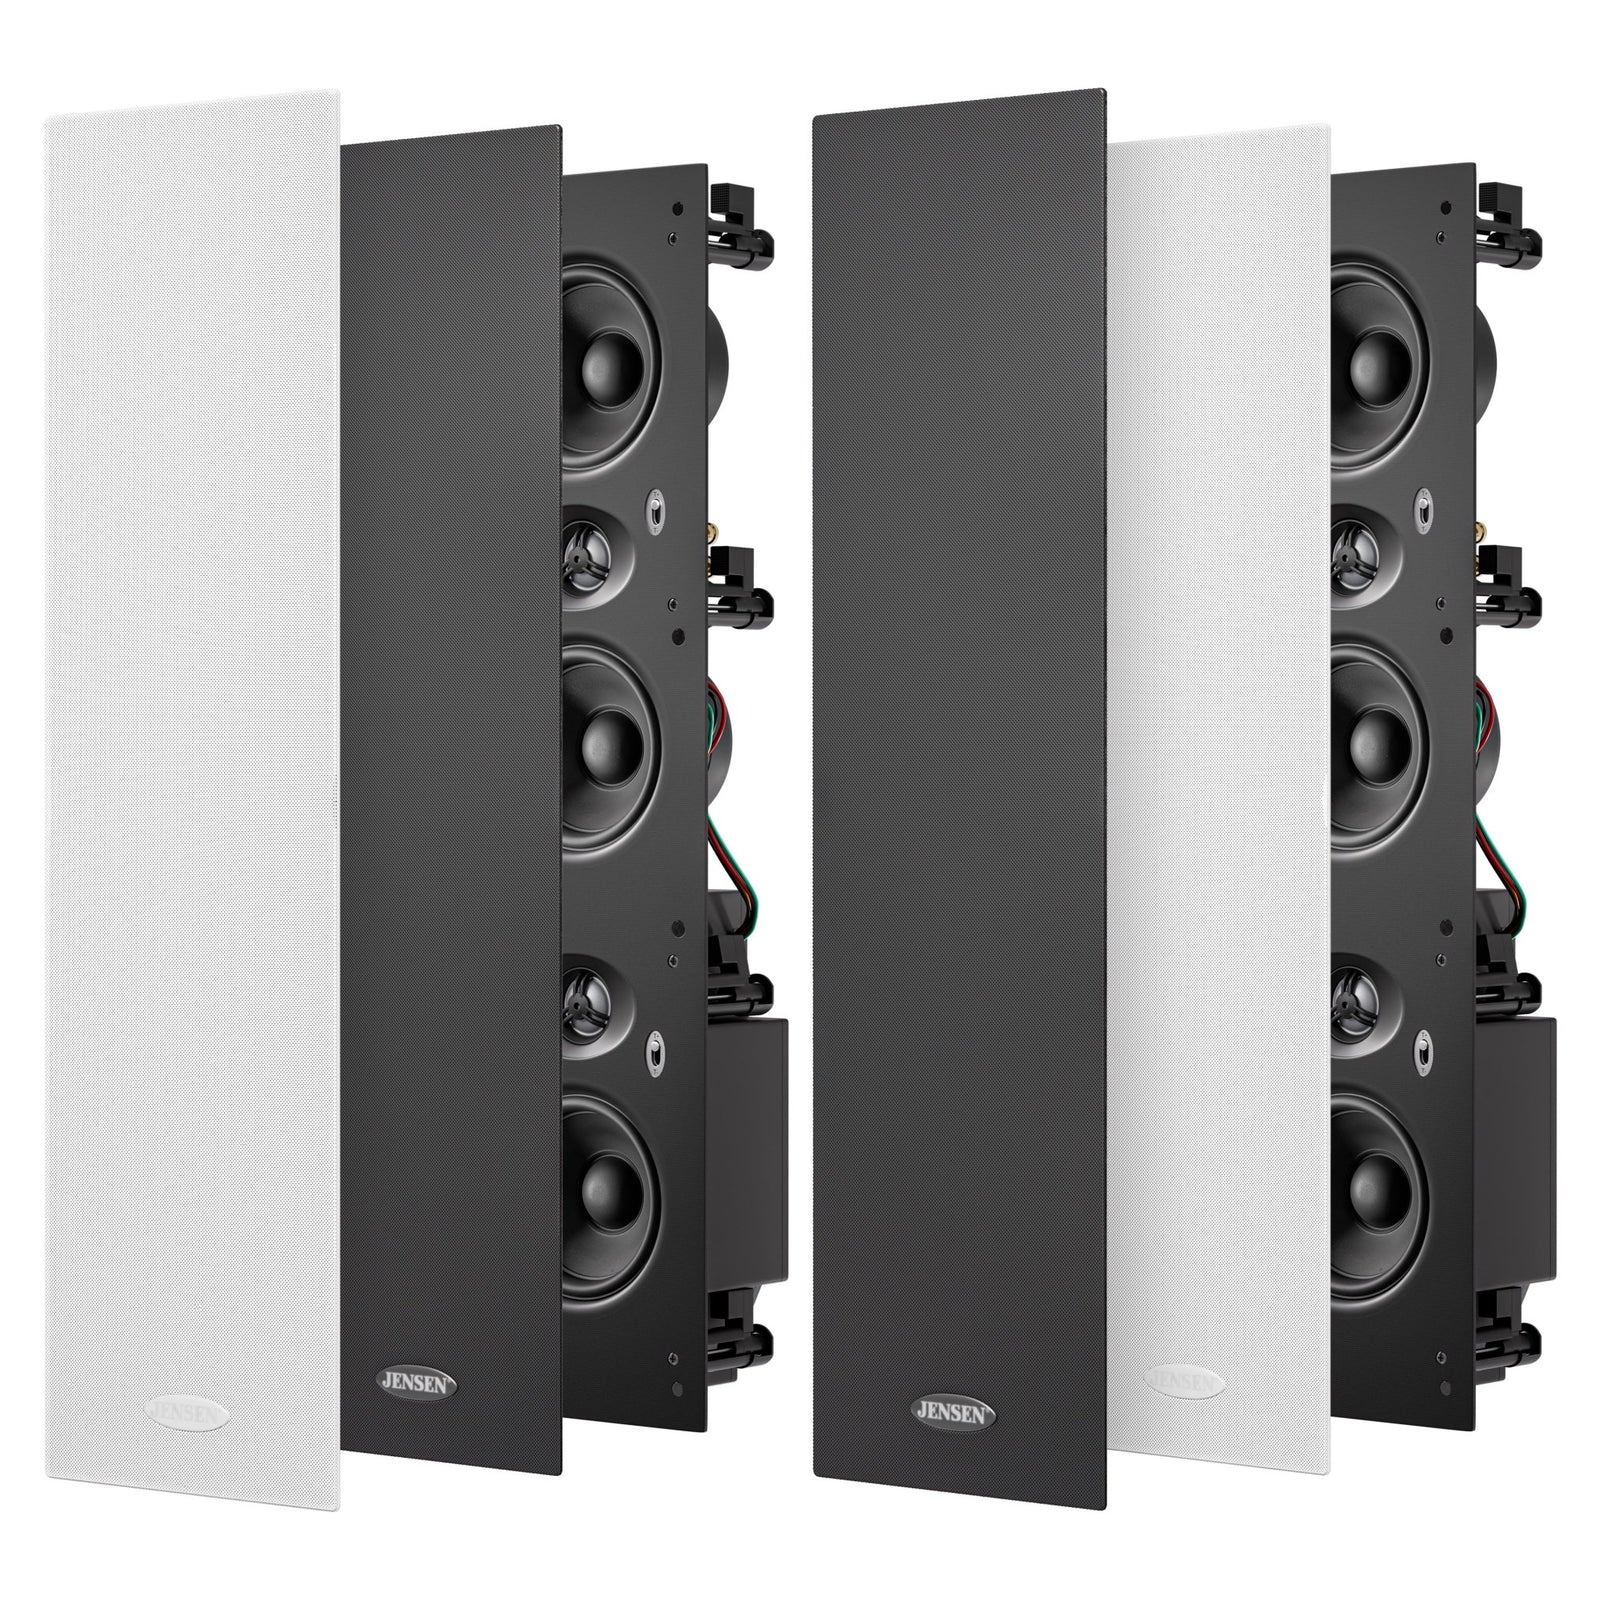
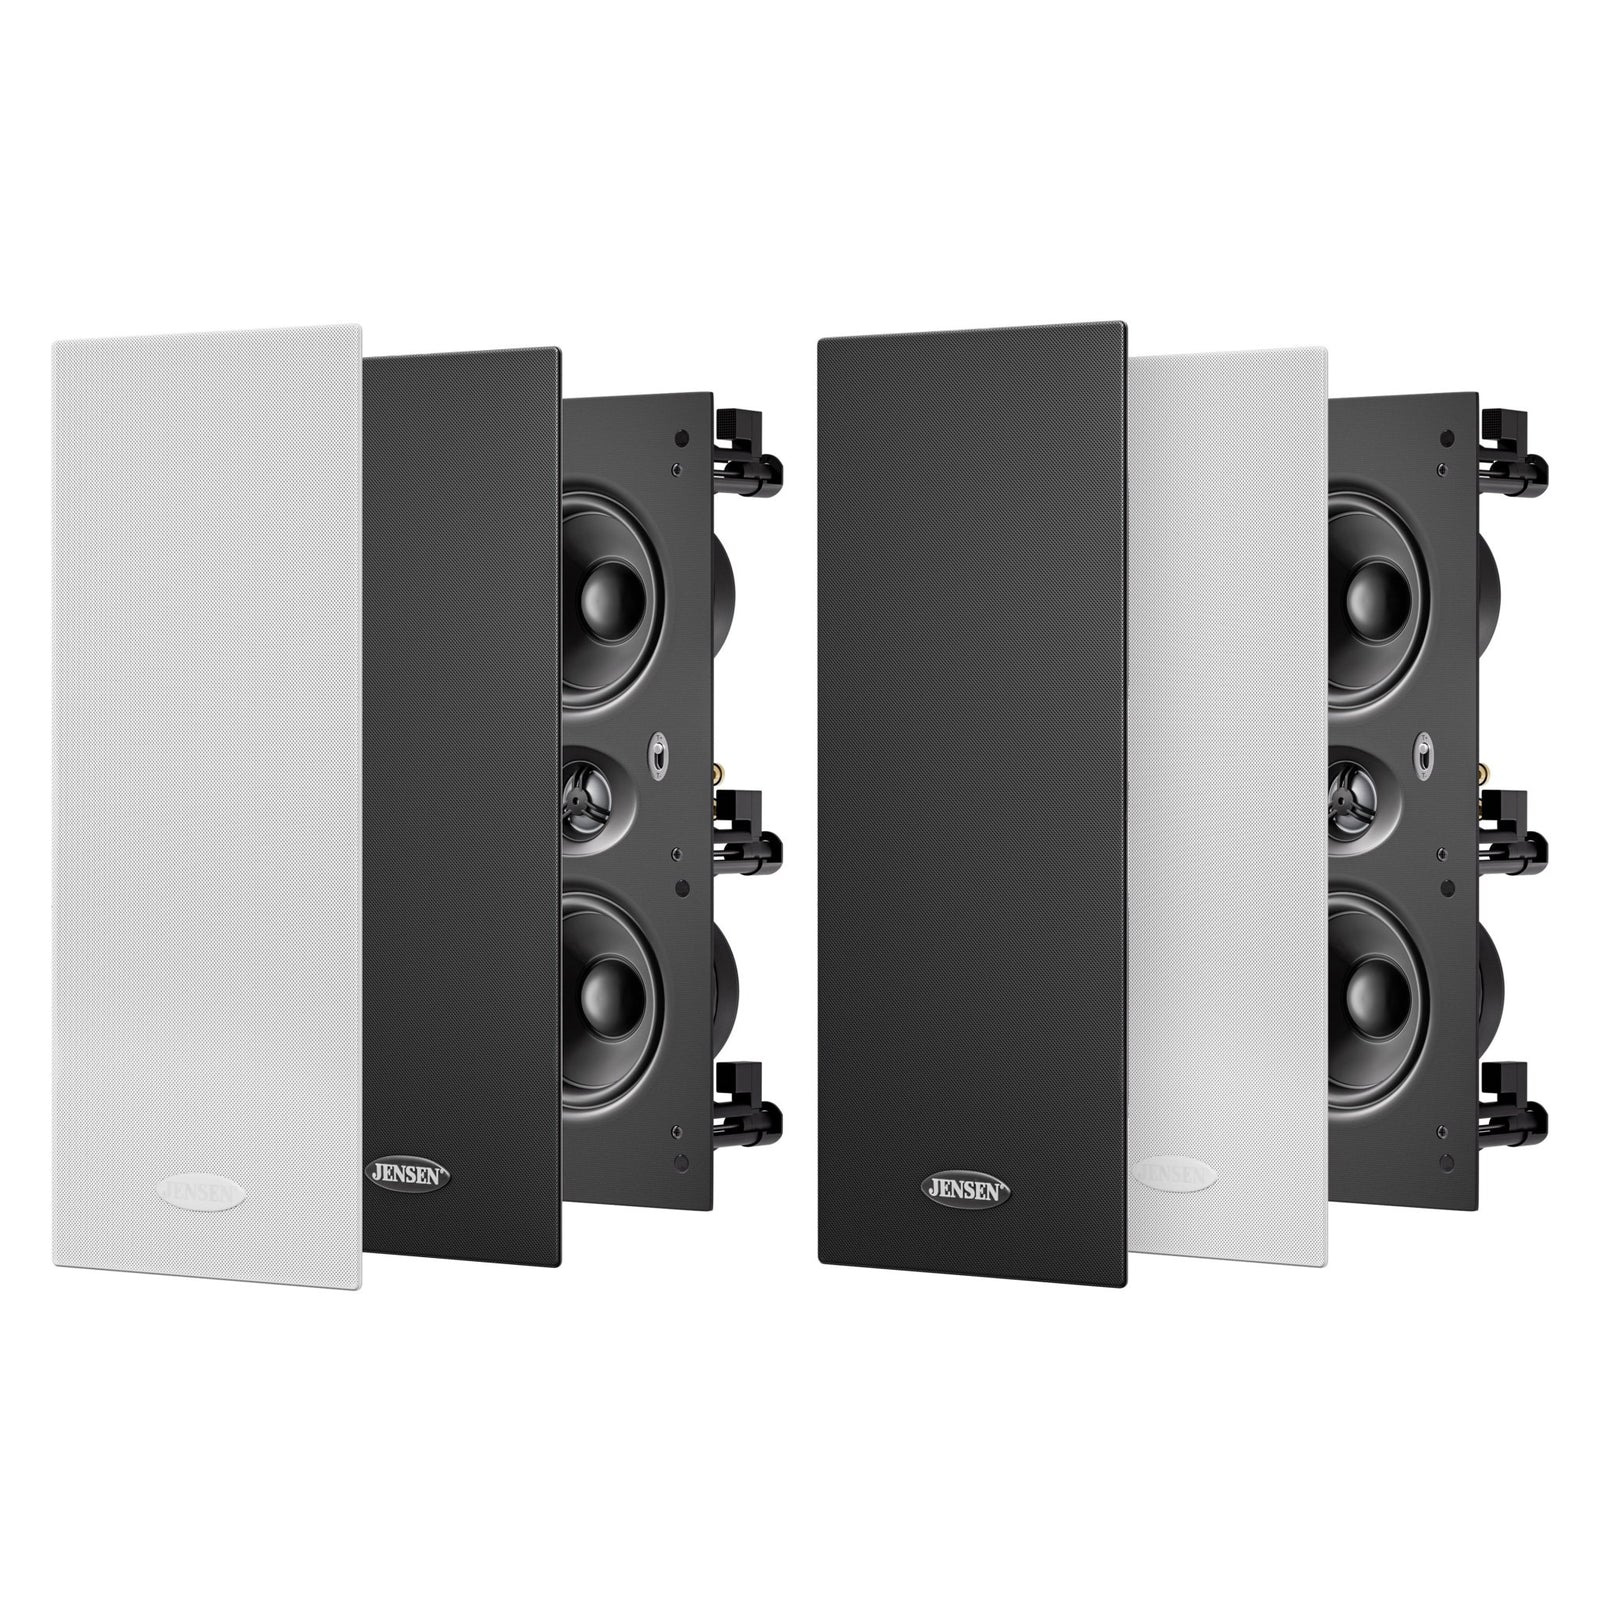
These speakers are designed for simple DIY installation. If unsure any handyman, electrician, or professional installer can assist. Please contact us for referrals if needed.
Location:
For Stereo use: 1.2 meters apart is minimum required for Stereo Separation. Between 1.2 ~ 4.0 meters apart is ideal. On vertical plane, Tweeter direction is adjustable so 1.0 ~ 2.5 meters from floor is ideal.
For Home Theatre use: As per above. 100 ~ 350 mm gap between Glass and TV is recommended. If locating at rear, in grid with front Left and Right In-Wall speakers is excellent but not imperative. Spacing greater than 1.2 meters apart is ideal.
Cutout location must be free of wall studs, noggins, and bracing. If unsure, Stud Finders are perfect to determine this. Cutout location must be minimum of 25 mm from a stud, noggin, or bracing for Elite-203 dog-clamp fixings to swing and clamp rear of gyprock/plaster.
If unsure any handyman, electrician or professional installer can assist here.
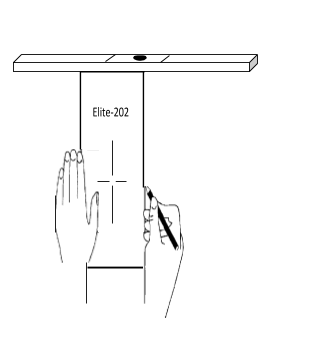
Use the supplied template and trace along the perforated line.
Ensure your markings are level. Use a spirit/bubble level to be sure.
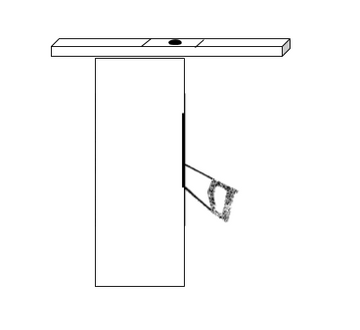
Using the appropraite wall-cutting tool, blade or Stanley knife, accurately cut the hole in the wall Gyprock/plaster.
Once cut-out complete, remove any insulation from this area only. Insulation in wall is welcomed but not in the immeadiate speaker area.