EOFY Sale on Now - 8% Off All Speakers! Fast Free Shipping 🚚 Order online or Call: 1300 536 736
    • Take Advantage of Extra Savings on Packages - Contact Us For Sound Advice Planning Your System

  • Login
Search

Search

Take Advantage of Extra Savings on Packages - Contact Us For Sound Advice Planning Your System

In-Wall Speakers

The new range of Jensen® in-wall speakers will provide you with an explosive home theatre experience while being almost invisible in your living or theatre room. Designed for newer high resolution dolby® movie soundtracks yet also having amazing musicality, these JENSEN® in-wall speakers with complete your family home.

In-wall speaker installation is easy whether you have a new build or you're upgrading from existing floor-standing or bookshelf speakers. Follow the detailed guides and once installed, these bad boys are extremely low maintenance.  No more layers of dust to clean or hazards for (or from) young ones.
 
Choose from our three-channel (Left, Center, Right) Elite-303 speaker system with our unique Perfect Center speaker system and/or two-channel Elite-203 for stereo or rear in-wall surround speakers.

The "Holy Grail" of clutter free 3 channel left, right & center in-wall speakers with our exclusive perfect center system

The ultimate in-wall bookshelf speaker replacement, delivering immersive surround or stereo sound with a discreet design. Fits nearly any wall cavity with a slim 62mm depth, perfect for rear or front speaker setups.

Home theatre front only
Suited for
Front stereo or rear surround
Suited for
In-wall
Type
Dual 4.5"
Woofer(s)
140 Watt
Power Handling (per channel)
6 Ohm
Impedance
40Hz - 21000Hz
Frequency Response
28mm AccuSilk (20° eyeball swivel)
Tweeter
Yes
Tweeter Boost Switch
Glass/InvisiGrille
Grille Type
InvisiGrille Only
Paintable
90db
Sensitivity (SPL @ 1 W/m)
Rectangle
Shape
570 x 135mm
Cut-out Dimensions
325 x 135mm
Cut-out Dimensions
650 x 163mm
GlassGrille Dimensions
351 x 163mm
GlassGrille Dimensions
600 x 165mm
InvisiGrille Dimensions
355 x 165mm
InvisiGrille Dimensions
Yes
OverdriveProtect System
5 Years
Warranty
Rear blanking / Logo removal
Logo Hiding
14AWG Speaker wire or better
Inputs
70mm
Minimum cavity depth
60mm
Minimum cavity depth
585 x 154mm
Product Dimensions
342 x 154mm
Product Dimensions
10kg
Package Weight
6.4kg
Package Weight
70 x 21 x 28cm
Package dimensions (L x W x H)
66 x 22 x 30cm
Package dimensions (L x W x H)

Upgrading to Home Theatre In-Wall Speakers

You’re probably wondering… Can in-wall speakers be in the same league as big tower speakers?

The JENSEN in-wall speakers have a unique advantage…

Floor standing speakers rely on their “big box” where generally bigger speakers allowed for bigger sound.

They call this the enclosure and it’s non-negotiable if you want rich lower mids and bass.

The JENSEN In-wall Speakers use the walls of your home as this larger infinite baffle enclosure that allows us to tune for big explosive sound from unimposing speakers.

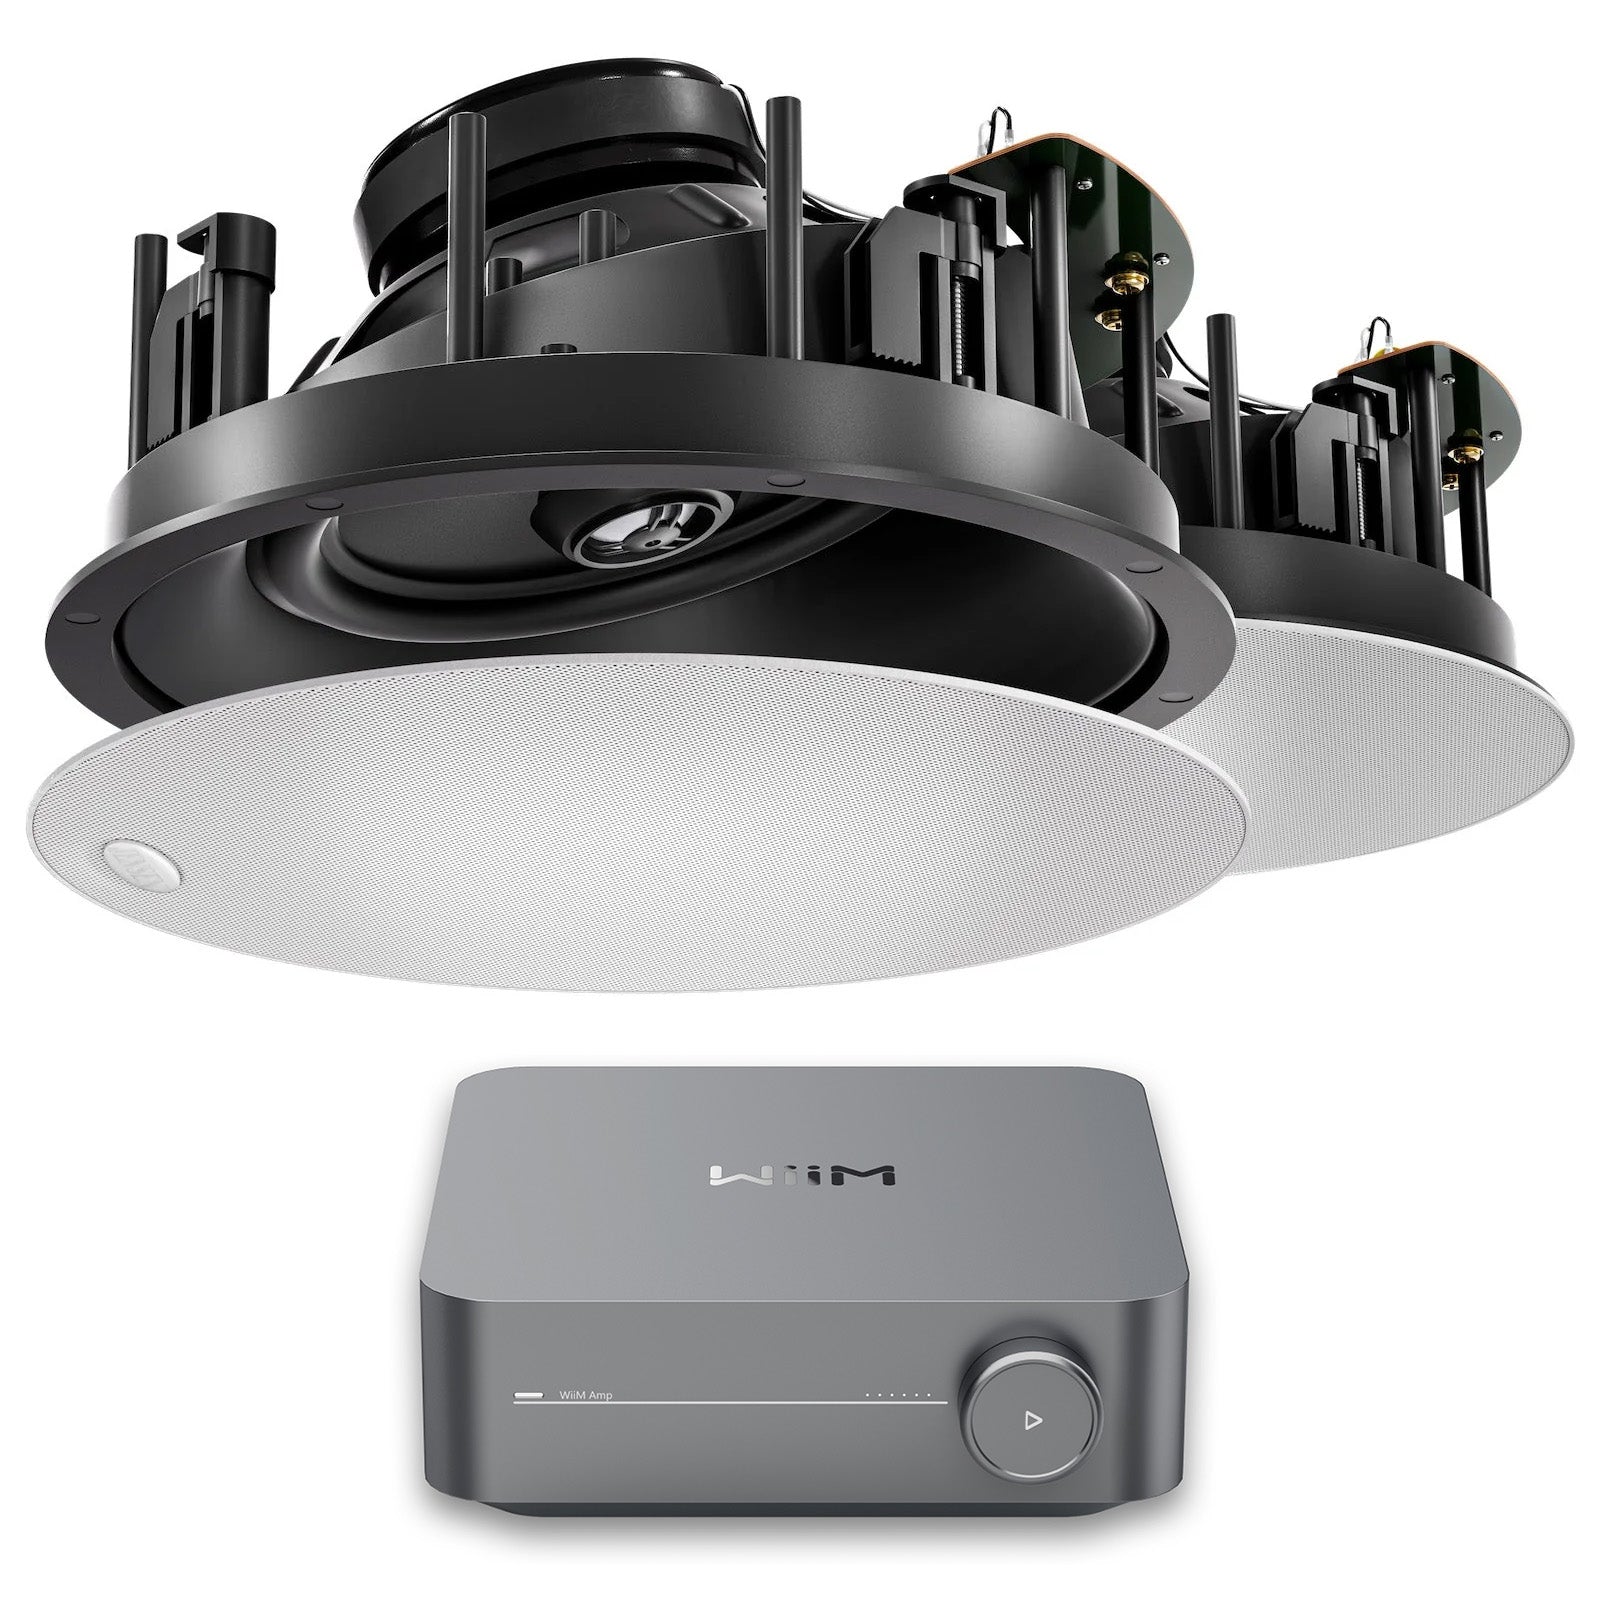
9 out of 10  of our customers choose the Elite-303 speakers for their front home theatre speakers for their amazing soundstage while not imposing into their room. If you have installation difficulties such as a full brick wall or internal plumbing, our in-ceiling speakers with their dispersion horn would be the the best option for you with a minor sacrifice in soundstage.

Surround Sound In-Wall Speakers

If you want to keep it simple, you can use a single pair of Jensen in-wall speakers and you’ll get awesome sound quality as well as a 3D audio image. You’ll hear sounds coming from different places in front of you as you watch movies and listen to music.

It’s not just a traditional stereo image either… this 3D performance is a unique design feature of our latest Jensen line and our clients are raving about it. We call it the Perfect Centre Speaker System.

If you’re keen for a real home theatre project, we recommend taking things up a notch and using one or two additional pairs of in-wall speakers.

The first additional pair will be installed behind your listening seat to provide rear sound effects. The second will be installed directly to the sides of your listening seat to complete the immersive surround experiences from all around you.

To truly crown your home theatre and add ATMOS sound effects from above, which almost all movies released today contain, add some in-ceiling speakers to the system.

Are in-wall speakers hard to install?

While you will need a few tools and a minimum level of handiness about you, install of a pair of Jensen in-wall speakers is very straight forward and easy. There are no AC mains cables to run, so no electrician needed.

If you have the tools and basic skills, it shouldn’t take more than a couple hours to install the pair. You will essentially:

  • Measure and mark the location of your speakers, making sure there are no structural studs behind your chosen spot (best to use a stud finder).
  • Use the template we provide to cut out the cavity for your speaker to go (it can be rough because the speaker covers it).
  • Use a “snake” tool to fish your speaker cables through to wherever your AV receiver will be hidden (so you’ll never see the cables).
  • Press down the spring-loaded terminals to connect the speaker cables to the speakers, then to tighten the speakers into the walls using a screw driver.

After those four steps, you connect the speaker cables to your receiver and that’s it. You can kick back and start immersing yourself in the divine audio of your new Jensen system!

(If you would prefer, we have a network of experienced installers available to get the job done for you. Get in touch with us here.)

In-Wall Speaker FAQ's

Setting up an in-wall speaker system consists of choosing where to place them, installing them into your wall and connecting them to an amplifier, and setting the amplifier up.

If you want help deciding where to place your speakers, click here. If you’re worried about how to install them into the walls and run cabling, our simple install instructions will guide the way.

As for setting up your system configurations, it will depend on the amplifier you choose. If you go with an AV receiver, it will walk you step-by-step through setting up all the audio channels and configuring inputs. Most receivers on the market today are very user-friendly, but let us know if you want most guidance.

Absolutely. In-wall speakers use the enclosure of your wall to create rich bass while providing clear separation across the front three home theatre channels.

They also act as superior surround sound speakers. Install additional pairs behind and beside your listening seat for a fully immersive sound experience.

To get surround sound from in-wall speakers, there are two options most people choose from.

(1) Add one additional pair of in-wall speakers behind your listening seat. Space them apart so that one is back and to the left; the other is back and to the right. Then adjust the tweeters of both inward towards your seat.

Plug each of these into the “surround” inputs on your AV receiver.

(2) Add two additional pairs of in-wall speakers. One pair goes behind your seat, and the other pair goes directly to the side of your seat (one left and one right).

When you connect them to your AV receiver, you’ll plug the back speakers into the “surround back” inputs and the side speakers into the “surround” inputs.

To connect in-wall speakers at the speaker end all you need is a stripped, bare wire end of speaker cabling. There will be two ends and one of them will be marked or colored. The marking may be as simple as a bit of text — just make 100% sure you can differentiate between the two wires.

Connect the marked or colored wire to the red terminal on the speaker by pressing it down, revealing a little hole to place the bare wire. When you release the terminal it will lock in place. Then repeat with the unmarked wire into the black terminal.

Now you can connect at the receiver / amplifier end. Strip back the wires again and connect the marked wire to the red terminal; the unmarked wire to the black terminal. Be sure to choose the correct channel (left, centre, surround right, etc.) based on where the speaker you’re connecting is located.

To get your TV playing through in-wall speakers, you have to first connect them to an amplifier. Then you will connect the TV to the amplifier, which will play that audio through your speakers.

Your TV might output audio in a few ways: HDMI ARC, optical, analog (red and white circle connections), or Bluetooth.

If you are using an AV receiver as an amplifier, your best bet is to use the HDMI ARC connections. Run an HDMI cable from the ARC input on the TV to an HDMI out on the receiver. Then you’ll select TV audio on the receiver to hear what’s playing on the screen.

Other amplifiers may not have HDMI connections. They may only have an optical input or an analog input. If it has optical, you can run an optical cable from the TV (most have it) to the amplifier. If it only has analog and your TV does not have analog output, you will have to buy an additional optical DAC. This will allow you to connect the TV’s optical output to the amplifier’s analog input.

Bluetooth output on TV’s is really meant for headphones and Bluetooth speakers — we don’t recommend trying to connect to your in-wall speakers using Bluetooth because cabling is more reliable and higher quality.

Insulation isn’t a direct threat to the back side of your speakers. But you don’t want loose fill insulation pushing on the back of the speaker cones. This can hurt the quality of sound you get.

We recommend clearing some of the insulation from wherever you’re putting each speaker so that very little is touching it.

You want to install in-wall speakers so that they are level and approximately ear-height, in most cases. This will provide a clean look and the best sound.

Click here for a guide on where to place your speakers. (Coming Soon)

The easy install instructions we provide will walk you through marking where to put your speaker, how to cut out the cavity to place them, how to run speaker wires to your AV receiver or amplifier, and how to tighten everything in place.

Unfortunately, in-wall speakers can’t be used as ceiling speakers. The audio dispersion is designed for playing outward into a room and not downward, so even if you tried mounting them on the ceiling the sound wouldn’t be quite right.

We also find that circular speakers tend to look better on ceilings than rectangular ones.

Yes, you will need an amplifier to power your in-wall speakers. In order to work they need a powered audio signal.

AV receivers and stereo amplifiers both work to do this, although stereo amplifiers can only power two speakers (left and right audio). If you want movie audio (centre channel and surrounds) you’ll need an AV receiver.

The install instructions we provide will walk you through running speakers cables from your in-wall speakers to wherever you want to store your amplifier.

We recommend 14 AWG speaker cable for all installations. This is a good thickness to ensure cable resistance doesn’t reduce sound quality, even for long runs (up to 15 metres).

If you don’t have a standard plasterboard wall you might need to make a box for your in-wall speakers. Be sure the box has a depth of 75 mm (for the Elite-303) and 62 mm (for the Elite-203).

Your box will need to have a complete front face with a cutout to match the template we provide. This will ensure the speaker has an edge to clamp onto (this is how they stay in place).

Yes! You will need to connect an amplifier / receiver to your in-wall speakers to power them and most provide this feature. Then you need to connect your mobile device to the amplifier using Bluetooth or WiFi (preferred for quality and stability).