


The Guide To In-Ceiling Surround Sound Speakers
You want an amazing home theatre that blows the minds of everyone you bring into your home… …but you don’t want to look at it. That’s good, because I feel the same way. That’s why I want to walk you through the no-clutter alternative to a traditional surround sound system: In-ceiling home theatre speakers.
It will have:
- No ugly boxes sitting on your floor or on top of your furniture.
- No boxes hanging off of your walls
- No visible cables to trip over or collect dust.
While at the same time it will give you:
- Clear, immersive 3D imaging for your movies.
- Rich, jaw-dropping sound for action scenes and music.
- Crystal clear dialogue that you can hear even with the volume low.
Does this sound like a step in the right direction? If so, read on. We’ll go over WHY you might want to use in-ceiling speakers for your sound system, HOW to choose which ones to buy, and everything in between that you need to know. (This post is comprehensive — so feel free to skip around. Or read it straight through to become an in-ceiling speaker expert.)
Are in ceiling speakers good for surround sound?
Let’s break down whether or not in-ceiling speakers are good for your home theatre. You’re doing your own research to try and get this right, and you’re going to run into a lot of opinions and sales pitches along the way. This will make it hard to make a decision. The truth is, you should enjoy the process of designing your home theatre. To try and make this easier, let’s take a look at some simple facts.

For the most part those positive aspects are self-explanatory, except maybe the last two. Let me explain them.
How do in-ceiling speakers use your ceiling for better bass?
If a speaker cone is floating in mid air and it’s playing music, the lower frequencies (like low-mids and bass) will literally wrap around the speaker and cancel themselves out. (If you’re curious to learn more, there’s an article that talks about this here.)
This is one of the main reasons these speaker cones are put inside boxes: To allow deeper, more accurate bass.
The beauty of an in-ceiling speaker is that it brilliantly uses the walls of your home to do this.
Why are in-ceiling speakers good for background music?
When you have a pair of speakers playing outward into a room from a set of speaker stands or a bookshelf, you can hear them great when you’re in front of them. But if you’re off to the side, or in a corner, or far away… the sound can be very different.
You may even have obstacles in the way that throw the sound off even more.
While the best in-ceiling speakers are directional and still require good placement for the best audio image, they still give you a better average listening zone that suits background music. (Think: room filling sound.)
You can be at the sides or corners of the room and still get a decent result.
Now let’s look at the negatives from the chart above.
The first three negative bullets above are all related to install, which I’ll get to later in this article.
The last two negative bullets are what you have to watch out for.
Do in-ceiling speakers sound good?
The truth is, ceiling speakers are almost the same thing as box speakers.
You have speaker cones, some electronics to manage the frequencies (they’re called crossovers), and a mechanically sound housing to hold everything in place.
The major difference is that box speakers use a box to manage the acoustics of the speaker, and in-ceiling speakers use your ceiling (which does a pretty good job).
Since the speaker cones and the crossovers are responsible for most of the audio quality you end up with, in-ceiling speakers can easily compete with box speakers. It’s actually the quality of those components that’s important.
Or… in other words… in-ceiling speakers can sound amazing.
See “What are the types of in-ceiling speakers” later in this article for more info.
For now let me just mention, as a downside, many in-ceiling speakers are designed for commercial use and are not carefully designed for high-fidelity sound.
Speakers of this kind may look the same as ones that sound good. And they may even have a similar price tag. So here are two things to look out for when choosing:
(1) Pay attention to how the brand markets their speaker. If they have little marketing, no website, or they recommend it for commercial use, it probably has an ordinary sound to it.
(2) Commercial in-ceiling speakers are, in my experience, only “downward firing” and the tweeters can’t be adjusted.
(Downward firing means pointed straight down at the floor, perpendicular to the ceiling.)
If both of the conditions above are met… you may want to consider another speaker.
Do long cable runs cause sound problems?
In-ceiling speakers require much longer cable runs than traditional box speakers, since they have to run from the amplifier through the walls and ceilings to get there.
Some say that this causes interference or sound “degradation”...
The truth is, all you need to worry are two things.
One: Don’t run your speaker cables alongside AC power cables in your home.
This can introduce interference.
If you’re installing in finished walls, take note of where your power outlets and switches are located. They’re little boxes inside your walls that are nailed to a stud. AC power cables usually run along that stud either up from the floor or down from the ceiling.
If you keep your speaker cables at least 300 mm away from AC power cables, you’re good to go. And if you need to cross over an AC cable, do so at roughly a 90 degree angle.
Two: The important thing about long cable is the thickness of the wire.
Thinner speaker cables have higher resistance, which ultimately reduces the performance you get at a given volume level.
The gurus at Audioholics have an in-depth discussion of why this is here, but to make your life easy we recommend sticking to 14 gauge speaker cable (CL2 certified). 14 gauge is shown by a data plot in that discussion to be great for over 20 metres of length.
What if I install them and don’t like the result?
It is, without a doubt, harder to get the audio imaging right with in-ceiling speakers.
With box speakers you can set them up and point them wherever you want. If the imaging could be better by “toeing” them in… you hop out of your lounge chair and do it.
In-ceiling speakers on the other hand are locked in (unless they have movable tweeters to redirect the high frequencies).
So, loads of people worry that they’ll go through the trouble of planning and installing a system of in-ceiling speakers only to find that it doesn’t sound right.
This is, obviously, not ideal!
But the truth is much more friendly. You’re already on the right track by doing your research. There are three reasons you shouldn’t worry about this:
- If you choose good in-ceiling speakers (backed by customer reputation) then they will sound good.
- If you understand where to place them, and where to point them, they’ll be able to create a good audio image.
- If you don’t get the placement exactly right, you’ll still be okay — because in-ceiling speakers are fairly flexible thanks to a wide dispersion.
If you go with a set of in-ceiling speakers that are completely directional (meaning not just the tweeters are movable, but the woofer and tweeter are angled) then it will be much easier to create a good audio image.
Will I notice the sound coming from above?

Some people who go with in-ceiling speakers say that they find the sound seems to come “from above.” Since your speakers are going into your ceiling… the sound will indeed be coming from above you.
Makes sense, right? Well, I’m here to tell you… it’s true. Unless you
(1) choose in-ceiling speakers that are DIRECTIONAL and
(2) place them forward of your listening position near your screen. (Our in-ceiling speakers work well at as little as 500 mm from the screen wall.)
It’s also worth noting that I’ve experienced a lot of in-ceiling setups where at first I could tell the sound was coming from above.
But after 5 minutes of watching the film I completely acclimated and my brain didn’t even notice. (A great example of this you’ve probably experienced before? Movie theatres. The sound comes from above and voices and explosions are usually clipping. But that big ol’ screen is so cool… you just don’t notice.)
Note that all these concerns about in-ceiling speakers are valid.
It is possible to get poor sounding speakers, or the wrong kind, or install them in the wrong place… but since you’re reading this I know you’re doing your research.
That’s the key. So I don’t want those concerns to scare you out of choosing in-ceiling speakers for your home theatre project.
If you CAN cut into your ceilings and ARE willing to install speakers for a long term entertainment space…
Then they are an amazing option!
Okay, so maybe you’re asking…
How do in-ceiling speakers fit into your dream surround sound system?
A killer surround sound system requires good sounding speakers, in the right quantity, and placed in the right locations.
That’s it.
Since we’ve covered how the right in-ceiling speakers can sound amazing, all you need to know now is how many you need and where to put them.
If you get that right, in-ceiling speakers can most definitely give you an immersive, awe-inspiring home theatre experience.
So let’s get into that now.
Where should I put in-ceiling speakers?
You could use in-ceiling speakers exclusively for music listening — but for the purposes of this article I want to show you where to put them for surround sound.
A surround sound system allows multiple audio tracks from your films and TV shows to be played all around the room. This creates a more immersive experience than simply two stereo speakers.
The “foundation” surround sound setup (which most people stick to) is the 5.1 setup.
(You can learn more about the “#.#” Dolby naming system here.)
That’s five speakers: Centre speaker, left and right front speakers, and left and right surround speakers. (The “.1” refers to an optional subwoofer to pick up the deep bass sounds.)

Now, this setup has been in use for a long time. In fact, 5.1 surround started getting traction in the early 90’s with Batman Returns and Jurassic Park.
The latest popular addition to surround sound is Dolby ATMOS (and it’s competitor, DTS:X).
This configuration adds additional “height” channels that are intended to go above the listener. If the Blu-ray or streaming media has height tracks in it, you’ll hear sounds like rain drops and helicopters literally coming from above.
(It’s actually pretty awesome when you hear it.) Before ATMOS, the next step up from 5.1 would be a 7.1 setup. But with the ATMOS format growing in popularity, most people agree 5.1.2 provides a better immersive sound than the 7.1 setup does. Here’s what a 5.1.2 system would look like with the additional 2 ATMOS speakers (in red):

Above I mentioned that directional in-ceiling speakers are necessary if you want to create a 3D audio image.
The diagrams above show systems of directional in-ceiling speakers, and where you should put them. You’ll notice arrows too — those indicate where the speakers should be pointed.
It’s important to know that if you decided to go with downward firing in-ceiling speakers, you’d have to move the speakers in a little closer to the listening seat.
In summary:
- Choose a surround sound configuration for your room.
- Identify the speakers according to the Dolby and DTS general guidelines (see the diagrams above).
- Install each speaker in place, making sure the left and right sides are symmetrical and everything is pointed towards your listening space.
Another thing to note: Since in-ceiling speakers have a nice, wide dispersion, you don’t need to put them in exactly the ideal spot to get a good 3D audio image.
In my experience, you can adjust the distances between speakers as much as 25% while still getting a gread sound. You just have to make sure they’re still pointed at the listening position.
By the way: If you are considering simply getting room filling sound for music and not too worried about surround sound per se…
Check out this post here for a handy calculator that will tell you how many speakers you need. If you are interested in using two in-wall speakers in the front of your theatre room instead of three in-ceilings, click here to see some in-wall speakers.
How do I install surround sound speakers in my ceiling?
Alright, first thing is first. You’re going to need to hire a demolition crew to come in and knock some holes in your walls, then you’ll need a 250-piece wrench kit…
I kid!
Installing in-ceiling speakers is actually pretty straight forward. There’s no reason to think you can’t do it… in fact, most of our clients choose to install their own and they do just fine.
(While you don’t need an electrician or pro-installer to do the job, you can hire one to take the wheel if you want. Contact us if you want recommendations.)
I’ll quickly introduce you to the basic procedure now so you know what you’ve got in store, should you go with an in-ceiling system.
(By the way: This assumes you have finished walls in your entertainment room. If you’re building a room or redoing the walls, this will be MUCH easier.)
1. Locate studs and obstructions in your ceilings & plan where things go.
2. You may have to be careful of framing in your ceiling or other objects. If you use a stud finder to check where you’d like to put your speakers, you should be in the clear.
3. Then look at where your speaker cables will have to run to get to wherever you’d like to put your electronics (amplifier / receiver). You want to make sure there’s no obstructions there either.
4. Cut out the speaker cavities and the wire loom cavity. In-ceiling speakers should always come with an easy-to-use template (we include one in all our products). You can use that to trace the cutout directly onto your ceiling. Then all you need to do is use a utility knife or a drywall saw (depending on the thickness of the plasterboard) to chisel out that cutout shape. There’s no need to get it perfect — the speakers will cover the edges of your cutout.
5. The “wire loom” cavity refers to the opening where you’ll pull all the speaker cables through to connect to an amplifier / receiver. I recommend getting a wall plate to dress-up this cavity (like this).
6. Run the speaker cables & hook up the ends. See below for more on running the cables.
7. As far as hooking them up goes, the speakers have simple spring-loaded terminals (colour coded) where you can clamp down 1 cm of stripped speaker wire.
8. Most amplifiers have screw-on terminals for stripped speaker cable.
9. Seal off the cavities by locking in the speakers. In-ceiling speakers almost always use a clamping mechanism that you can lock in place using a screwdriver.
10. Once they’re in the cavity, you just tighten the screws.
How to run speaker cable in your ceiling
Once you have your speaker and wire loom cavities cut out, you need to run the speaker cables.
If there are other fixtures in the ceiling or wall that can be pulled out, this can help make running the cables a bit easier. (They will serve as “checkpoints” for you to fish the cables further.)
Even better — if you can access the space above your ceiling through your attic, then the job should be a piece of cake.
You have to run the speaker cables from the speaker cavity, across the ceiling, down the wall, and out the wire loom cavity.
This is done with an electrician’s snake — a long reel of semi-rigid line — to which you attach one end of your speaker cable. Then you poke it through your ceiling and wall to run the cable to its destination.
If for any reason this standard method won’t work (such as obstructions or no attic access), there are a few alternatives.
For example, you can run the cable to the nearest cornice or skirting and run it along underneath that.
If you can’t use any of the methods described above, feel free to get in touch with us and we’ll give you some advice.
Note: When you’re cutting a length of speaker cable for one speaker, allow for at least 10% extra cabling.
You might run into obstacles along the way. You also want extra at the end to make it easier to hook up up the in-ceiling speakers — you’ll be able to set them on top of your step ladder this way.
(For a more in-depth installation guide, check out this article.)
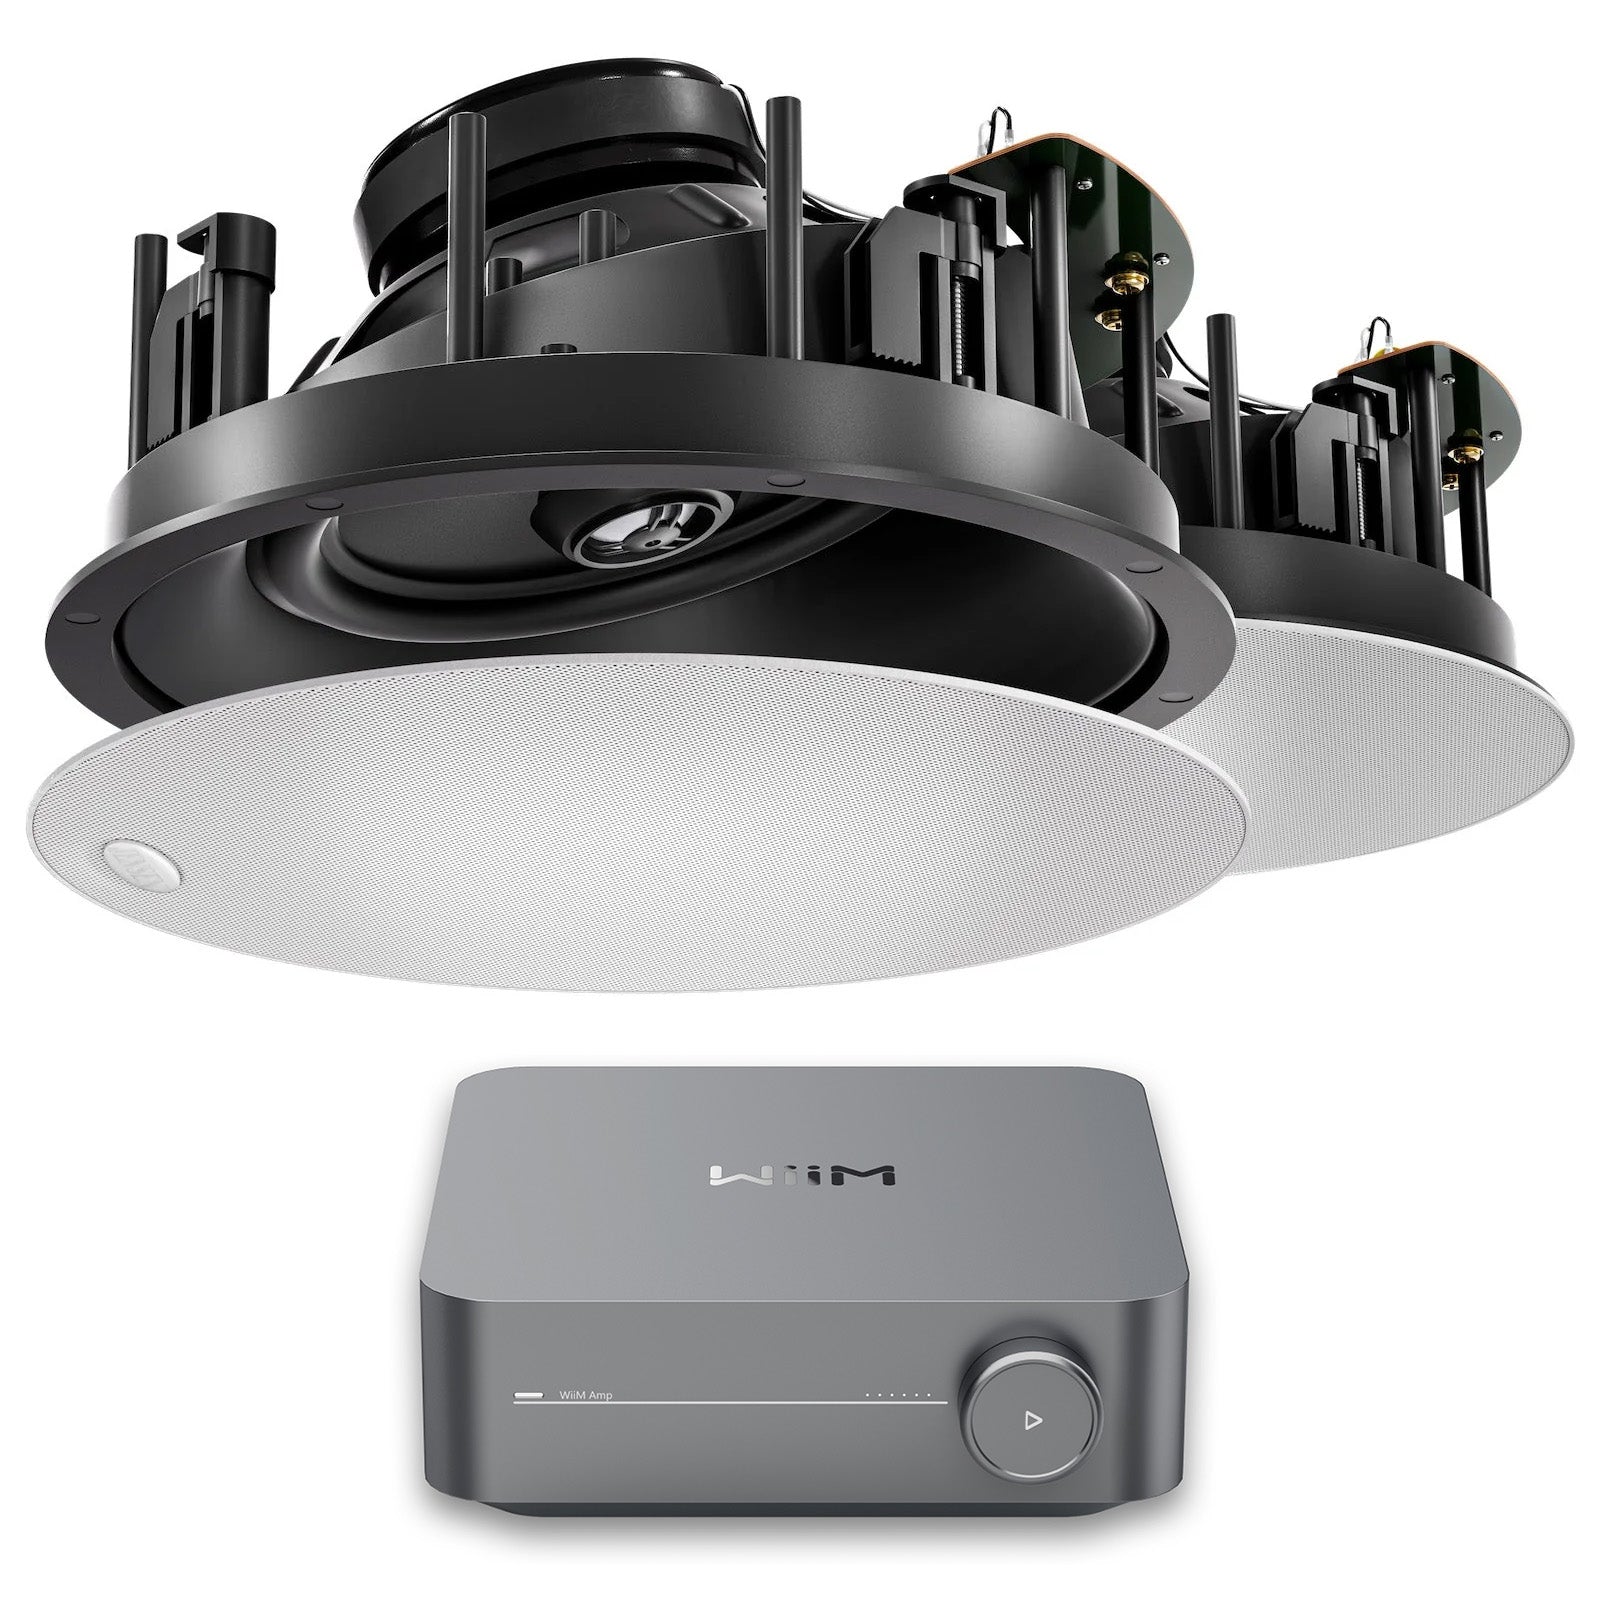
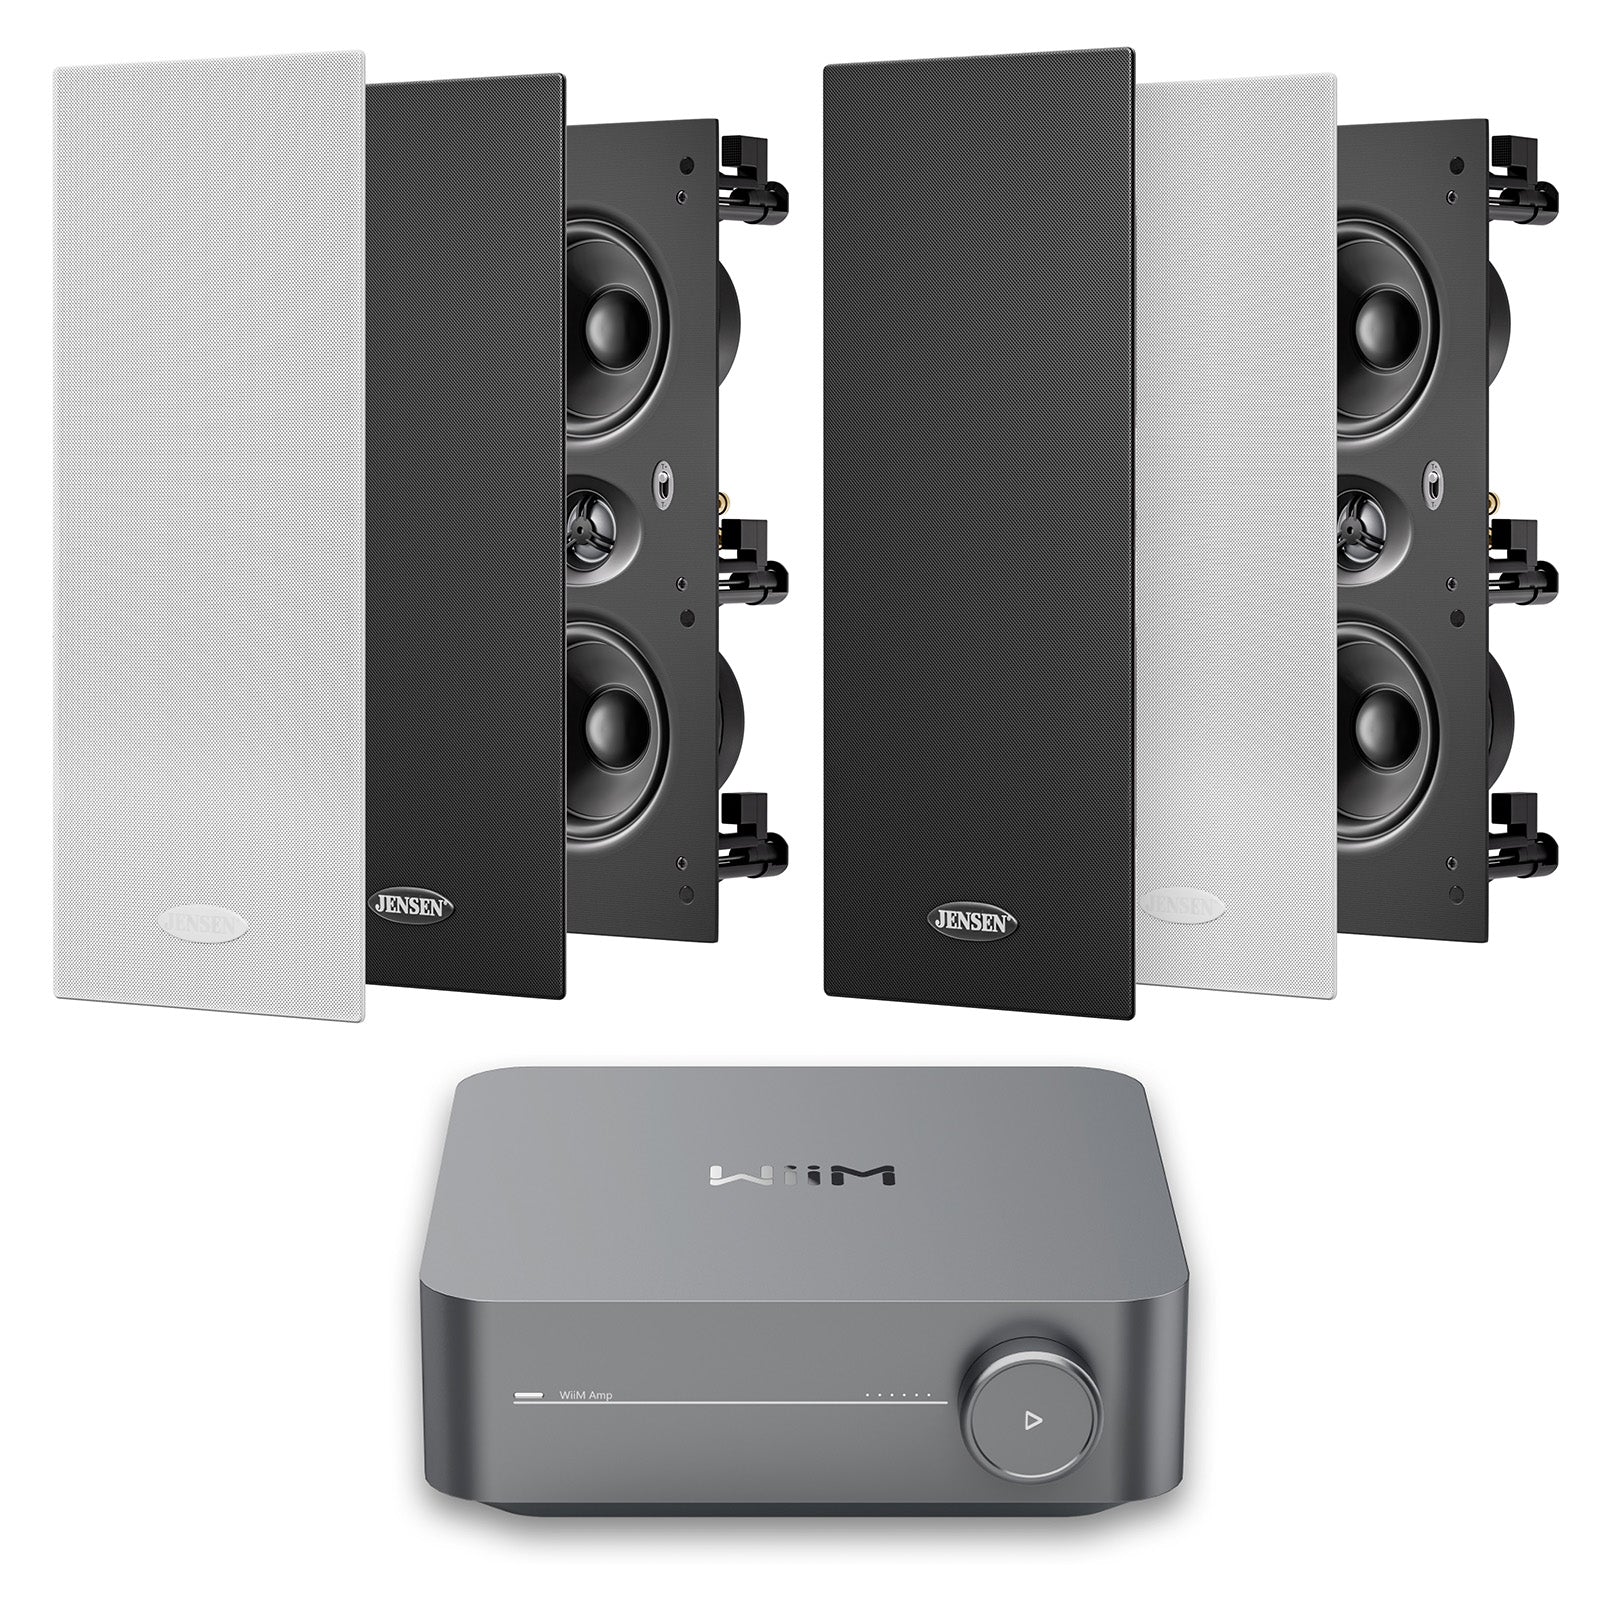
Do I need an amplifier for in-ceiling speakers?
All the in-ceiling speakers that I’ve seen have been what’s called “passive.” Passive speakers all have to be connected to an amplifier to work!
So , the answer here is YES.
(That’s why we have to run speaker cables from each speaker to an area that we can put some electronics.)
What I’d like to quickly clear up here for you is: Should I get an amplifier or a receiver?
An amplifier is a device that boosts the strength of an existing signal, which makes it powerful enough to drive speakers.
The term gets used in a general sense too often — you could be looking at an amplifier that has zero features and only RCA inputs. Or you could be looking at an “amplifier” that has an optical DAC, a Bluetooth receiver, or other features built in.
A receiver is a device that contains amplifiers as well as other components that provide everything you need to run a home theatre system.
Most receivers on the market today have at least 5 power amplifiers inside so you can run 5 speakers (the basic surround setup). Plus, they have digital converters and video processing inside so you can plug ALL your source devices into one unit.
The other thing receivers tend to have nowadays is wireless streaming capability.
Wireless could mean Bluetooth (easy and fast) or WiFi (more convenient and useful).
(To find out the pros and cons of Bluetooth and Wifi, check out this helpful article. )
If you are building a surround sound system, you need to go with a receiver.
That will give you everything you need in one unit, you can hide it in a cabinet or entertainment unit, and it will give you all the settings and input you’ll need.
What are the types of in-ceiling speakers?

In-ceiling speakers come in all shapes and sizes and I’m going to help you decide which ones are best for you.
Let’s start with size.
What size in-ceiling speaker should I get?
Most in ceiling speakers you find come in 6-inch or 8-inch (roughly).
There’s the occasional “downlight” speakers that are even smaller, and also a few mega-sized ones that are larger.
The first thing you need to know is that it’s easier for a larger speaker cone to produce lower frequencies. And lower frequencies means low-mids and bass. The deeper, more impactful sounds.
It’s also harder for a larger speaker cone to produce clear high frequencies.
But that’s fine as long as you’re looking at an in-ceiling speaker that has a tweeter built in.
The second thing you need to know is that it’s easier for a larger speaker cone to play at louder volumes while remaining clear (and have no audible distortion).
So bigger is better, right?
In most cases I recommend going with the 8-inch models. It will give you better bass extension and it will sound better at volume. The same effort is required to install it and besides price, everything is equal.
But if your project is price-sensitive, and you know for sure you’re going for modest, lower-level listening (like background music and quiet movie watching), then the 6-inch speakers should do just fine.
Now for those “other” sizes I mentioned above.
Both the larger than 8-inch and the smaller than 6-inch models are too extreme. I’ll tell you why…
The larger in-ceiling speakers out there, unless they are designed to be subwoofers, are at a disadvantage!
The larger cone requires more energy to do the same job that the 8-inch cone could do.
If there’s any extra bass, it’s boomy (not punchy and well-timed) because the cone won’t be as tight as a subwoofer cone. And even if it was a tight cone, it would suffer because it would need a lot more power to function. (That’s why all modern subwoofers are powered.)
So unless the larger in-ceiling speaker is a dedicated subwoofer only… which only plays bass and subsonics… it’s at a physical disadvantage to an 8-inch speaker.
As a result, I don’t really recommend extra-large in-ceiling speakers. The smaller “downlight” speakers are attractive to some, and do take up less space. But as you can probably now guess… they struggle to produce quality mids and bass, and they’re not good at higher volumes.
They can’t lots of air as easily as the larger models. So I’d only recommend these for ATMOS speakers (if you really like the look of them).
What else should I look for with in-ceiling speakers?
In-ceiling speakers come in all shapes and sizes and I’m going to help you decide which ones are best for you.
Let’s start with size.
What size in-ceiling speaker should I get?
Most in-ceiling speakers you find come in 6-inch or 8-inch (roughly). There’s the occasional “downlight” speakers that are even smaller, and also a few mega-sized ones that are larger.
The first thing you need to know is that it’s easier for a larger speaker cone to produce lower frequencies. And lower frequencies means low-mids and bass. The deeper, more impactful sounds.
It’s also harder for a larger speaker cone to produce clear high frequencies. But that’s fine as long as you’re looking at an in-ceiling speaker that has a tweeter built in.
The second thing you need to know is that it’s easier for a larger speaker cone to play at louder volumes while remaining clear (and have no audible distortion).
So bigger is better, right?
In most cases I recommend going with the 8-inch models. It will give you better bass extension and it will sound better at volume. The same effort is required to install it and besides price, everything is equal.
But if your project is price-sensitive, and you know for sure you’re going for modest, lower-level listening (like background music and quiet movie watching), then the 6-inch speakers should do just fine.
Now for those “other” sizes I mentioned above.
Both the larger than 8-inch and the smaller than 6-inch models are too extreme. I’ll tell you why…
The larger in-ceiling speakers out there, unless they are designed to be subwoofers, are at a disadvantage!
The larger cone requires more energy to do the same job that the 8-inch cone could do.
If there’s any extra bass, it’s boomy (not punchy and well-timed) because the cone won’t be as tight as a subwoofer cone. And even if it was a tight cone, it would suffer because it would need a lot more power to function. (That’s why all modern subwoofers are powered.)
So unless the larger in-ceiling speaker is a dedicated subwoofer only… which only plays bass and subsonics… it’s at a physical disadvantage to an 8-inch speaker.
As a result, I don’t really recommend extra-large in-ceiling speakers. The smaller “downlight” speakers are attractive to some, and do take up less space. But as you can probably now guess… they struggle to produce quality mids and bass, and they’re not good at higher volumes.
They can’t lots of air as easily as the larger models. So I’d only recommend these for ATMOS speakers (if you really like the look of them).
What else should I look for with in-ceiling speakers?
Let’s quickly go over a few other things you’ll find with in-ceiling speakers, and why you might be interested.
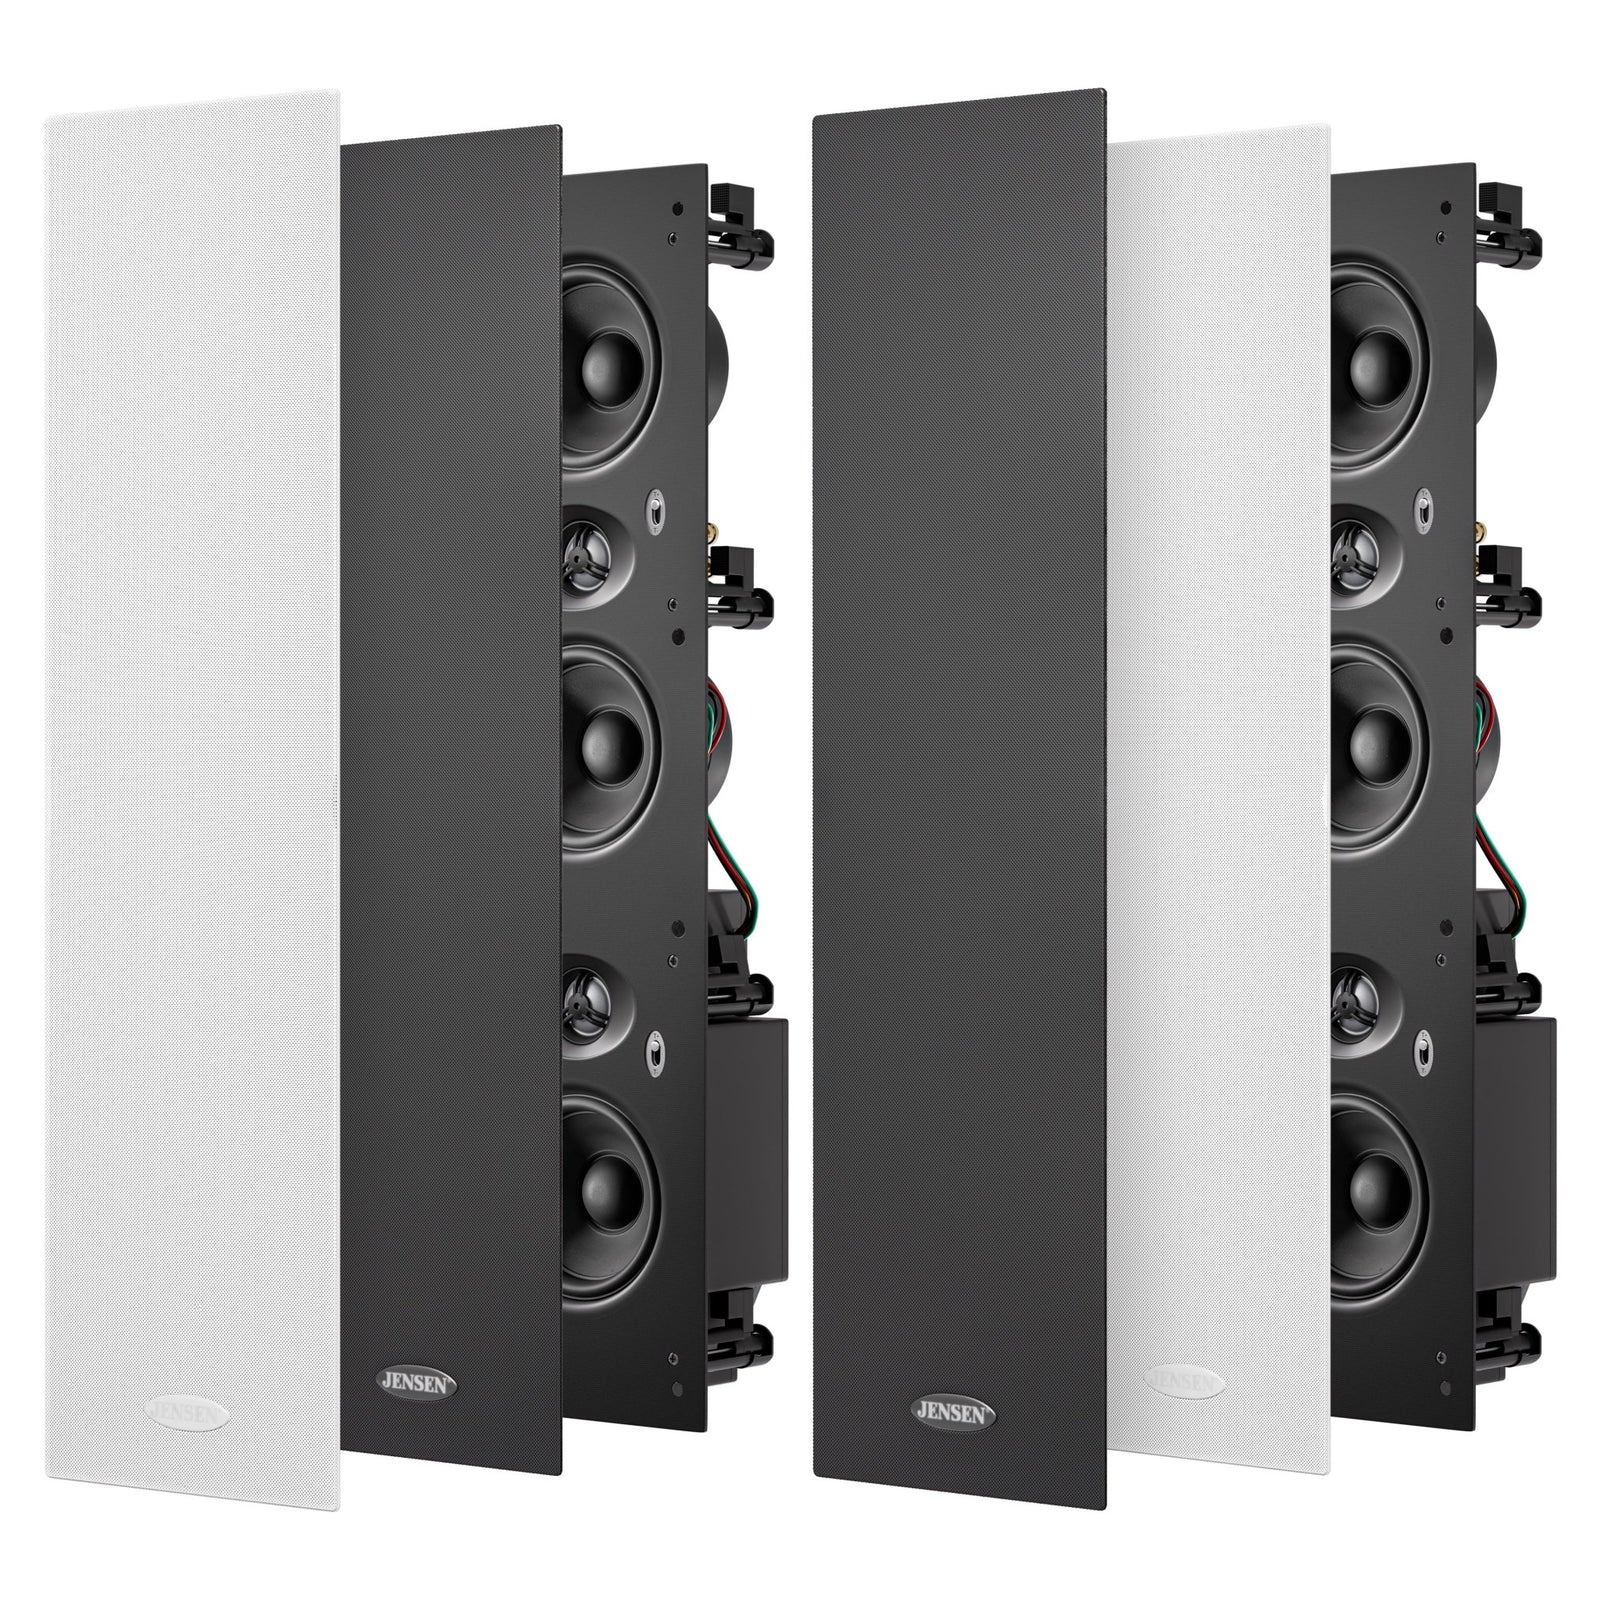
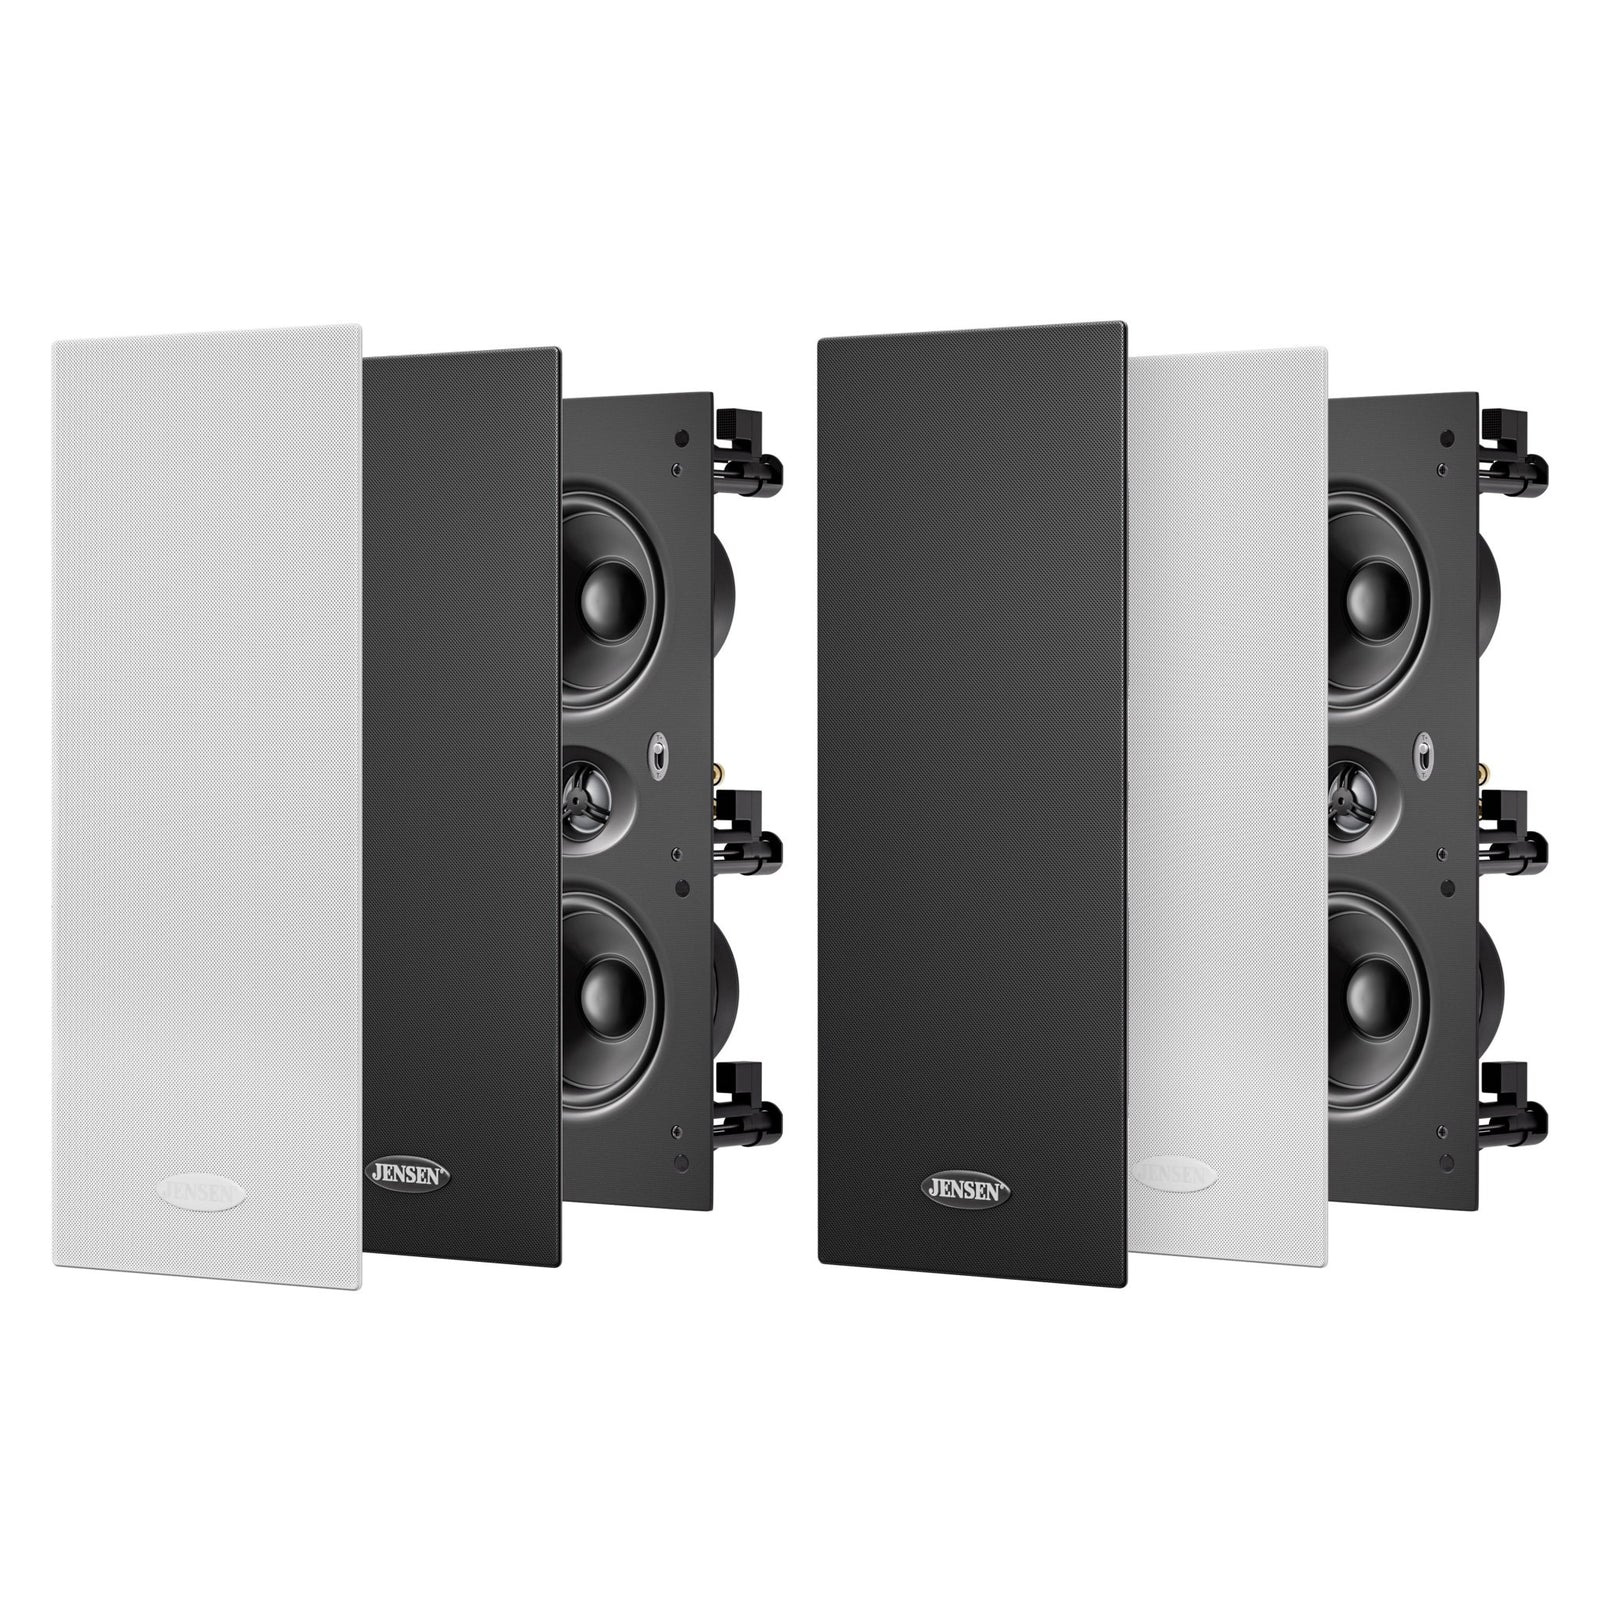
Mono-summing. In most cases you’ll notice that in-ceiling speakers come in two’s. That’s a left and right speaker for a stereo pair.
It’s possible that you might want only ONE speaker for a particular room… say, a bathroom. In this case, you want that to be its own “zone” and you want the whole audio signal to play.
That means stereo is no good. You’d only have a left or a right signal playing.
The solution is the “mono summing” in-ceiling speaker.
This is ONE speaker that you buy on its own. It has two pairs of terminals. So both left and right audio plugs into one speaker. And the result is a single-speaker zone that plays the entire audio signal from one speaker.
Moisture resistance. If you ARE putting one or more speakers in a bathroom or outside where it could get exposed to high levels of humidity, you might want to take a look at its moisture resistance.
Make sure the specifications state that it’s moisture resistant / water resistant or something similar, otherwise it’s for inside use only.
And another entirely is a “marine” speaker. These are truly waterproof and can be splashed, rained on, or dunked without any problems. They’re used mostly in boats.
Back boxes. You will notice sometimes in-ceiling speakers have enclosures around their backside. This is called a back box (I have no idea why they call it that ;-) )
One of the main objectives of a back box is to prevent audio from leaking into the room above your entertainment room. This is definitely going to happen without one.
You can find some aftermarket back boxes to use when installing speakers that don’t have them. You can also build your own if you’re handy. But for the most part, they’re not necessary.
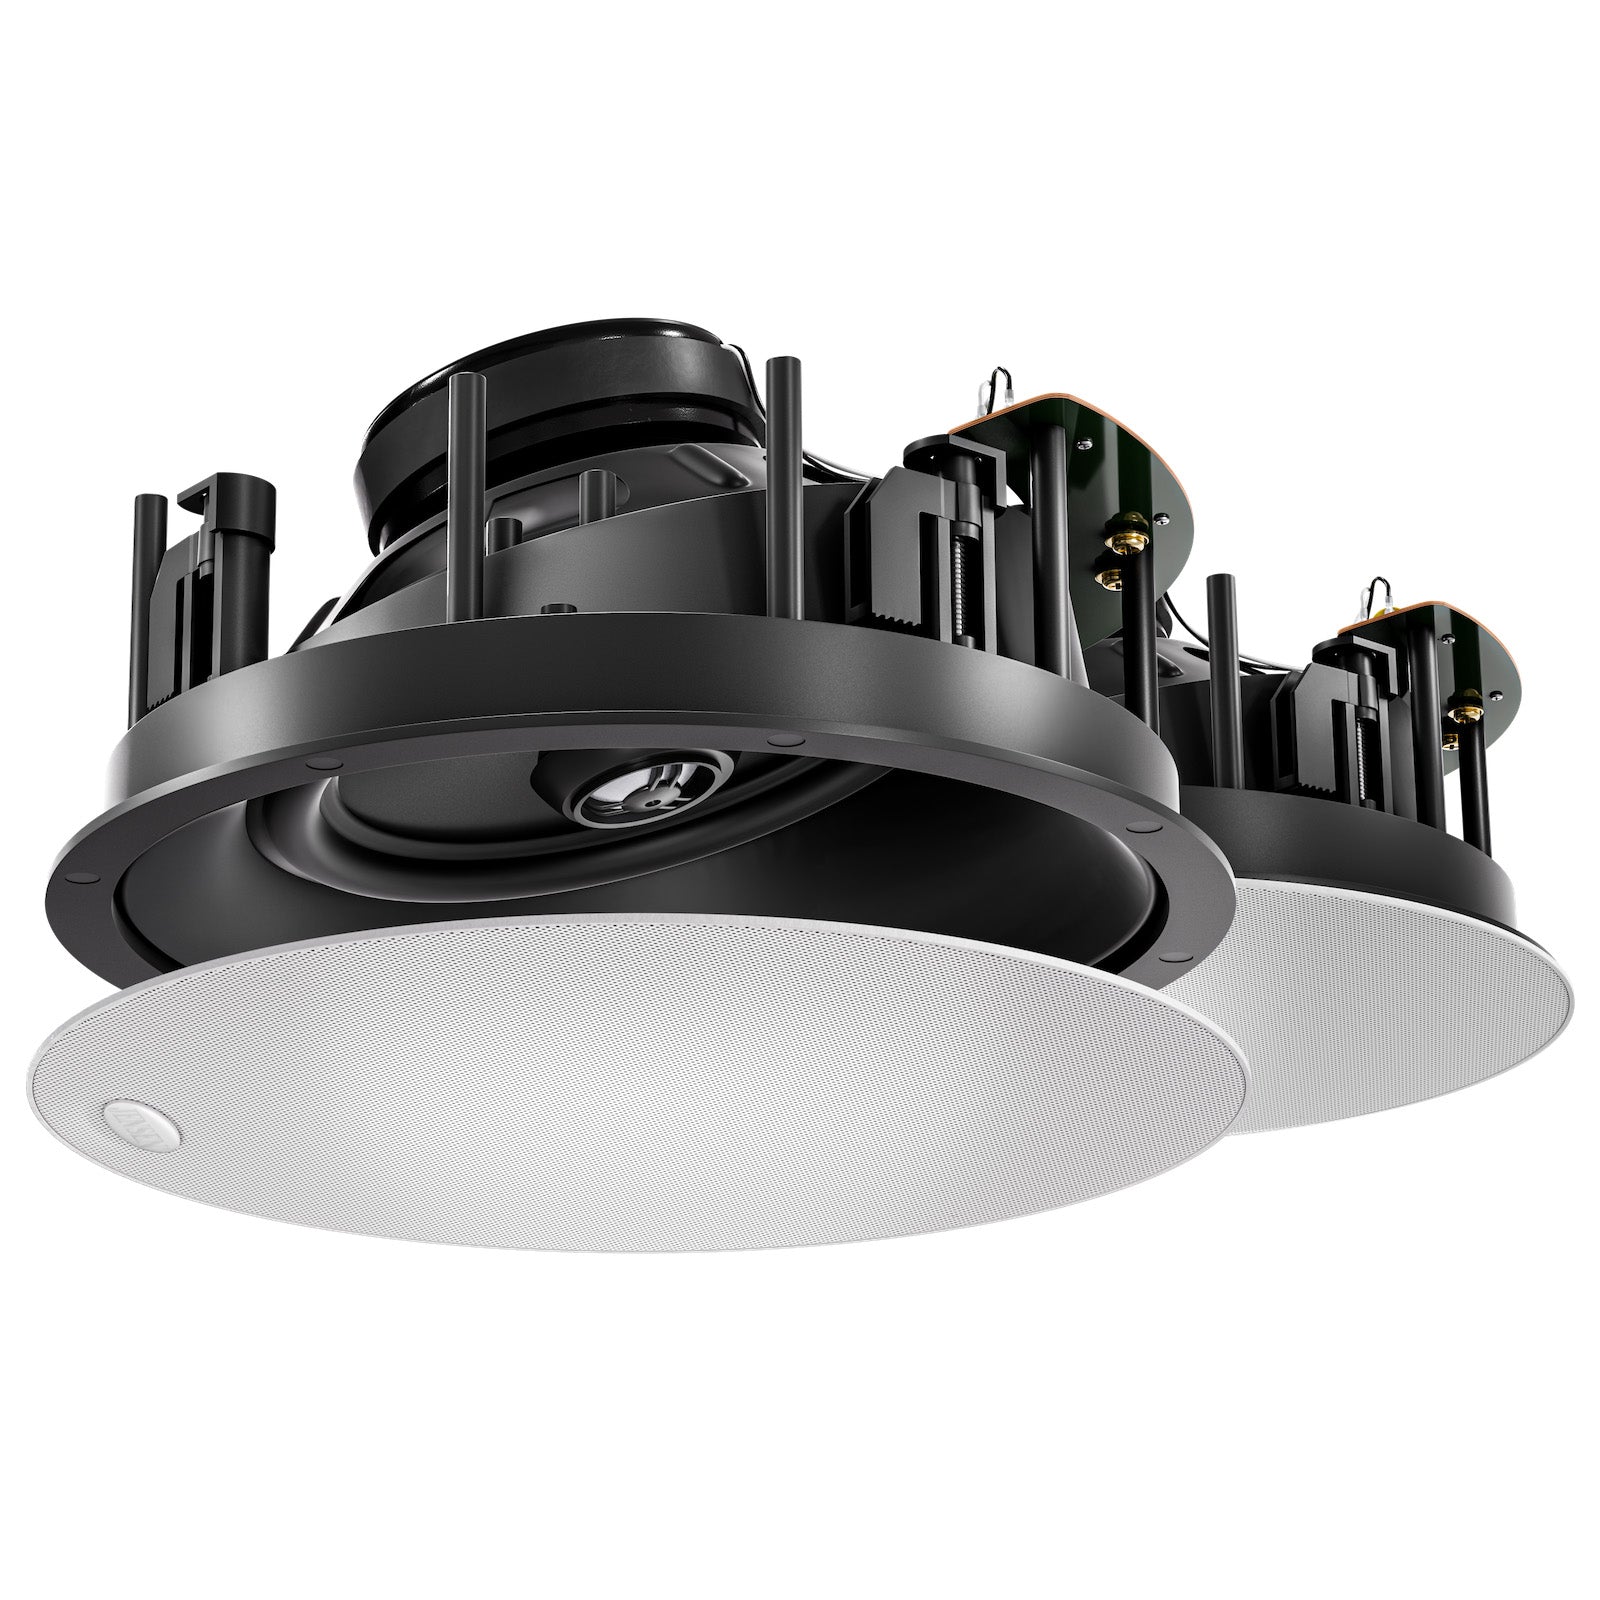
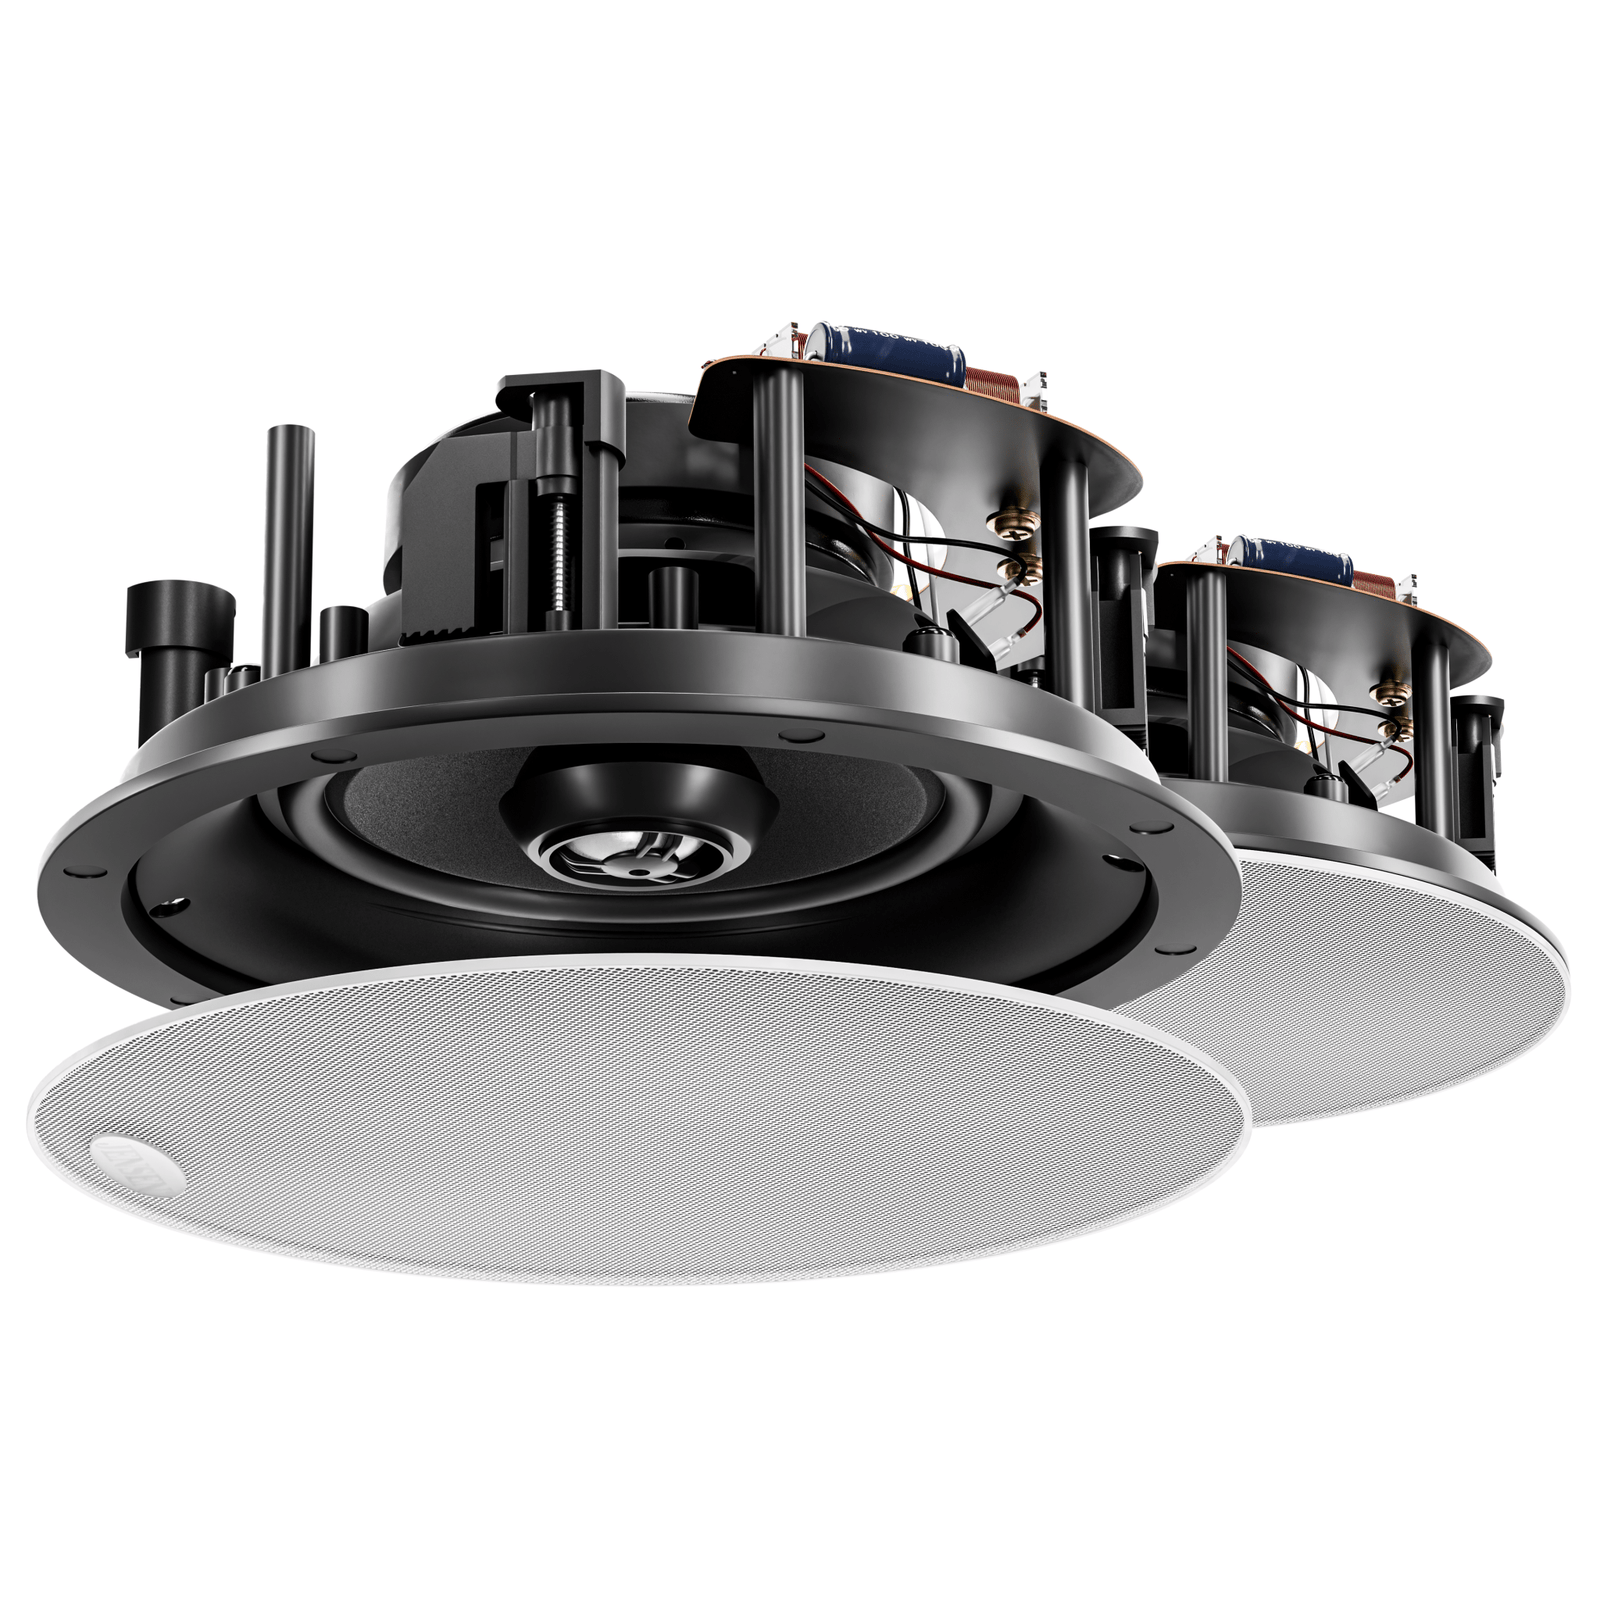
Directional. This is an important detail to watch out for, which I’ve mentioned a few times already.
An in-ceiling speaker that isn’t directional will send the audio field straight downward towards the floor.
This will make it difficult to place them for a good 3D audio image — which massively improves your music and movie experience.
If you only want background music, then this is probably fine.
But if you want better performance out of your in-ceiling system, you want to use speakers that are completely directional. (Meaning the woofer and tweeter are both set at an angle within the speaker housing.)
At the very least, use in-ceiling speakers with directional tweeters. Then you’ll be able to direct the high frequencies (like voices and cymbals) which are more directionally dependent. Although you’ll still miss out on imaging in the mid-range.
What are the best directional in-ceiling speakers?
If you’ve read everything in this guide, you’re more or less an in-ceiling speaker wizard.
You know what to watch out for in planning your in-ceiling surround sound system.
You understand what problems you can run into and how to prevent them.
You know how to install in-ceiling speakers. You know where to put them for an immersive experience.
You even know what all the different types are.
So… which one’s should you get?
While there are many options out there for you to consider, our in-ceiling speakers stand out as some of the best for explosive home theatre and music performance, particularly when it comes to long-term value at their price point.
Having built speakers for over 30 years and compiled all the expertise you’ve read about above… this new line of flush mount ceiling speakers are designed specifically to create a performance home theatre experience without requiring traditional box speakers.
They use a 15 degree directional tilt to allow install closer to walls (for smaller rooms), superb detail and richness, and excellent audio imaging for music and movies alike.
You’ll find dozens of success stories from home theatre enthusiasts who have chosen our flagship ELITE-404’sand have been loving it ever since.
Hopefully you’ve learned a lot from this guide to in-ceiling surround sound speakers.
If you still have any questions or concerns, don’t hesitate to get in touch with us.
We’d be happy to talk about your needs. In the meantime, good luck with your home theatre project and thanks for reading!