


HOME THEATRE SPEAKER INSTALLATION

This post is a speaker installation guide “companion,” with quick things to watch out for when installing in-ceiling or in-wall speakers. You will learn:
- The main things first timers miss when installing in-wall or in-ceiling speakers.
- What to watch out for with speaker installation in a new construction.
- The difference between installing in-wall and in-ceiling.
You’ll find great links throughout the article to other installation guides. Feel free to check them out as well if you need more details.
Contents
- Home Theatre Speaker Installation Tips
- Installing Ceiling Speakers In A New Construction
- What’s Different About In-Wall Speaker Installation?
Home Theatre Speaker Installation Tips
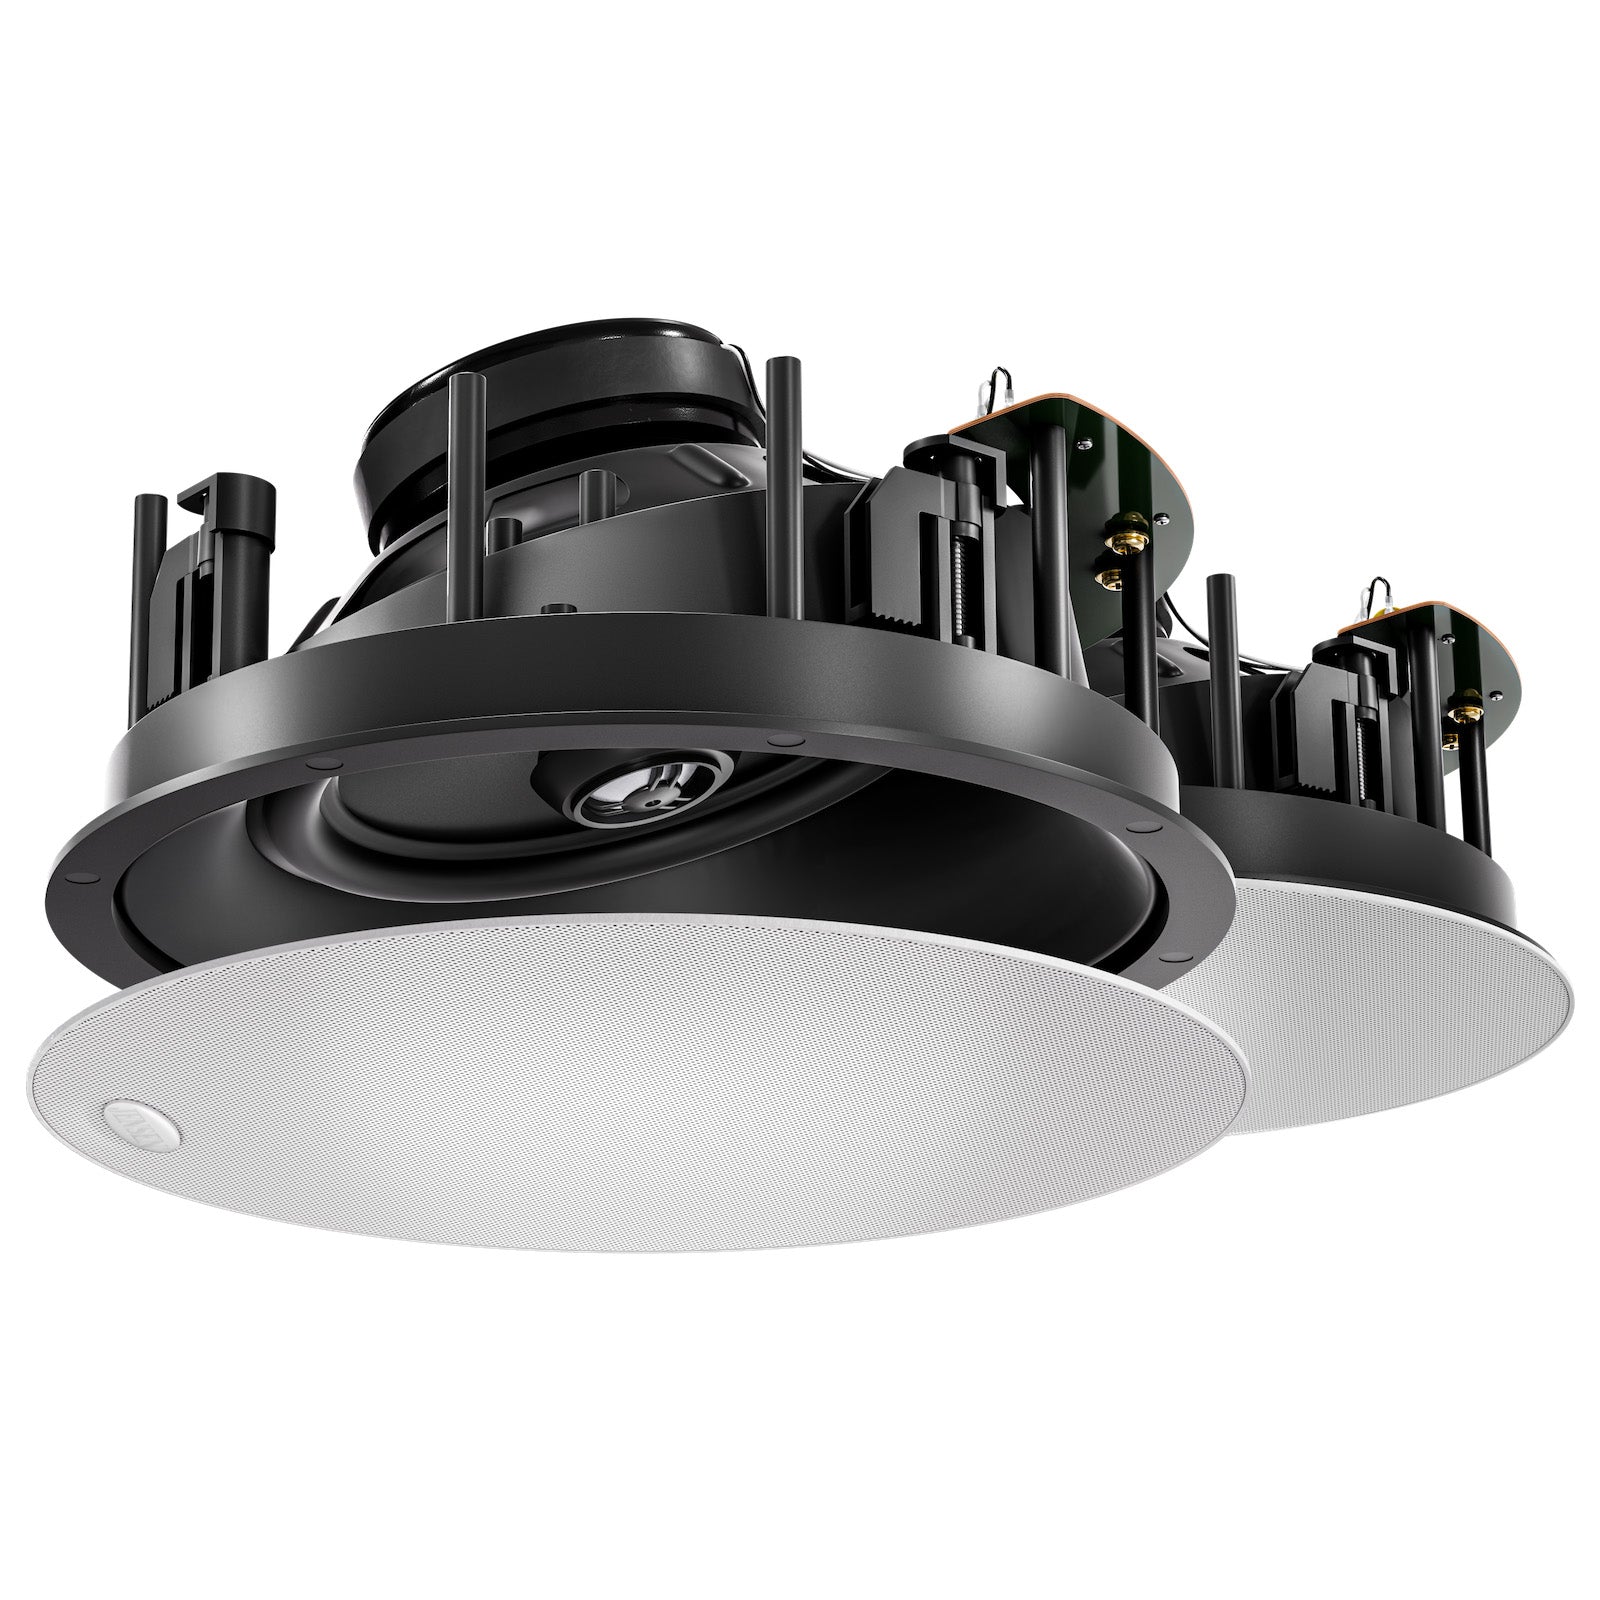
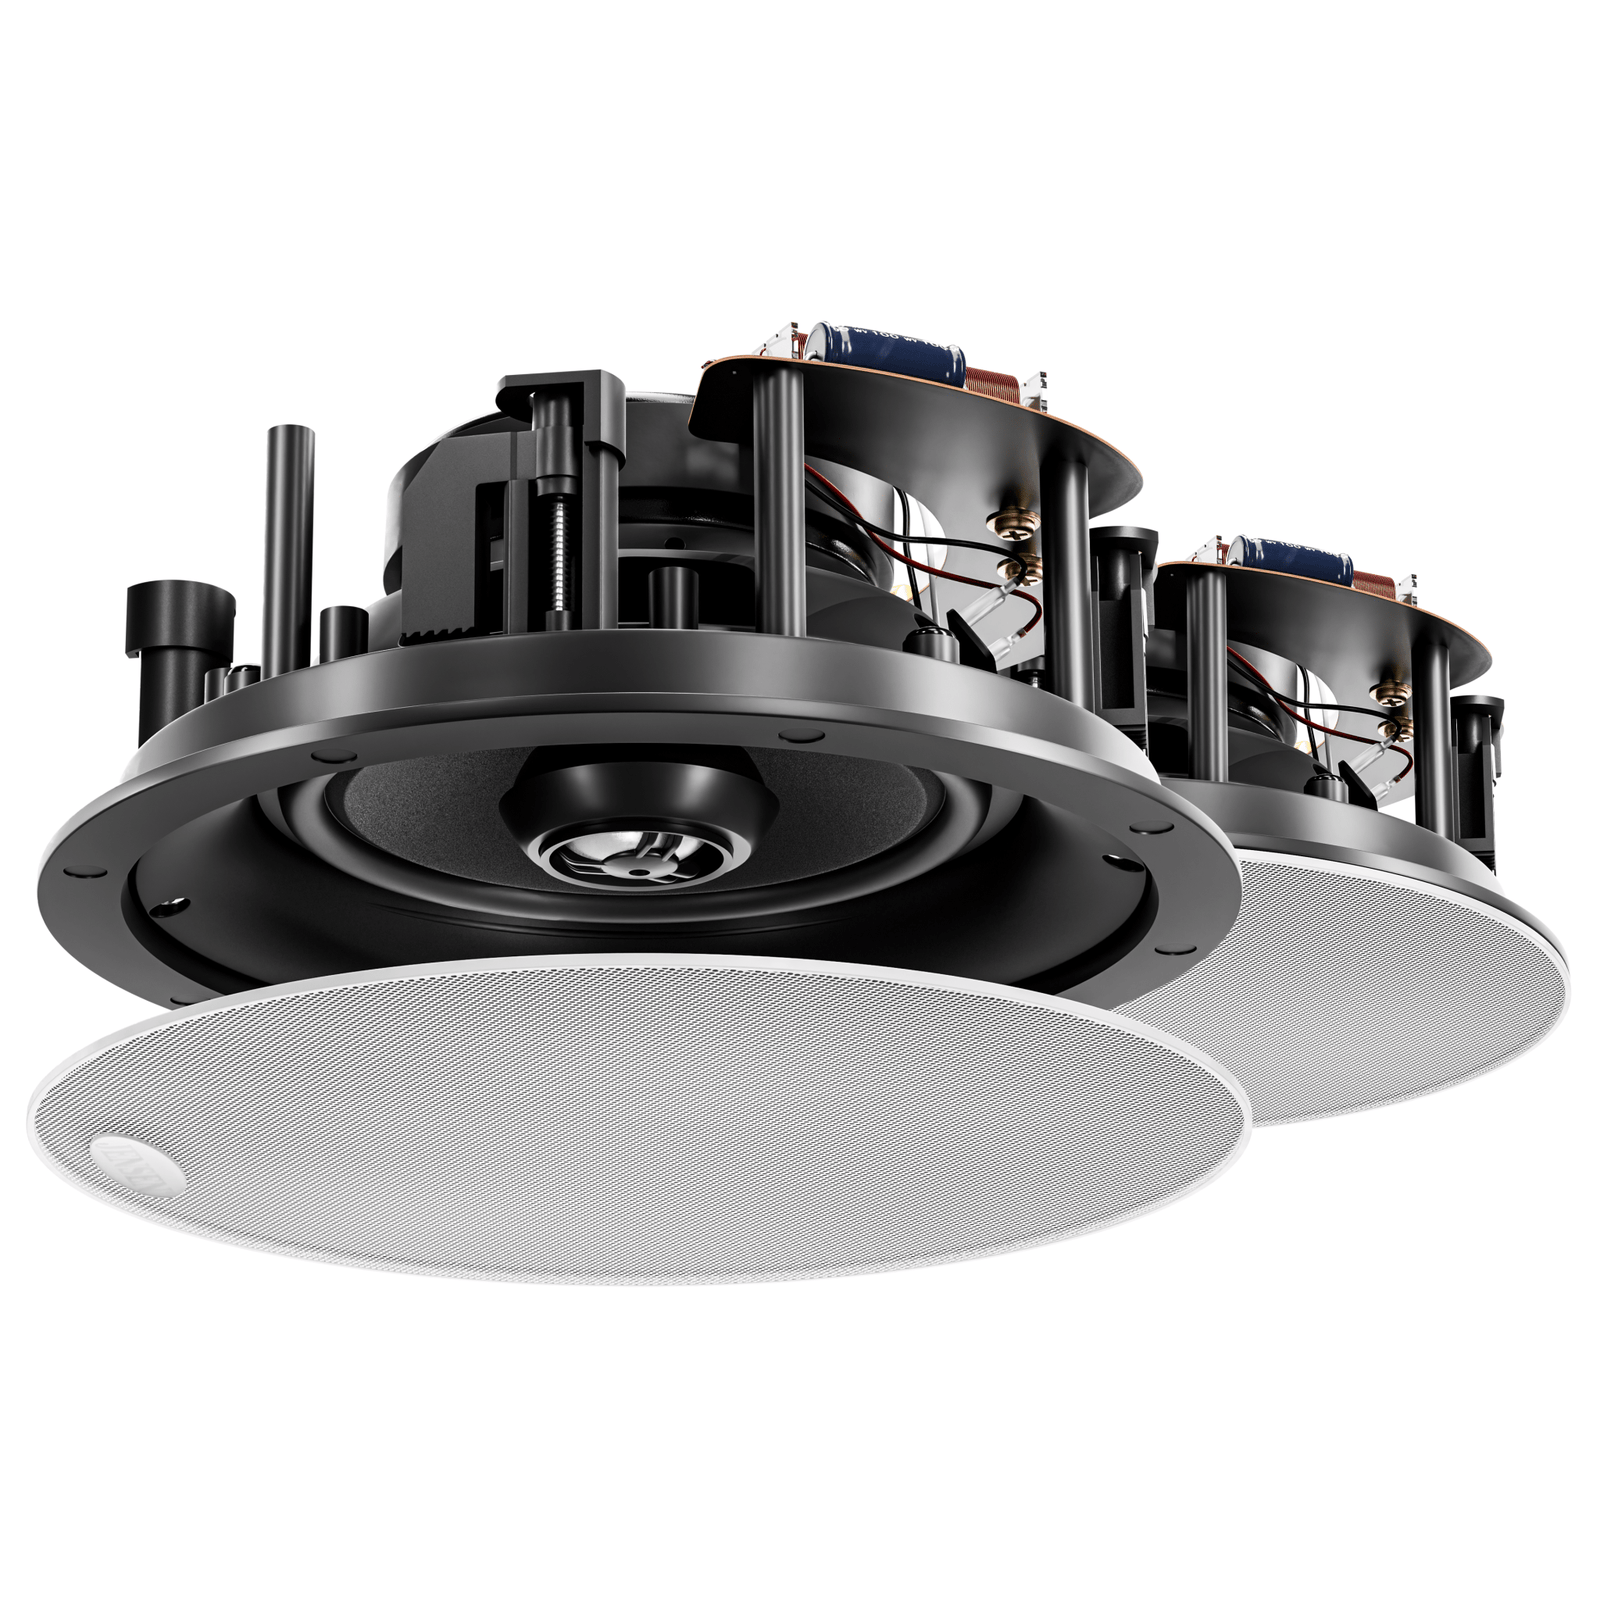
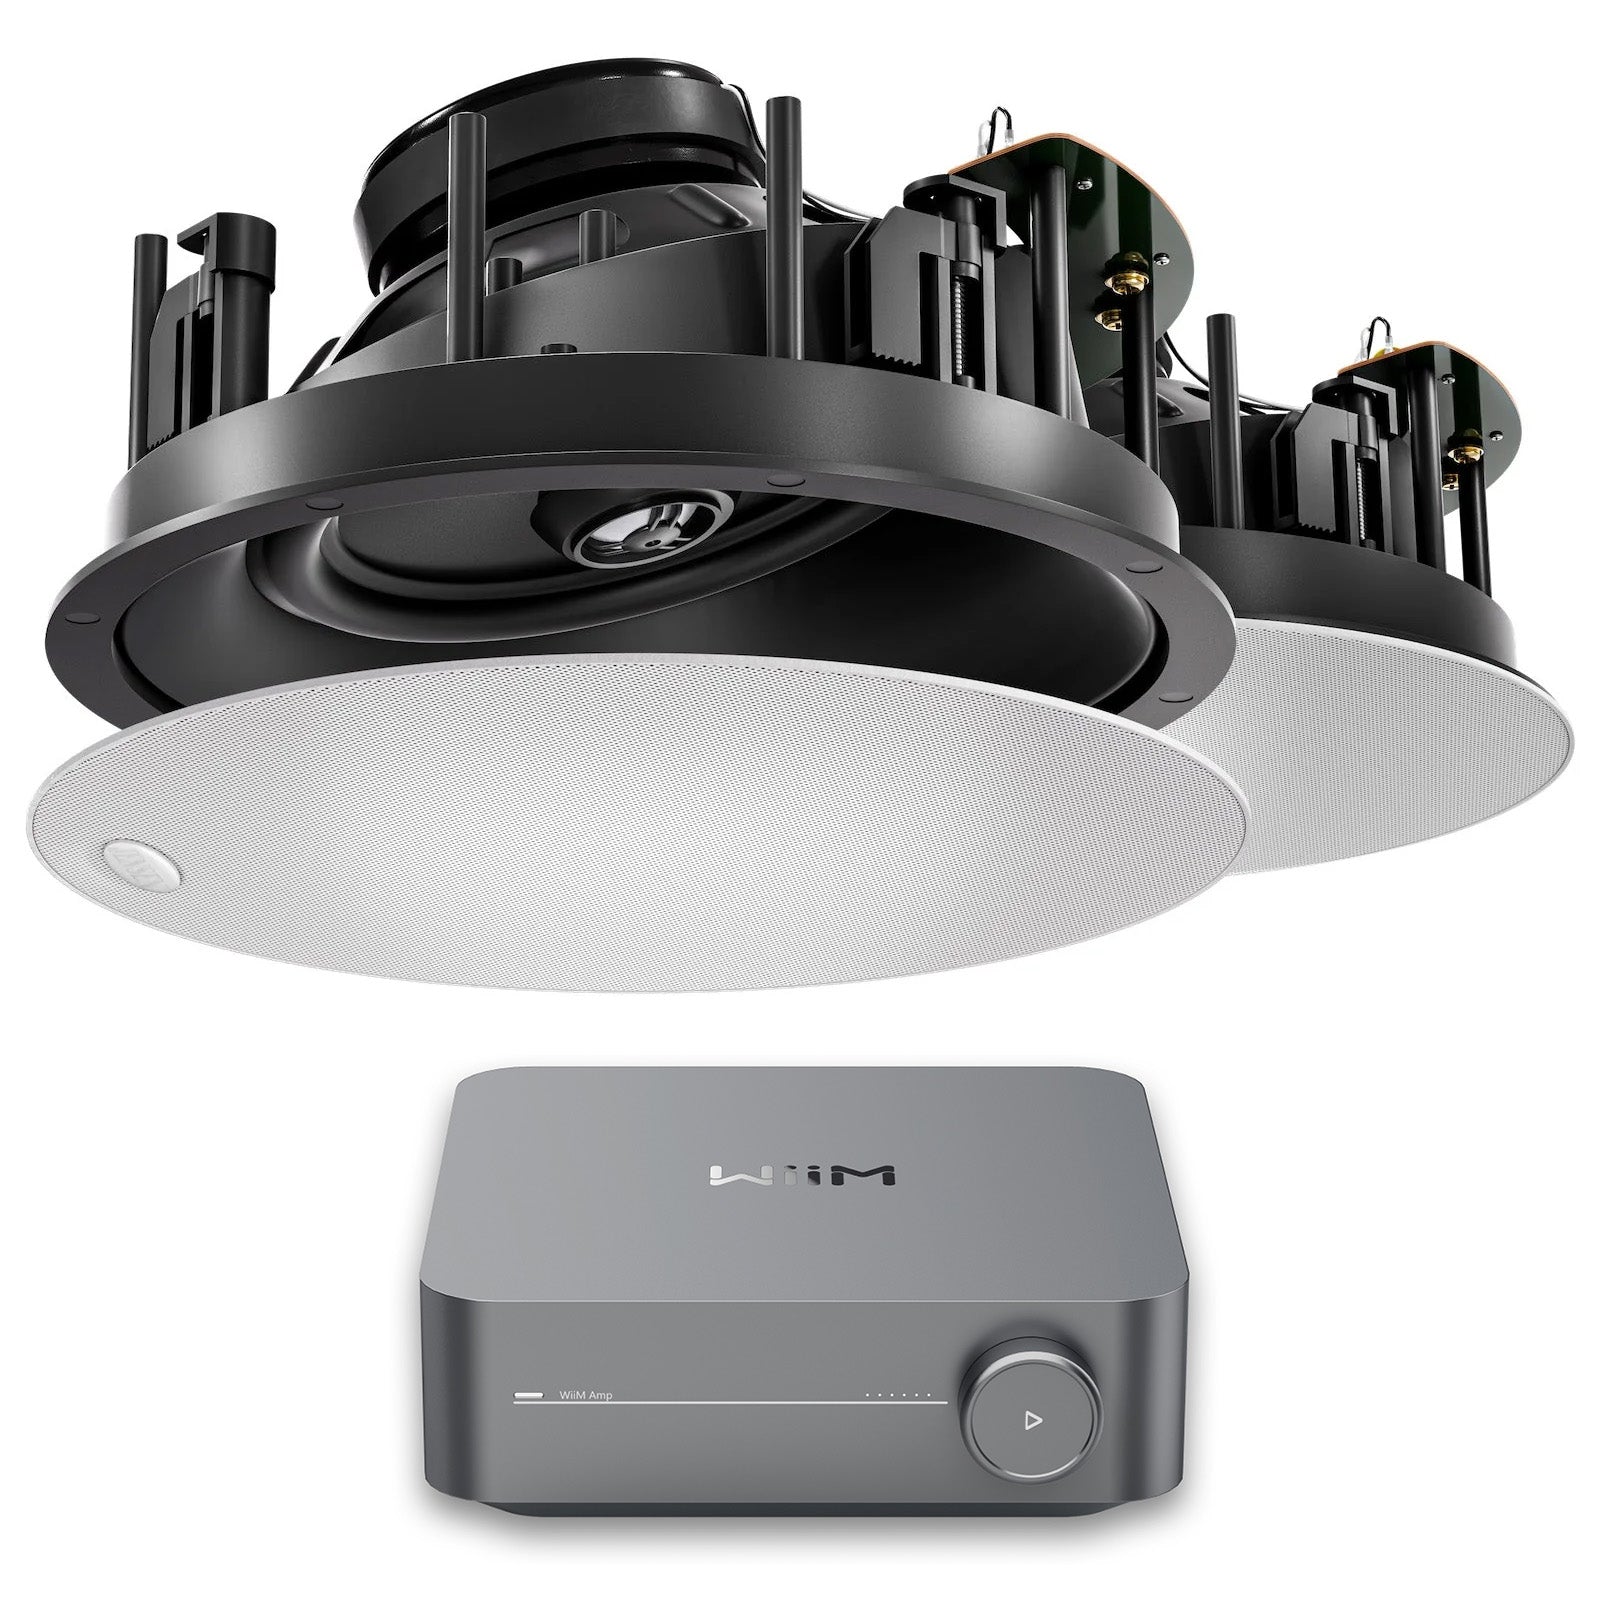
How do you install surround sound speakers in your ceiling? It’s not as hard as it might seem to install in-ceiling and in-wall speakers yourself. All you need is a minimum level of handiness and a few basic tools. I’ll go over some important things to watch for here. (For a more in-depth guide readEasy In-Wall & In-Ceiling Speaker Installation.) When running speaker cables in your ceiling or wall… whether you have access to behind the drywall or not… you may besnaking around obstacles ormaking unexpected detours. You also have to remember your speaker cable runs won’t be straight lines.You don’t want “taut” runs of cable that can tug at either end. You want to make sure there’s a comfortable slack in the runs. But no so much they have to be bunched up. And you mustNEVER coil your speaker wire because coils distort audio signals! Add 10% to 20% extra cable to your measured result to be safe. You also need to takehooking up the speakers into consideration. If you’re using in-wall speakers, you won’t need much extra. Butin-ceiling speakers need an extra 300 mm to 500 mm of cable run because you’re hooking them up from a ladder. Make your own life easier! When you’re running the cables for your in-wall or in-ceiling speakers, you’re going to end up with a collection of wires at the amplifier end. You want to make sure you know which cable runs where… …solabel them! Labeling each cable end will guarantee fewer headaches down the road. If you have multiple audio zones, a little diagram with each label code and which room of the house it refers to can help. In existing home installations, where you have to run cables BEHIND the gyprock, you need to check your cavities. This meansAFTER choosing each speaker location you want to drill a small pilot hole (instead of cutting out the whole shape). Then stick a coat hanger or rigid wire inside tofeel around for empty space. You might hit insulation which can be removed to install the speaker. But you might also hit pipes, frames or other obstacles that can’t be removed. (For more info on installing in-wall and in-ceiling speakers, we will soon have an "easy in-wall & In-ceiling installation" article.)Have enough extra cabling for errors and hookup
Label everything to future proof
Check your cavities BEFORE cutting
Installing Ceiling Speakers In A New Construction

Here I’ll quickly go over what you should know if you’re installing in-wall or in-ceiling speakers in a NEW home that’s under construction. In new builds the main difference is that you have access to the empty space behind what will eventually be drywall. This is VERY handy. You’ll be able to run the speaker cables easily and keep them extra tidy by using cable ties and hooking them to framing. Plus you can run PVC conduit if you’re going to have a dedicated theatre room for future additions. But you need towatch out for AC mains electricity. Wherever a mains line is run, keep your speaker cables more than 500 mm away.If you have to intersect them, do so at a 90 degree angle. You also want to be mindful of where you’re going to put speakers.Check NOW if you’ll have the empty cavity for each speaker and be prepared to mark your drywall once it’s up. (All Jensen in-wall and in-ceiling cut-outs need to be at least 25 mm away from obstructions.) The approved speaker cabling to use behind drywall is CL2. This is a low-voltage cable that’s intended for fire resistance. The idea is, if a fire is small enough to control you don’t want the electricity lines to breach and cause more problems. 14 AWG is the most common gauge we recommend. For more than 15 metre runs you should go with 12 AWG for home theater.No plasterboard makes life easier
CL2 rated cabling is recommended
What’s Different About In-Wall Speaker Installation?

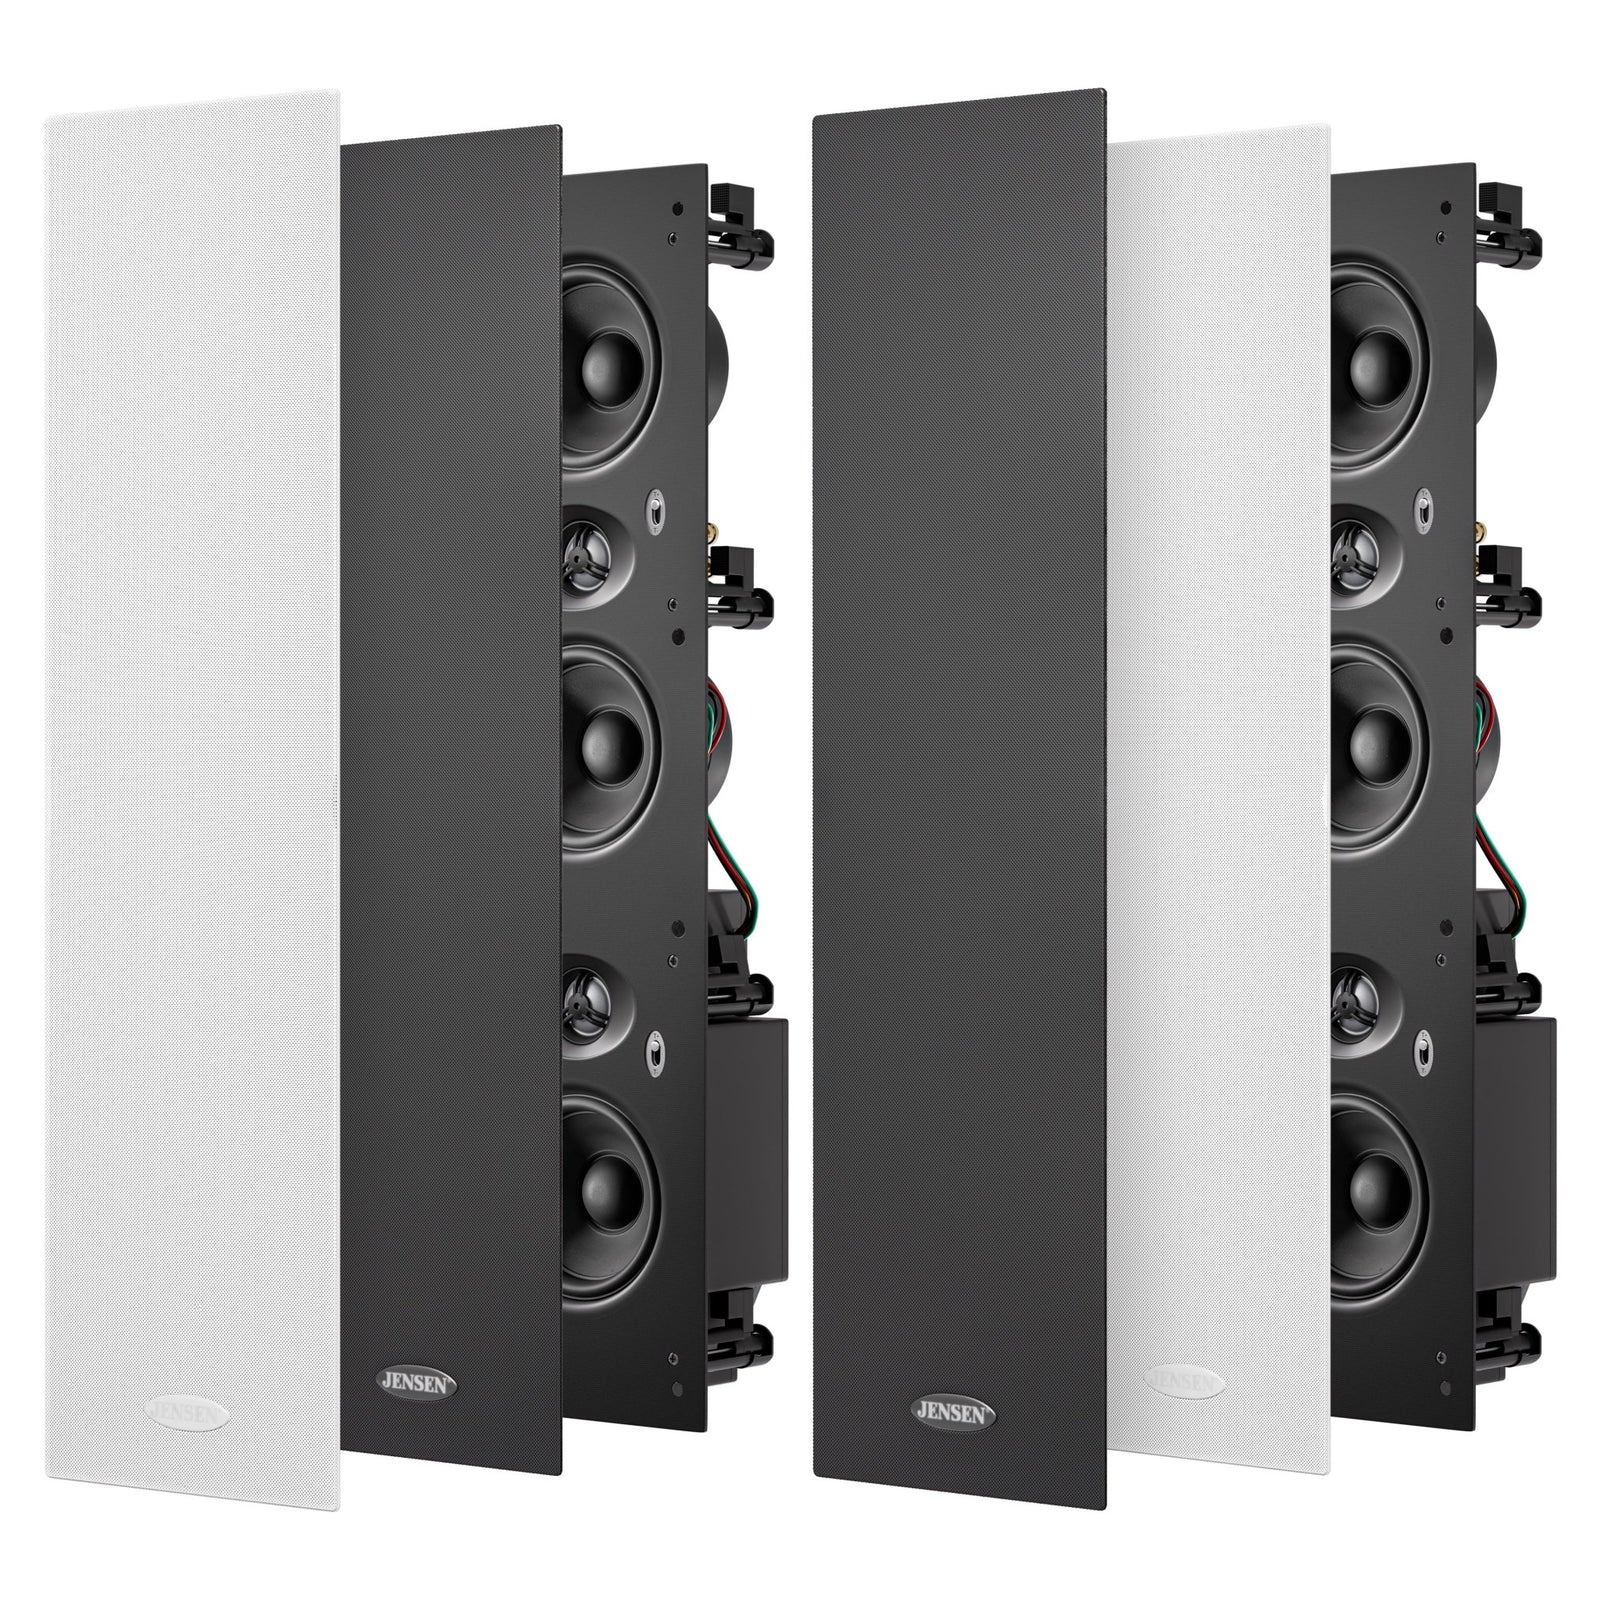
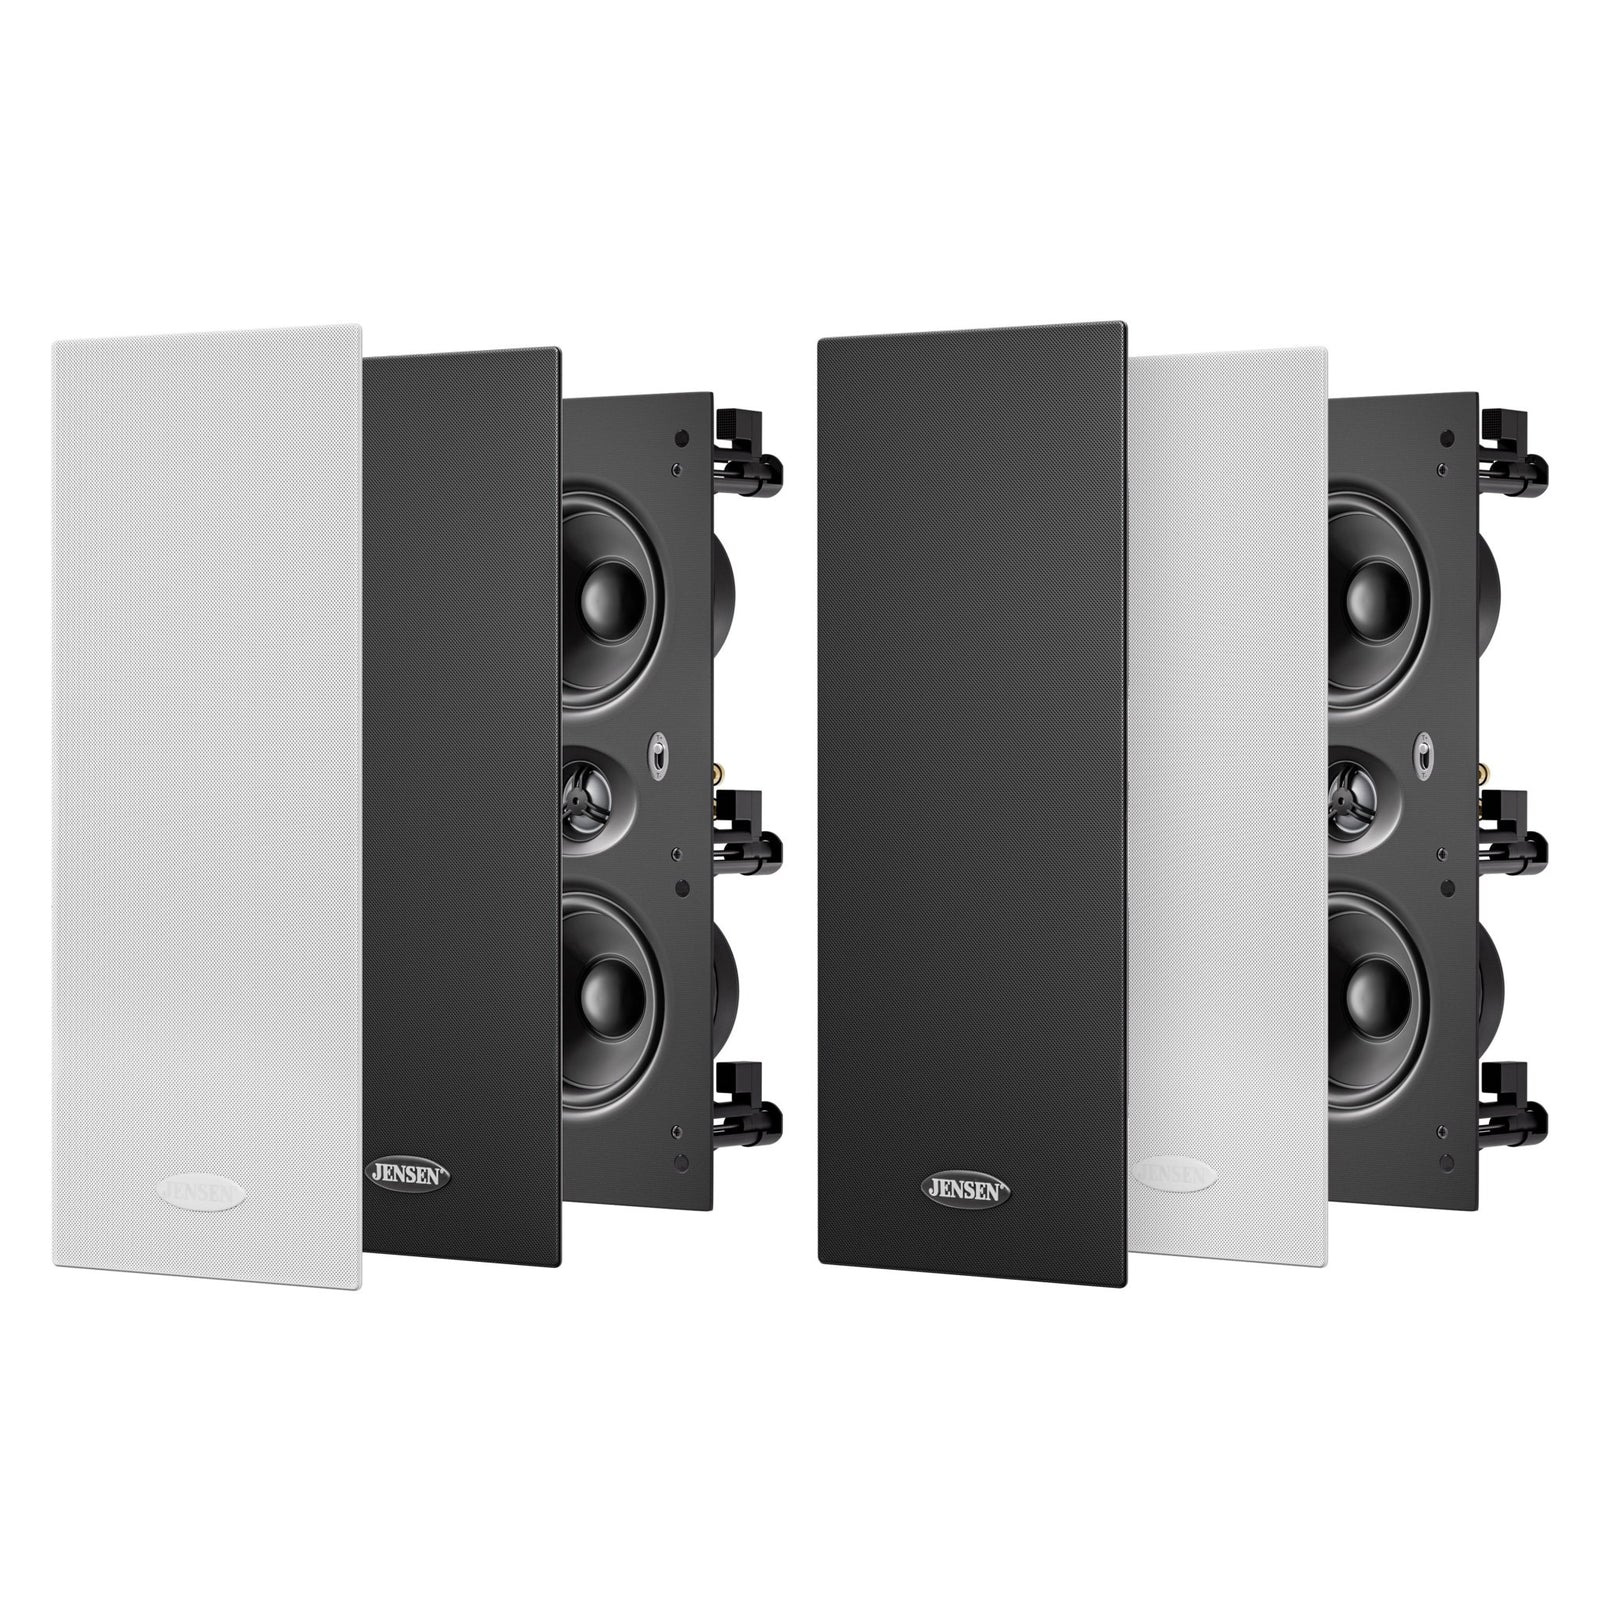
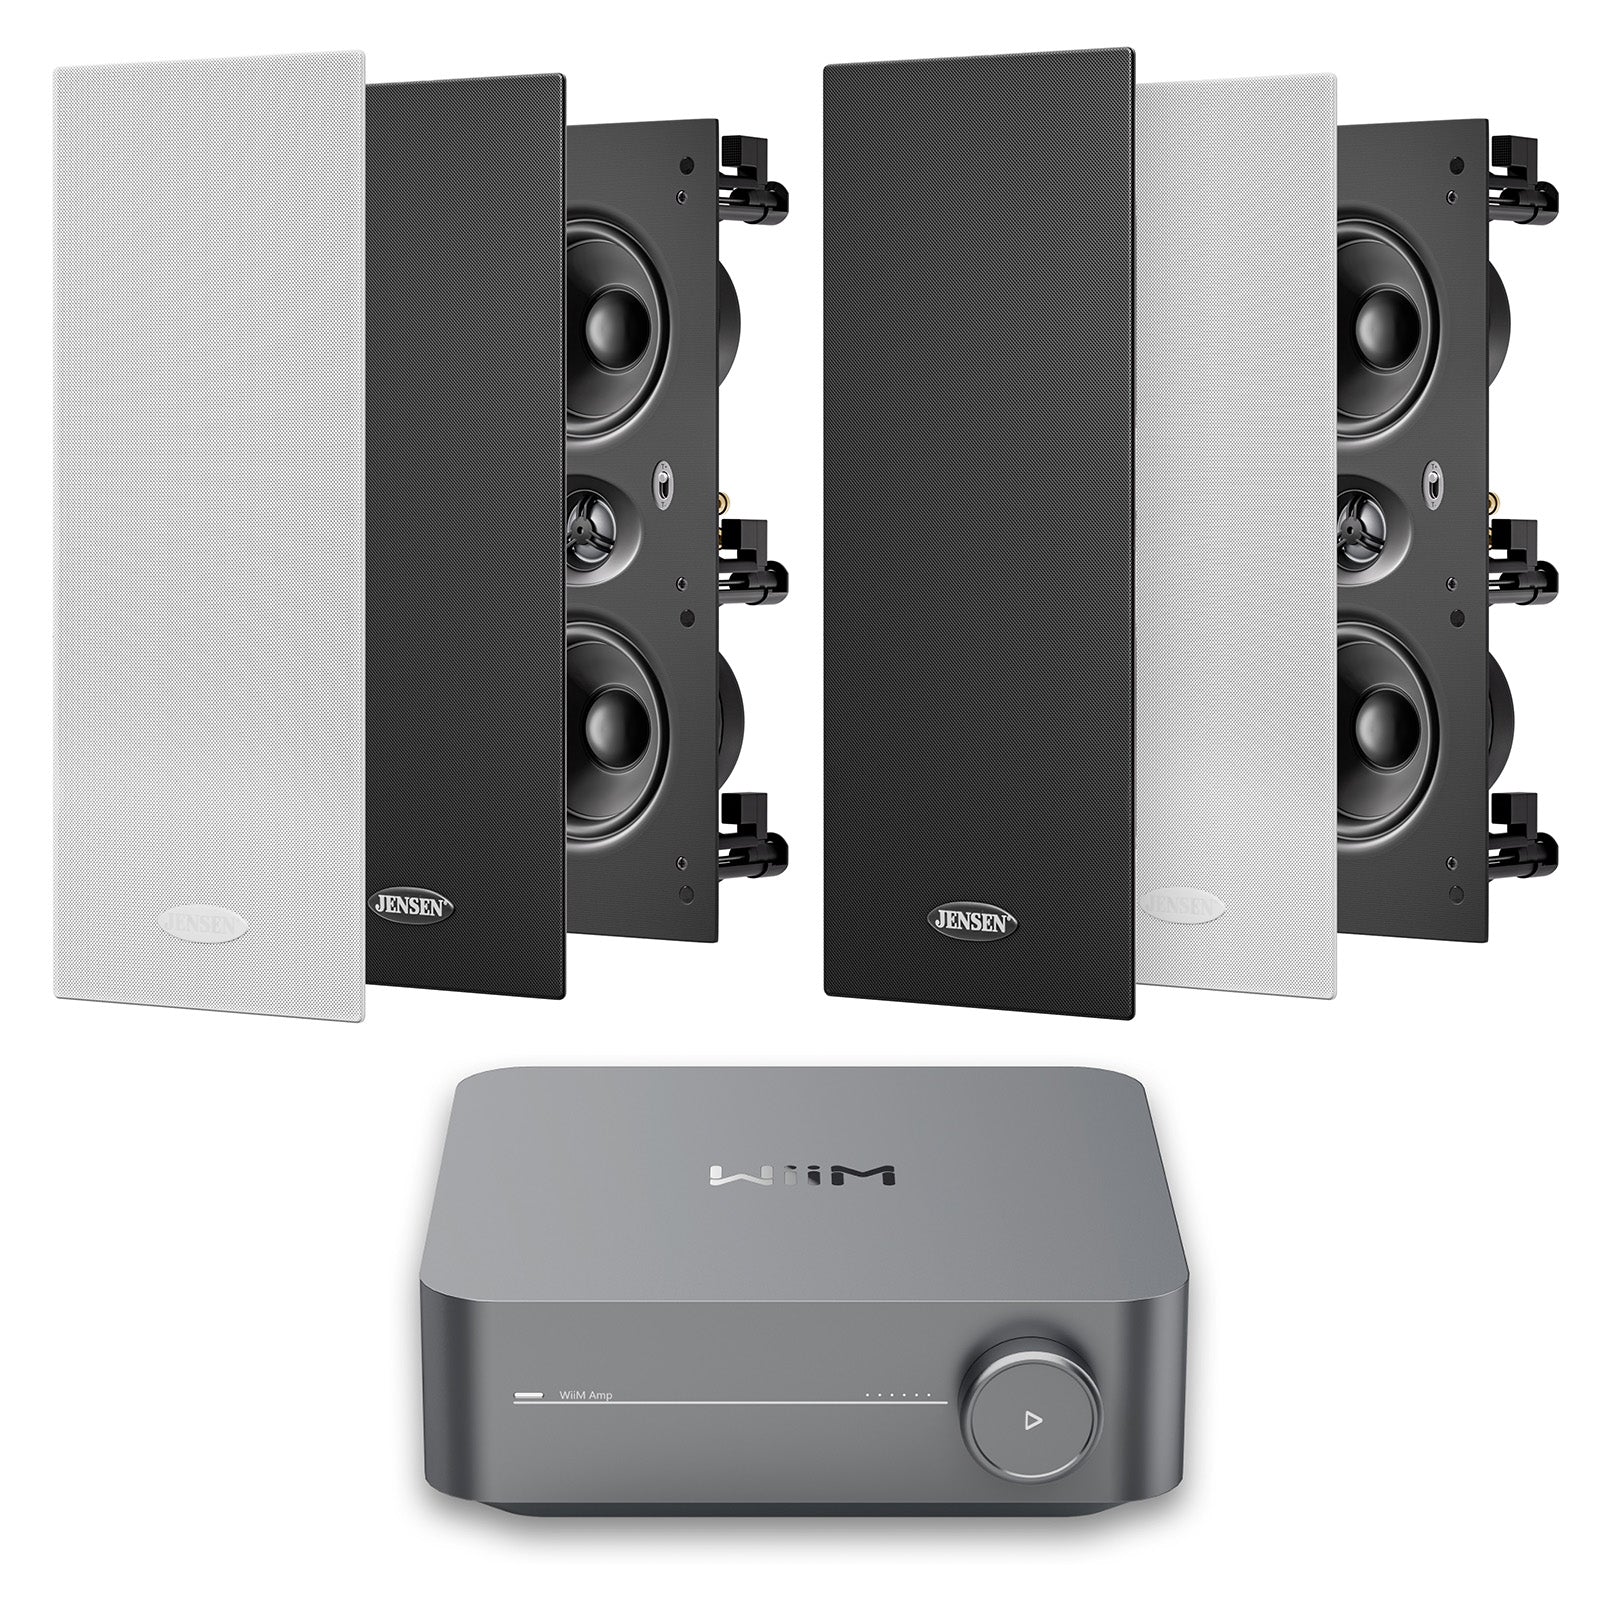
To get awesome audio performance without compromising a tidy home design, in-wall and in-ceiling speakers are easily the best choice. Let’s look at what’s different in installing in-wall speakers. If you are running speaker cables in an existing room — where drywall is already present — in-wall speakers will be easier than in-ceiling. This is because you only have to run from your speaker location on the wall down to the wall plate. Or, if you need to run past studs, you can run from the speaker down to the skirting board. Remove the skirting, drill holes for cable to come out, run them across and back into the wall. The in-wall speaker performance difference In-wall speakers are slightly better for audio performance than in-ceiling. This is because they sit at ear level which gives a better audio image in more locations of the room. Jensen in-wall speakers have more drivers per speaker, which gives a sound advantage as well. If you want in-ceiling speakers for a tidy look, but also want the best sound… the best solution is to get in-wall speakers up front only and in-ceiling for the other speakers in your surround system. For example, theJensen Elite-303 will give you AMAZING sound up front. Plus the “perfect centre speaker” technology allows you to get left, right AND centre speaker covered by only one pair of in-walls. Then you add fourELITE-404 speakers to the back and above your seat for a killer 5.1.2 ATMOS experience. (To learn more about surround sound, 5.1 versus 7.1, and ATMOS speakers,read this article.)